Re-upholstering a trash chair for reading
Table of Contents
- Disassembly
- Modifications
- Re-upholstering
- Things left to do
- Things that could be better
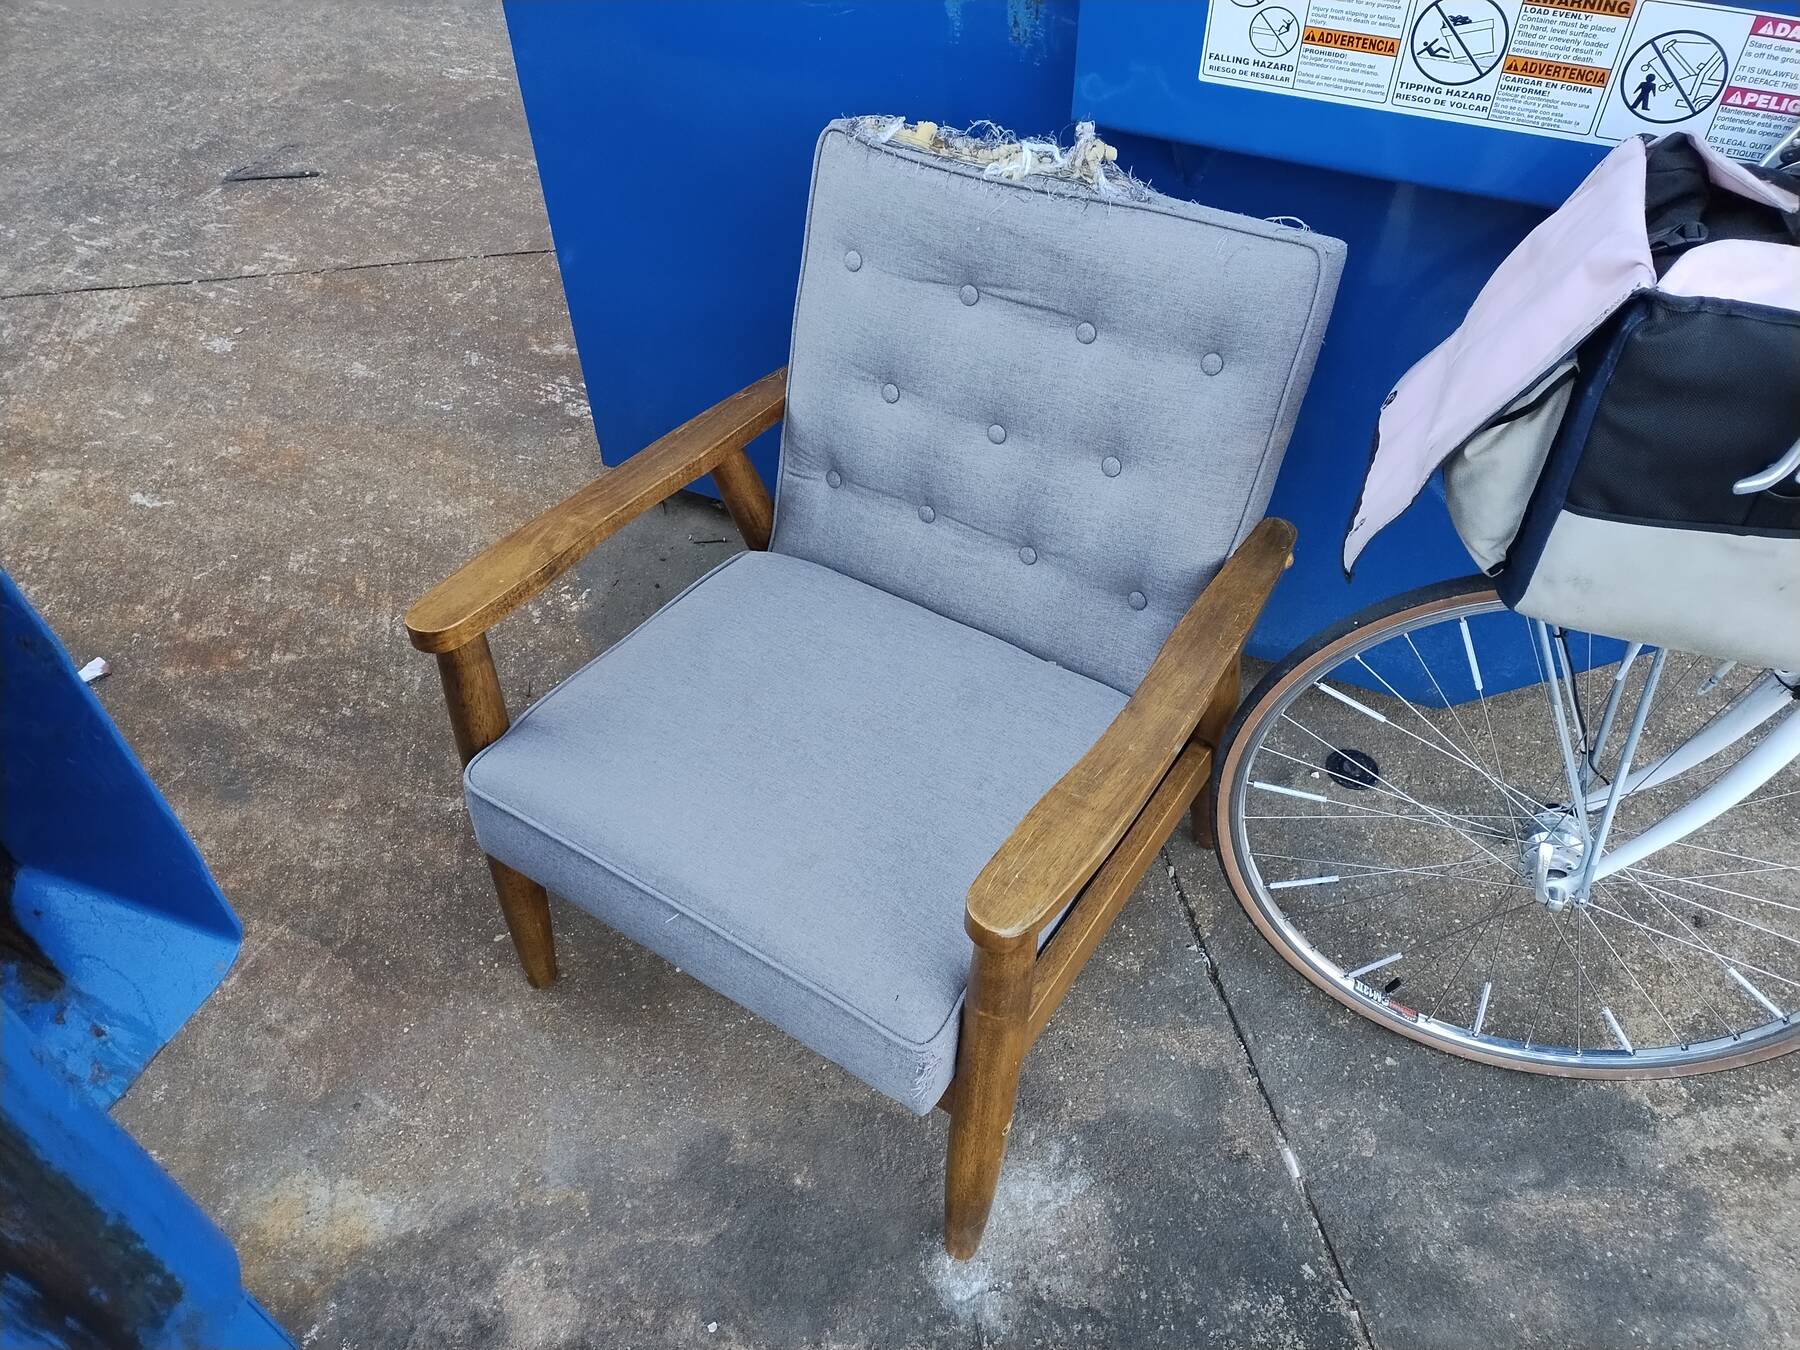
I was looking for a chair to read in. Something with arms, and a bit low down. I liked Ikea's Ekenäset.
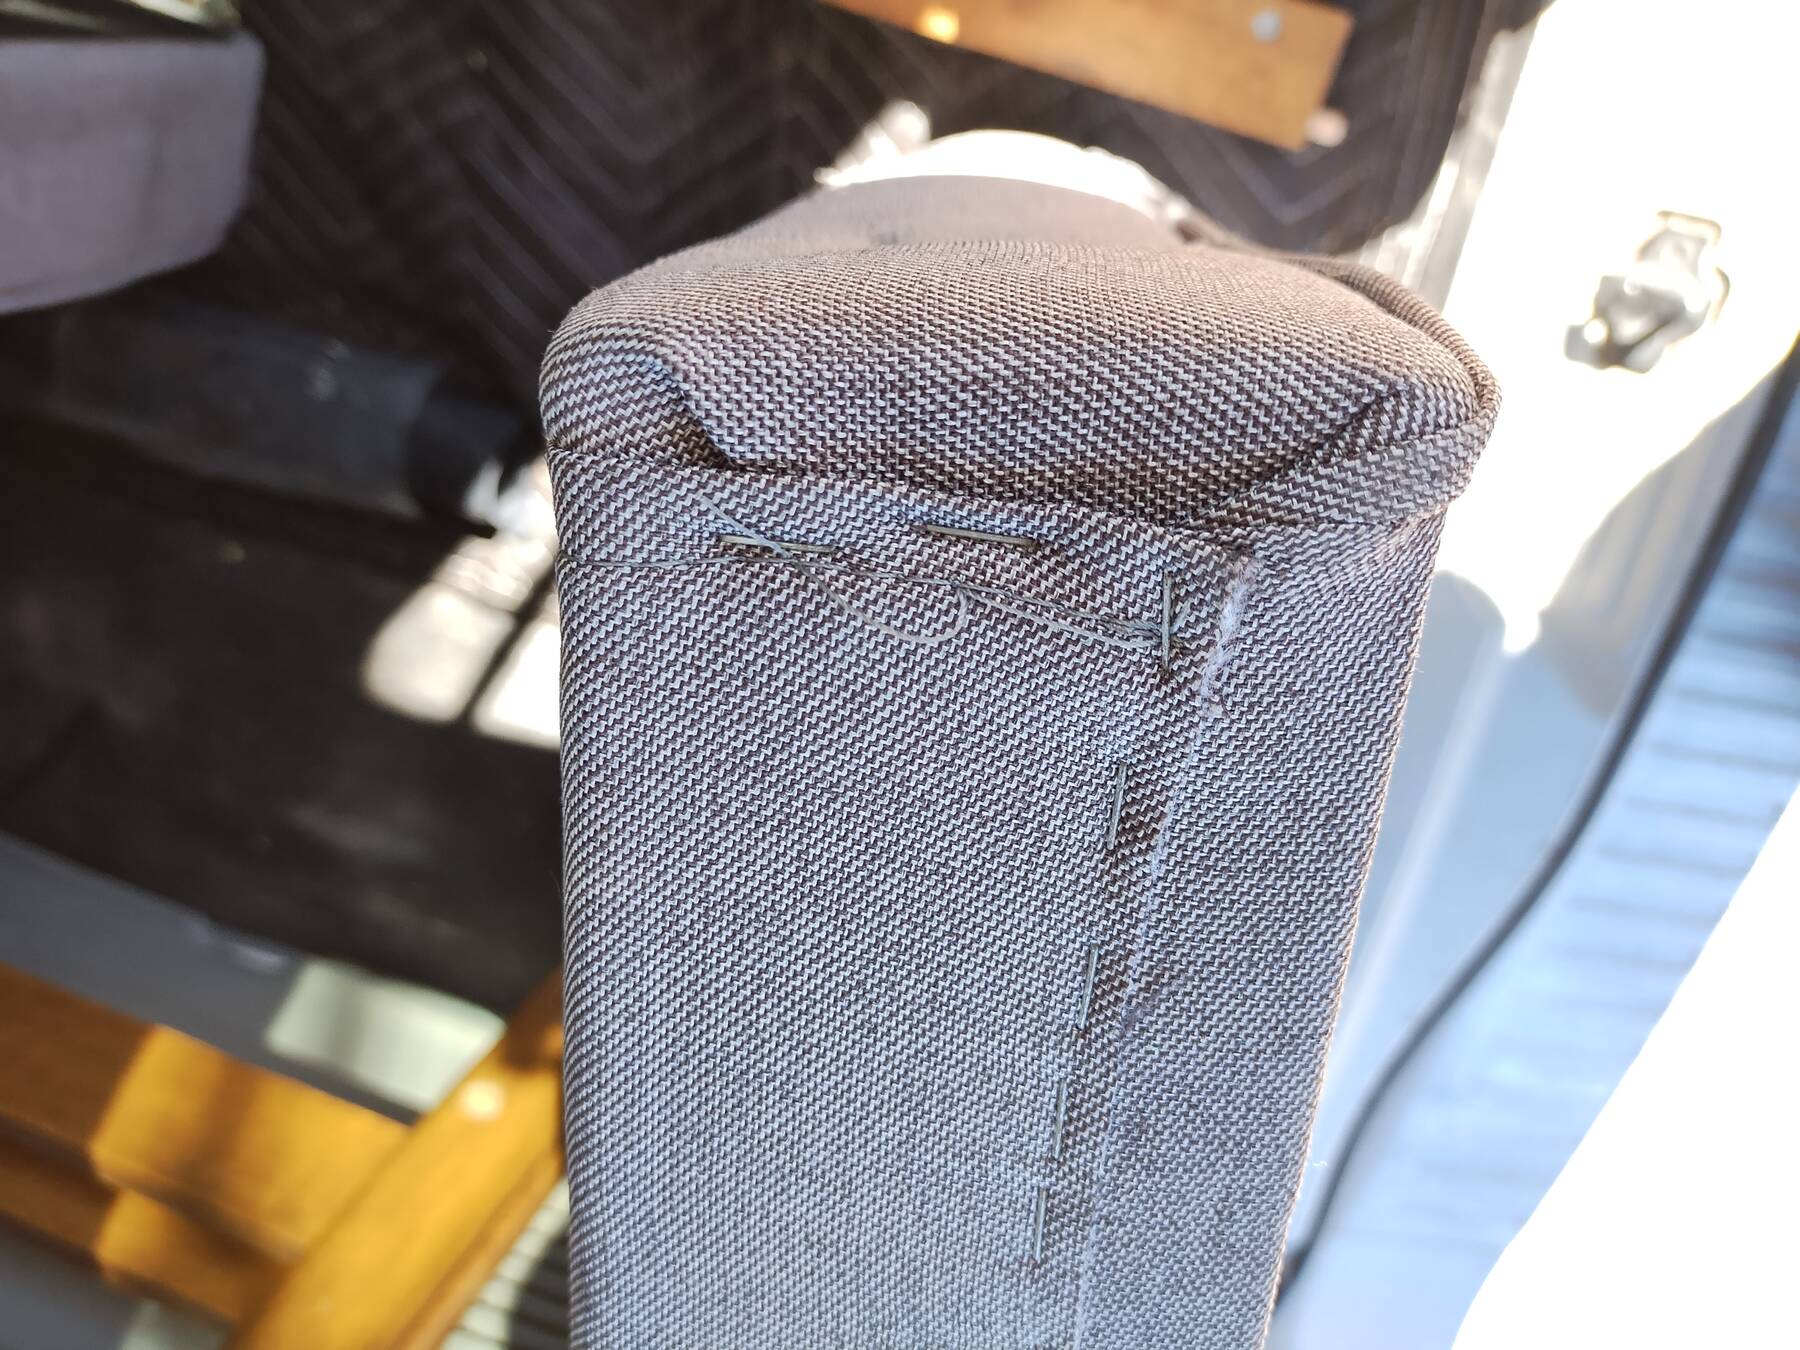
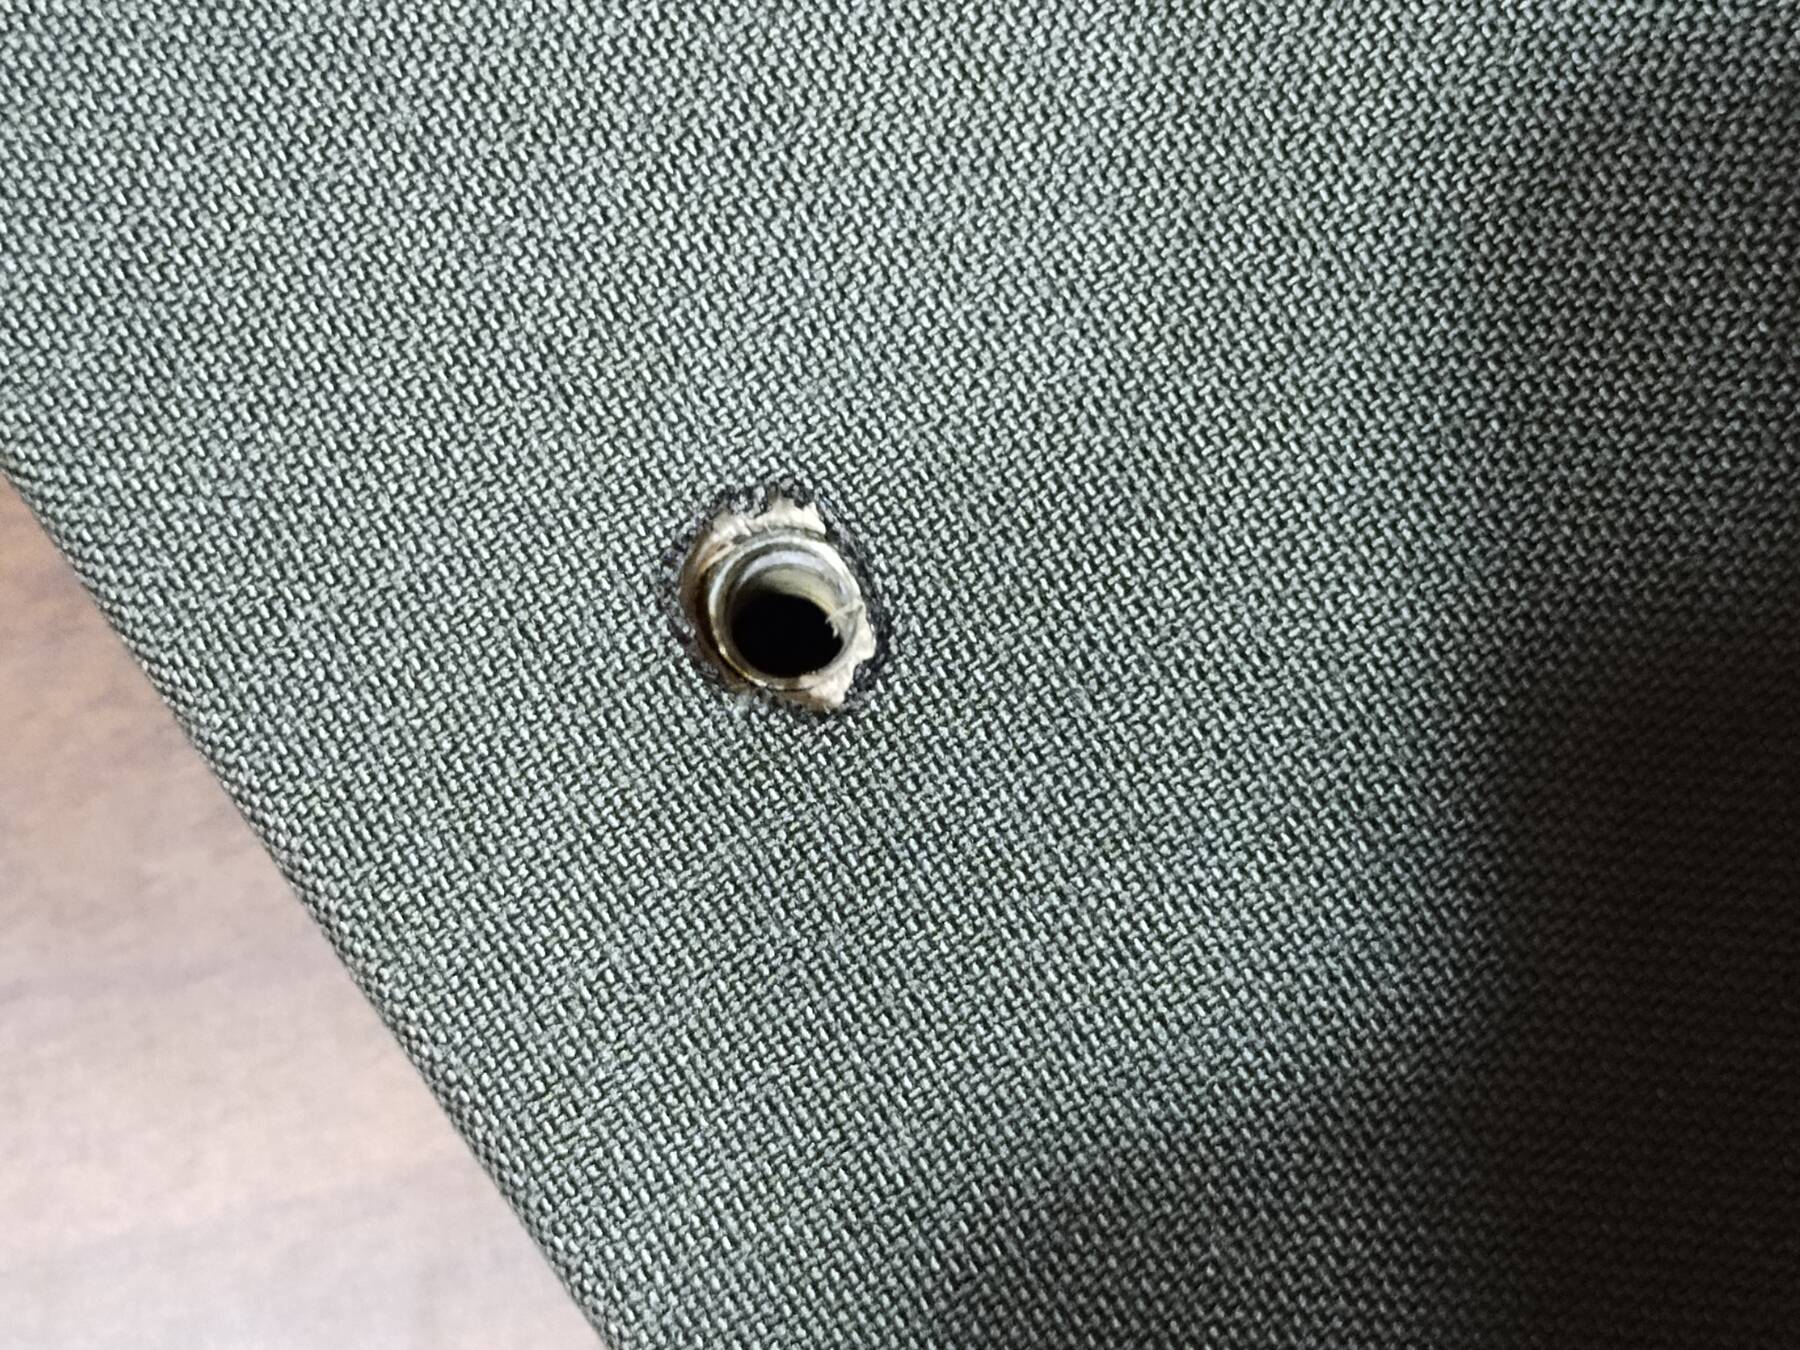
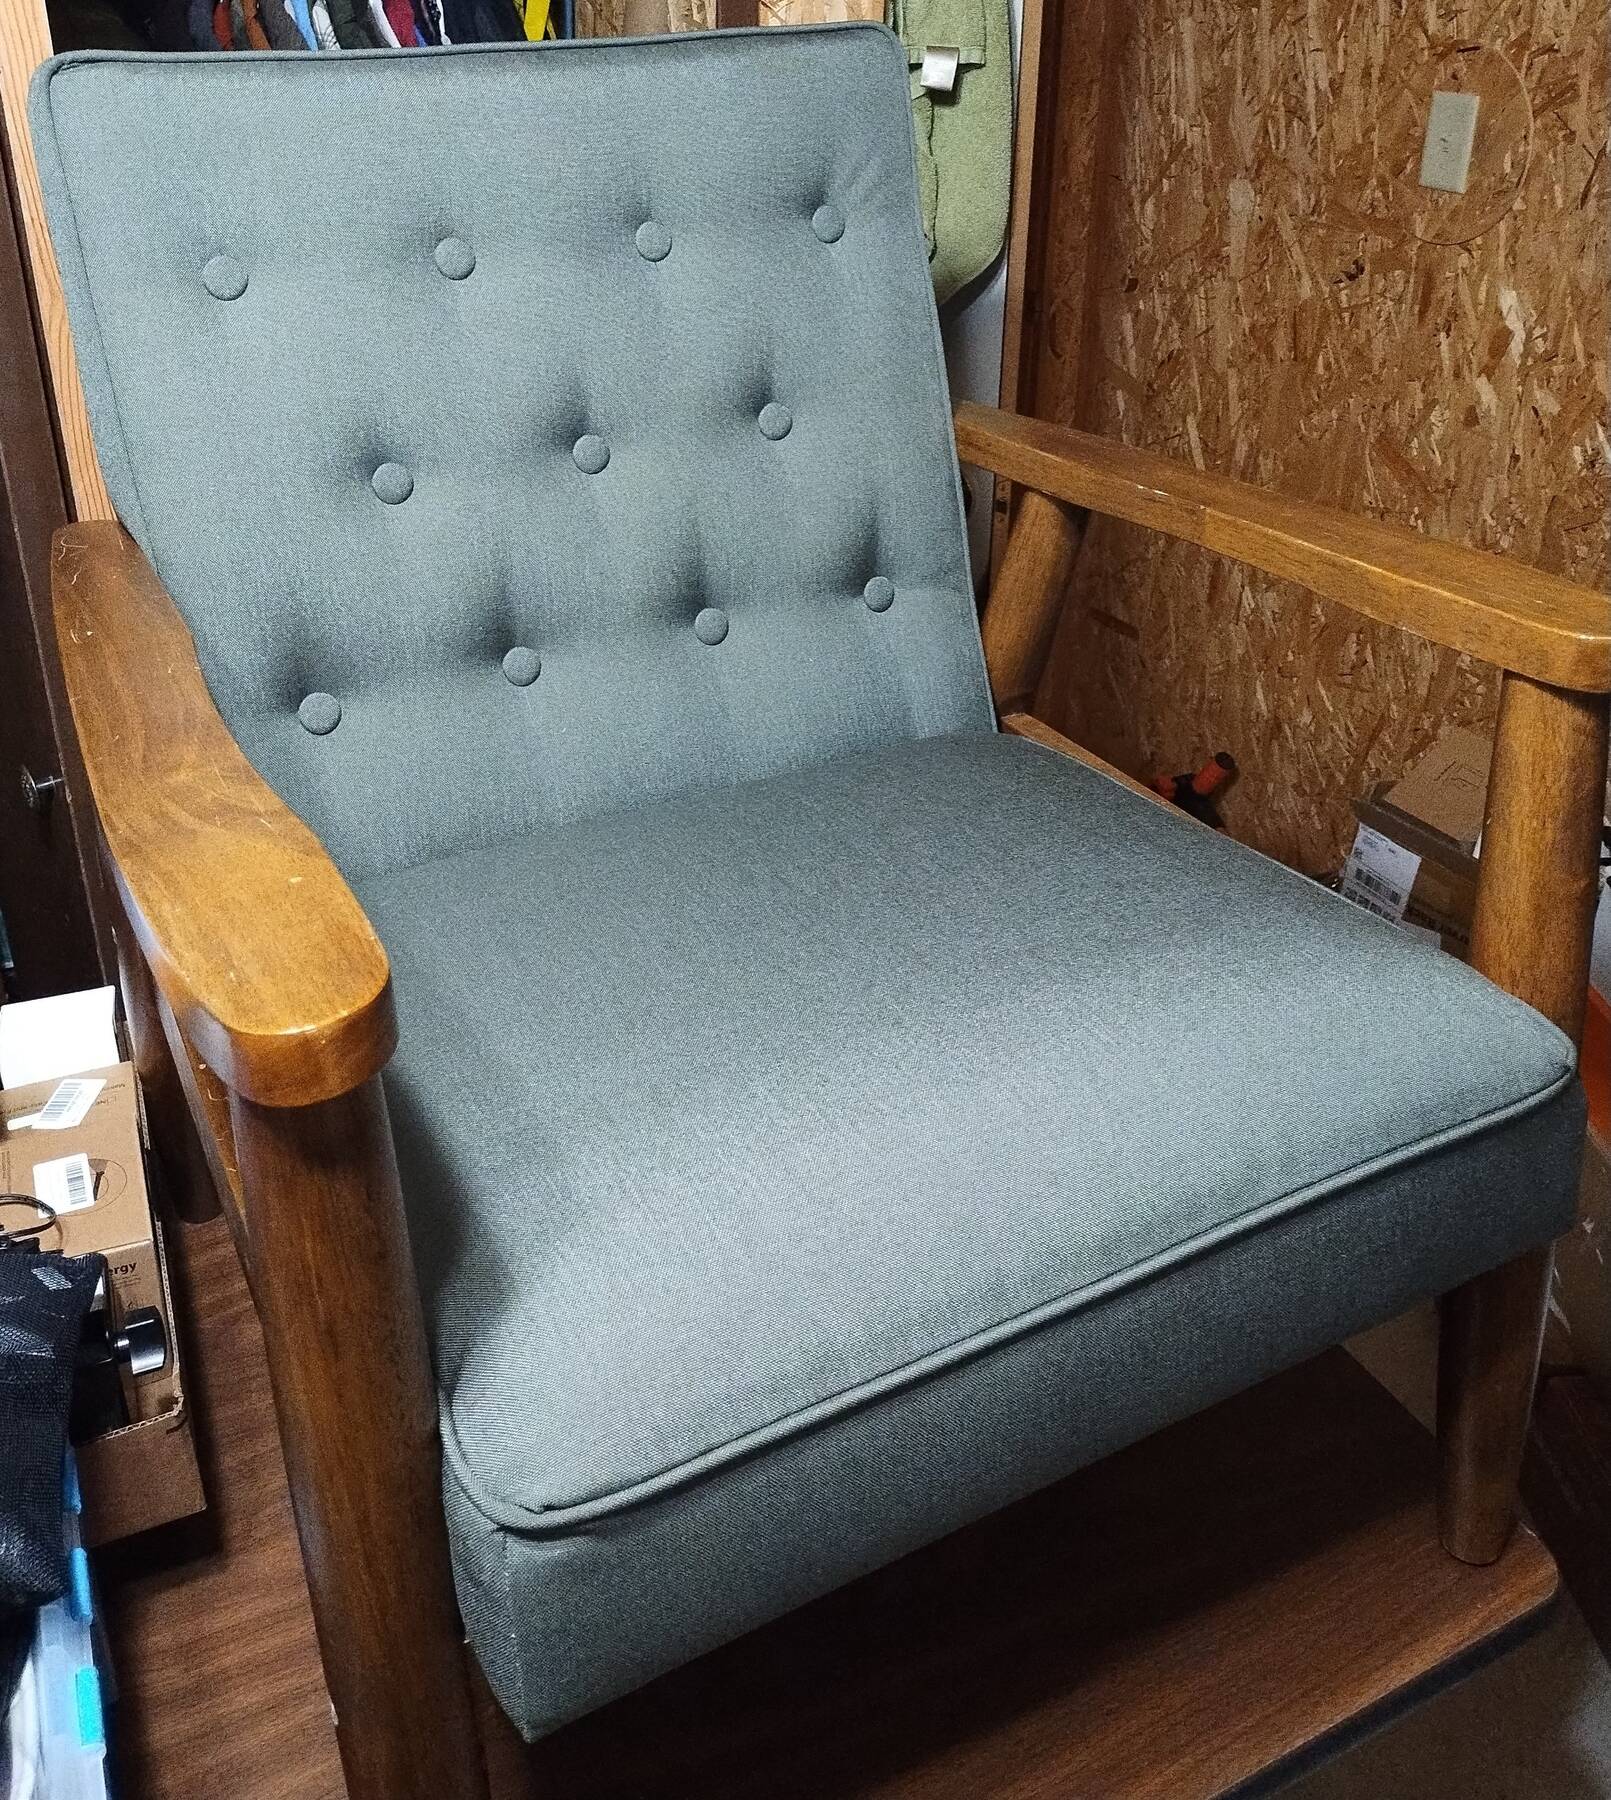
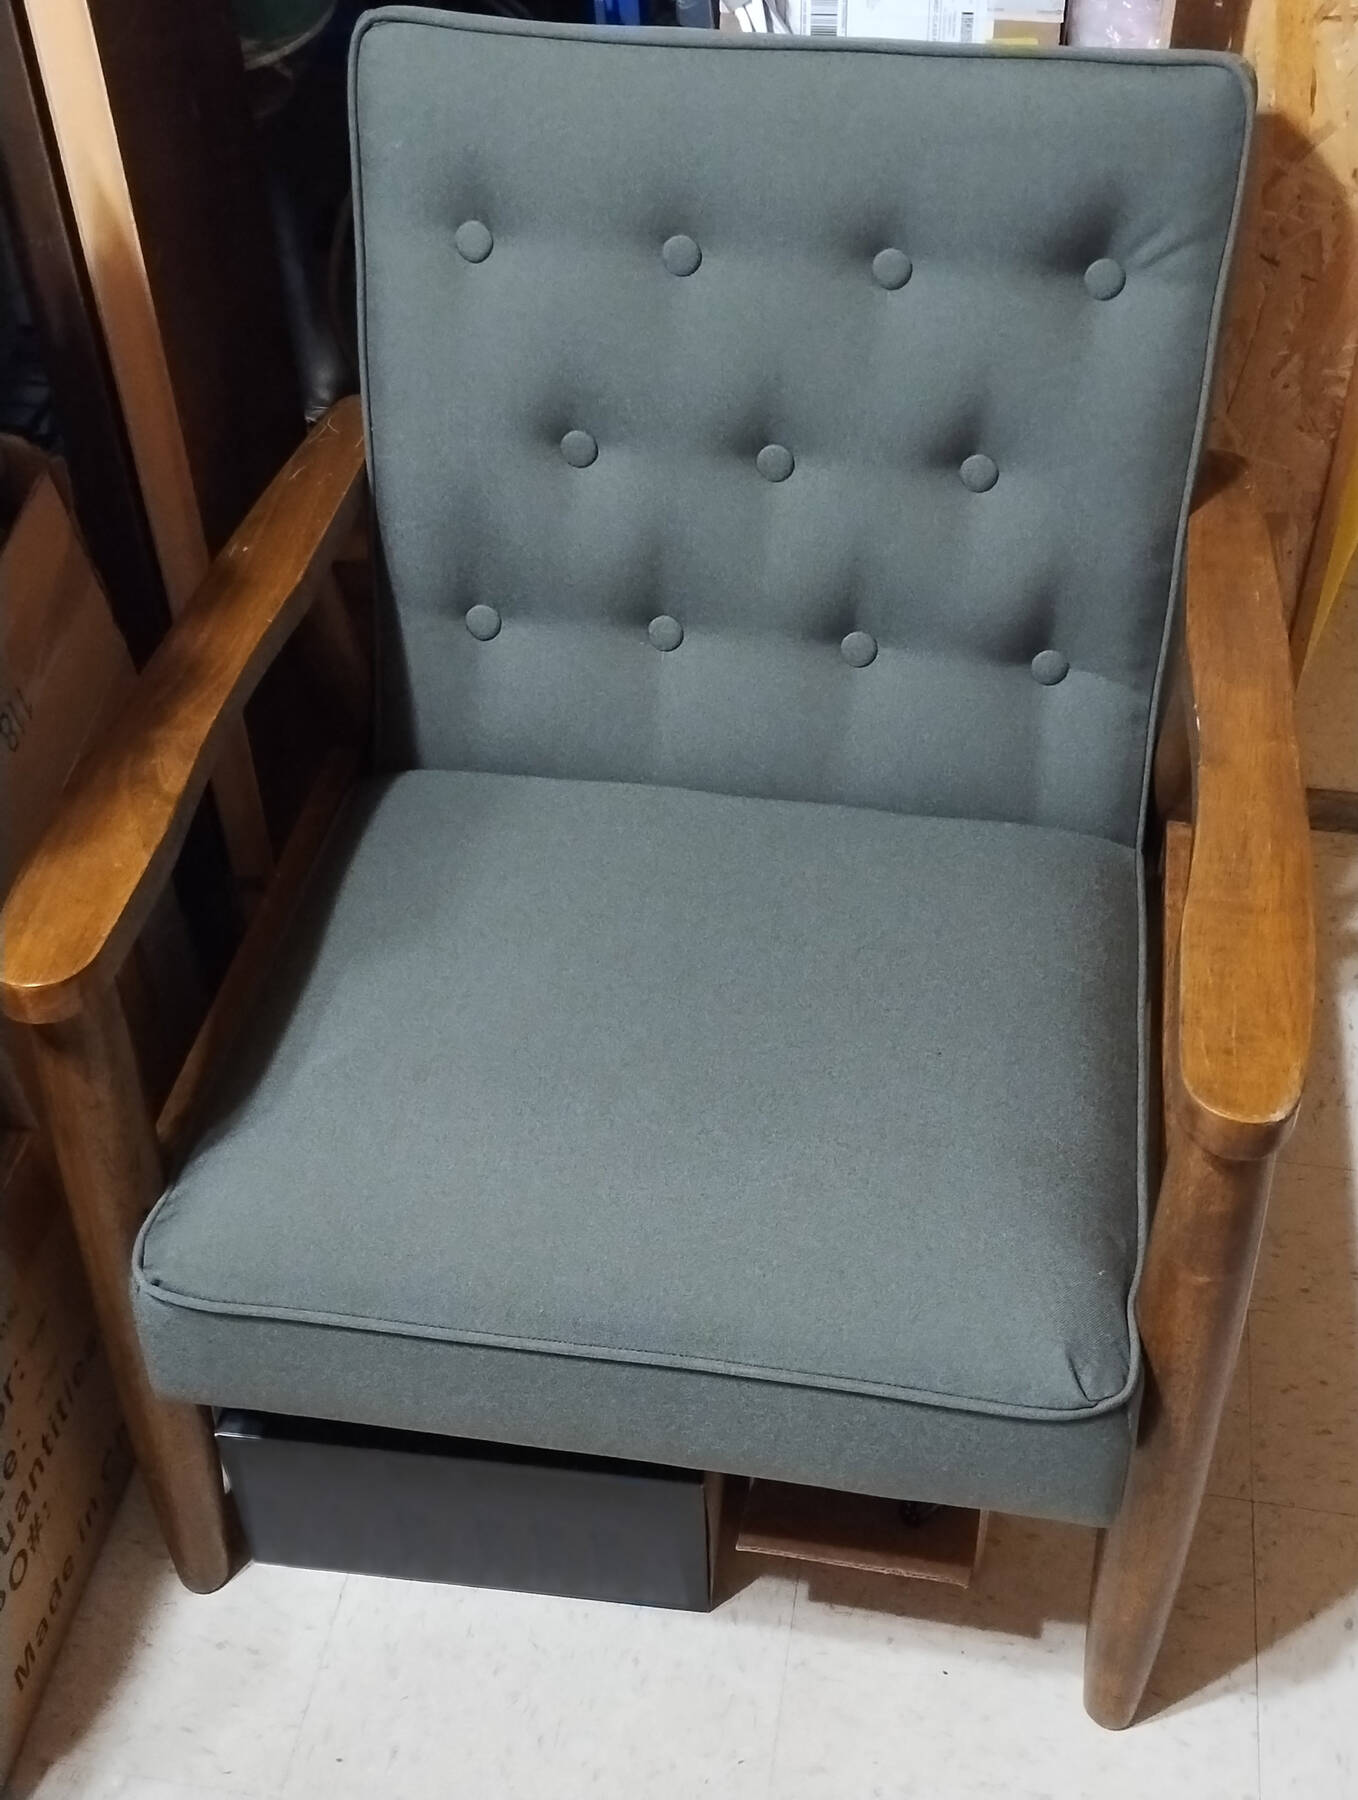
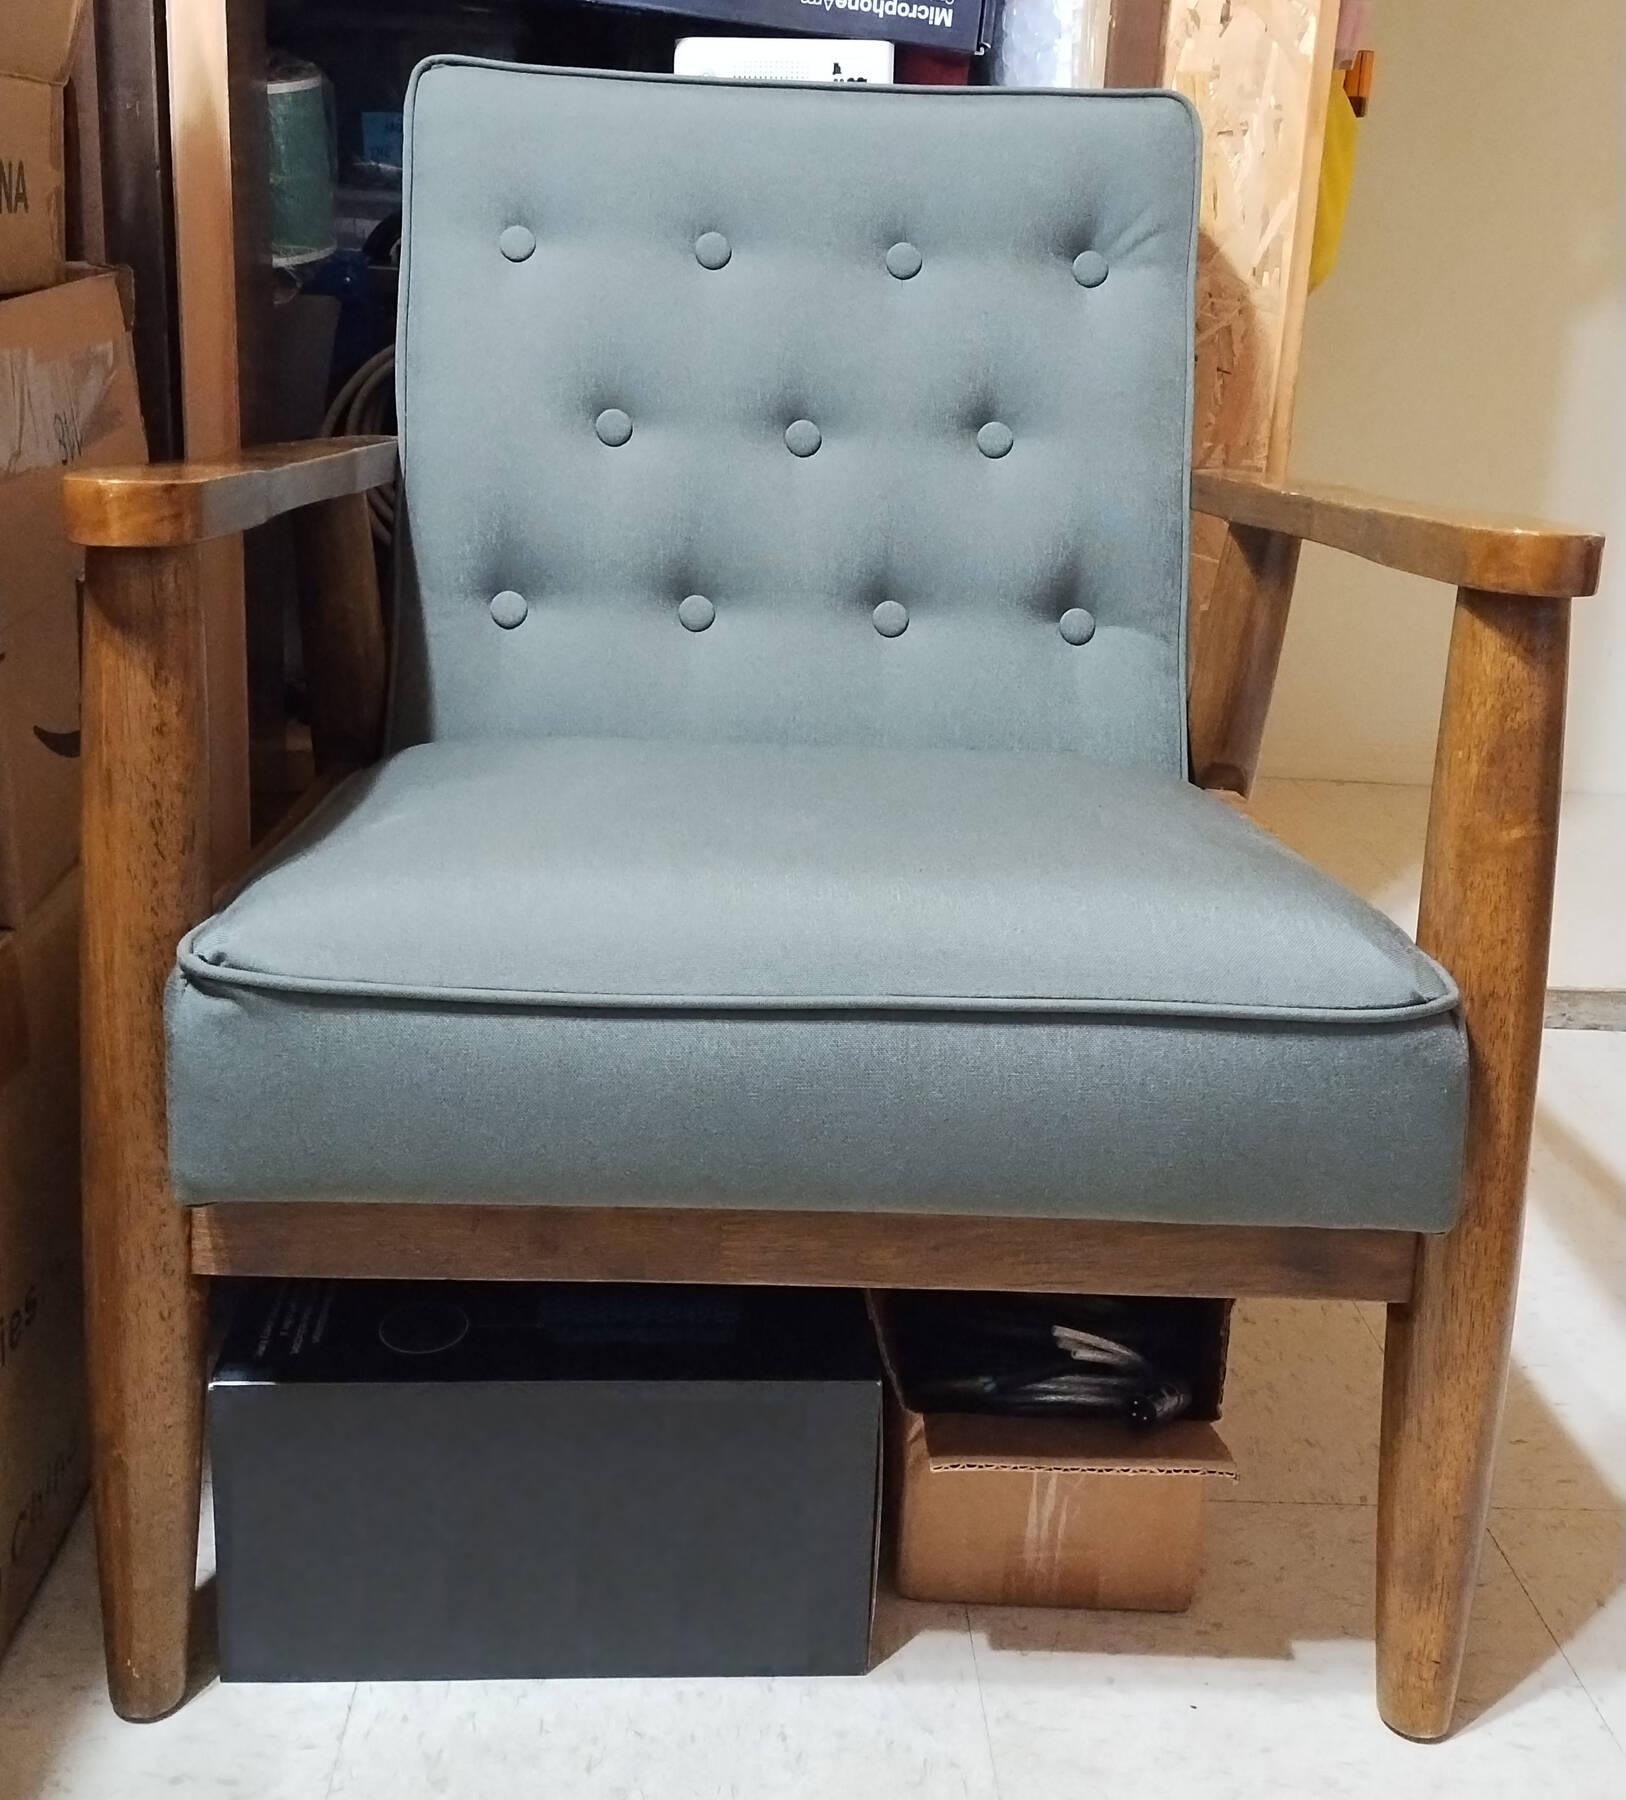
I got this trash chair from a shopping center dumpster area. The top edge had been shredded so it needed re-upholstering. I also thought it set a little bit high, and more upright than ideal so maybe that can be helped.
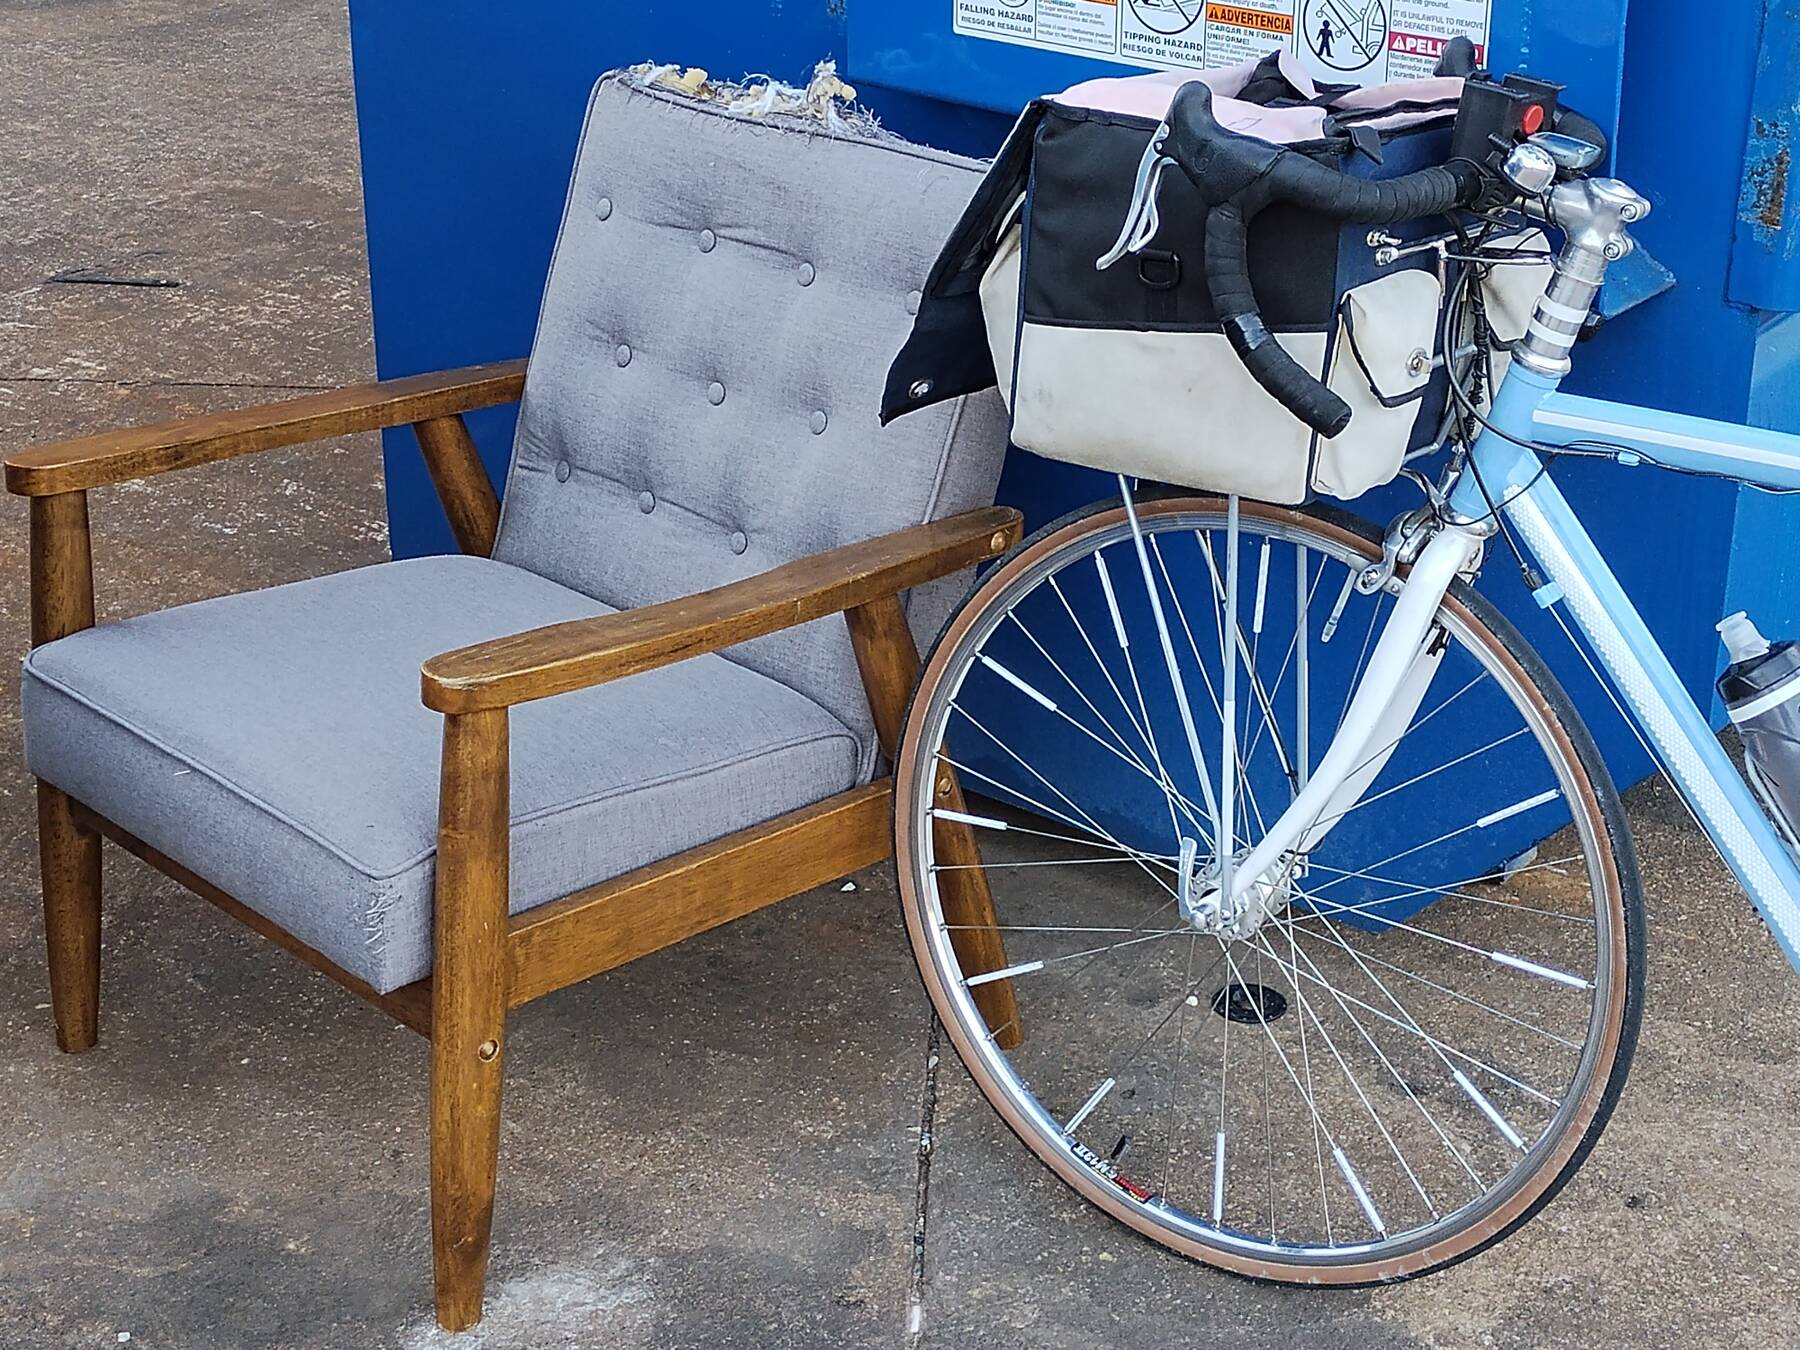
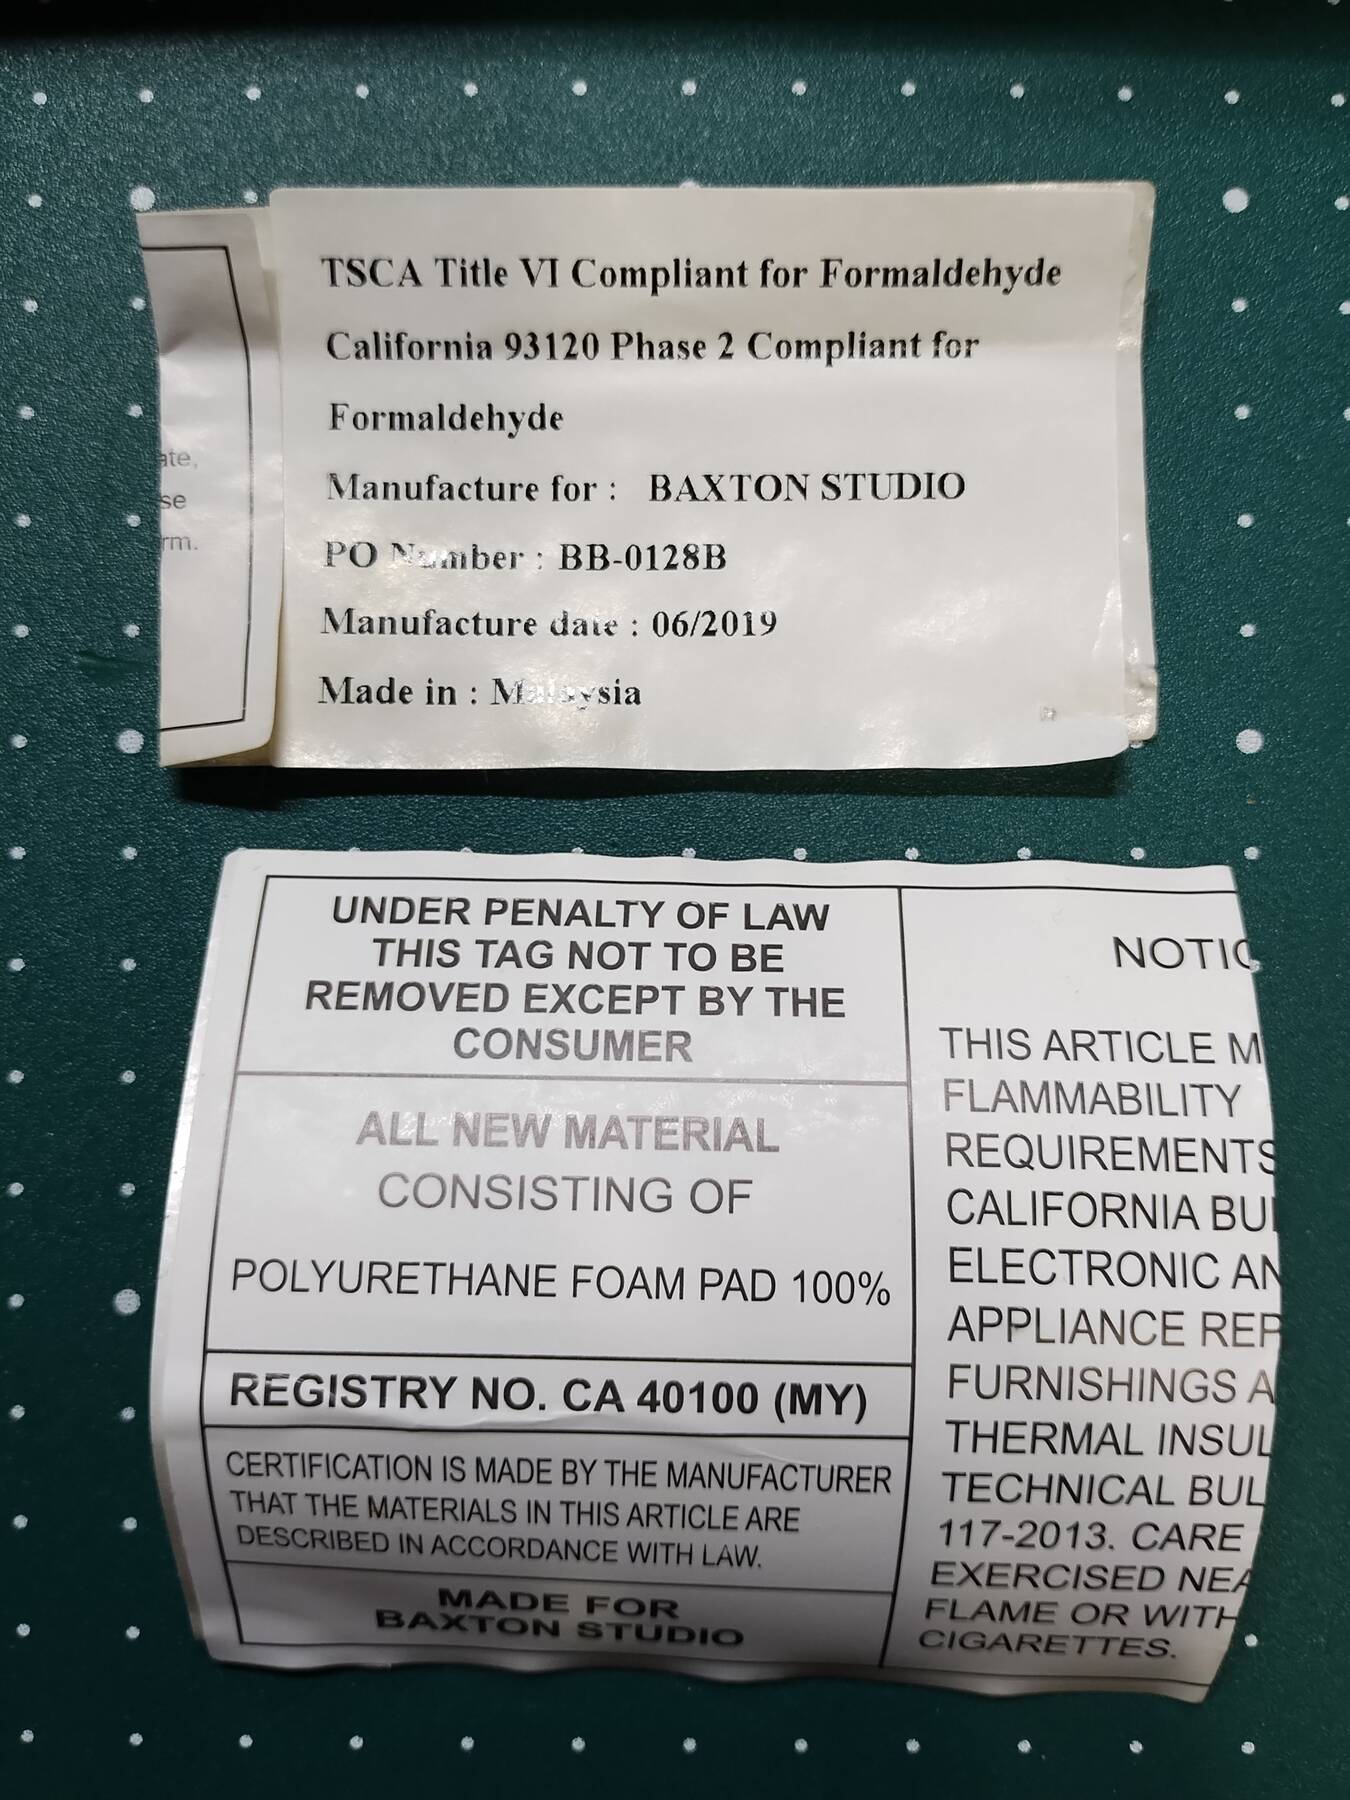

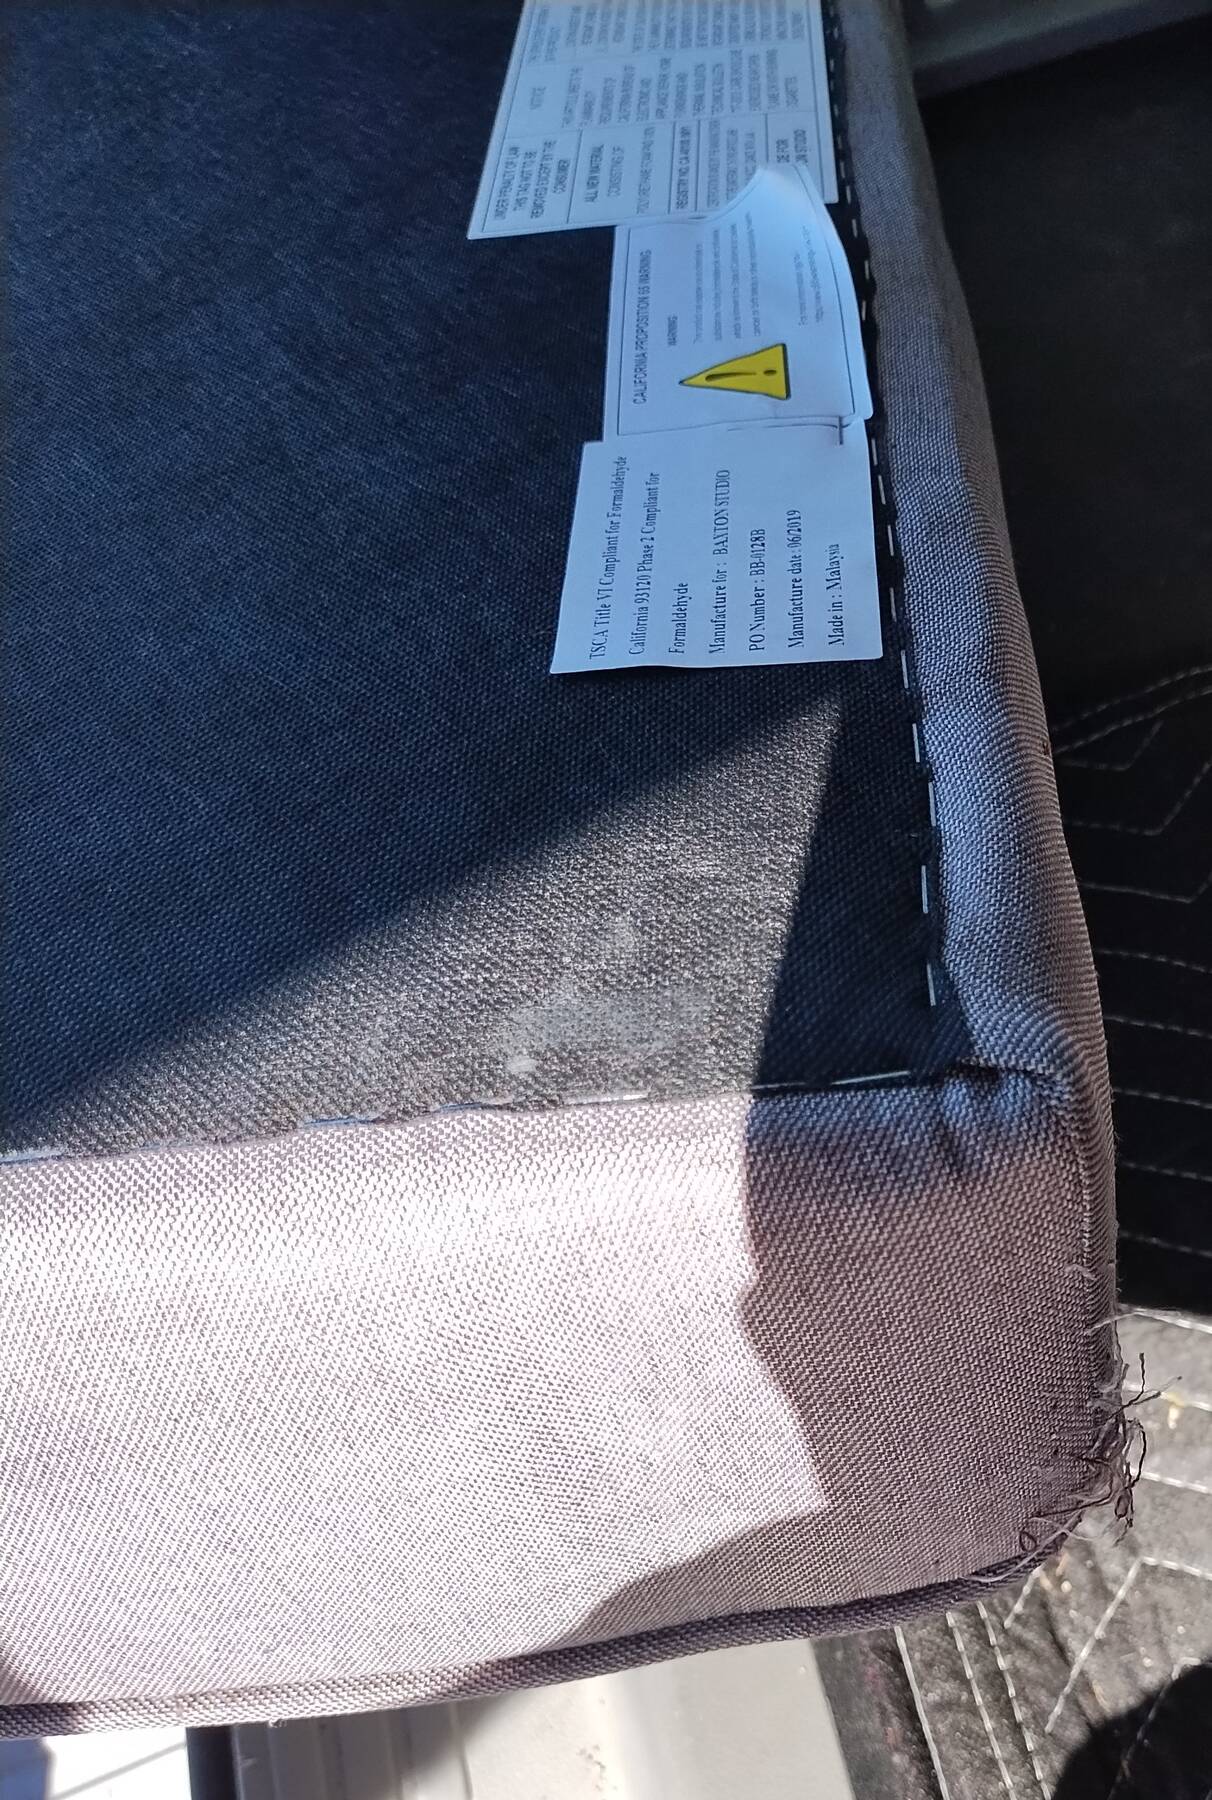
It is marked as made for 'Baxton Studio'. Made in 2019, PO Number BB-0128B. I found it sold as 'Sorrento Mid-Century Gray Fabric Upholstered Accent Chair'. Seems to hover around 130 USD.
Disassembly
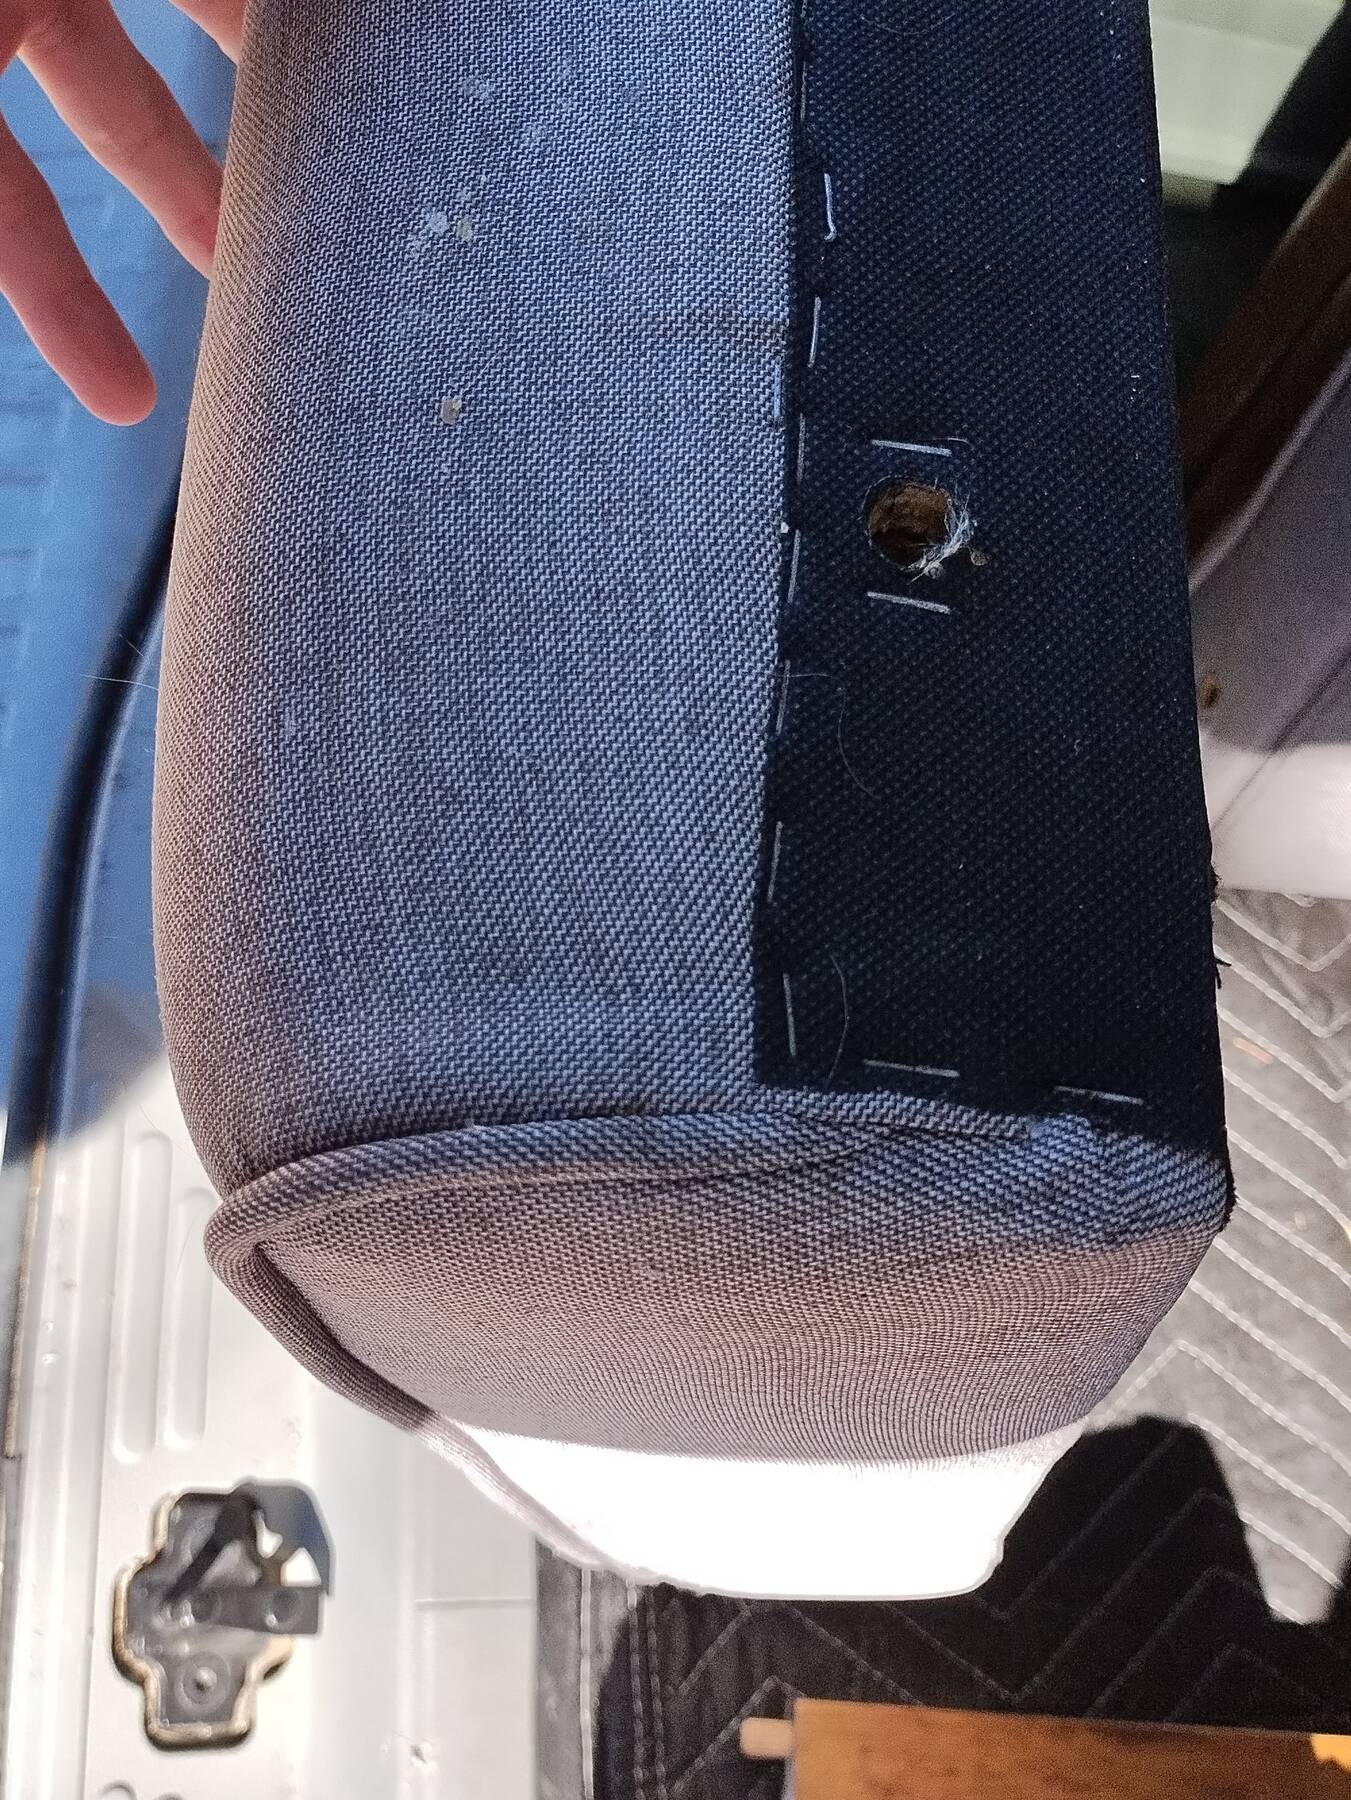
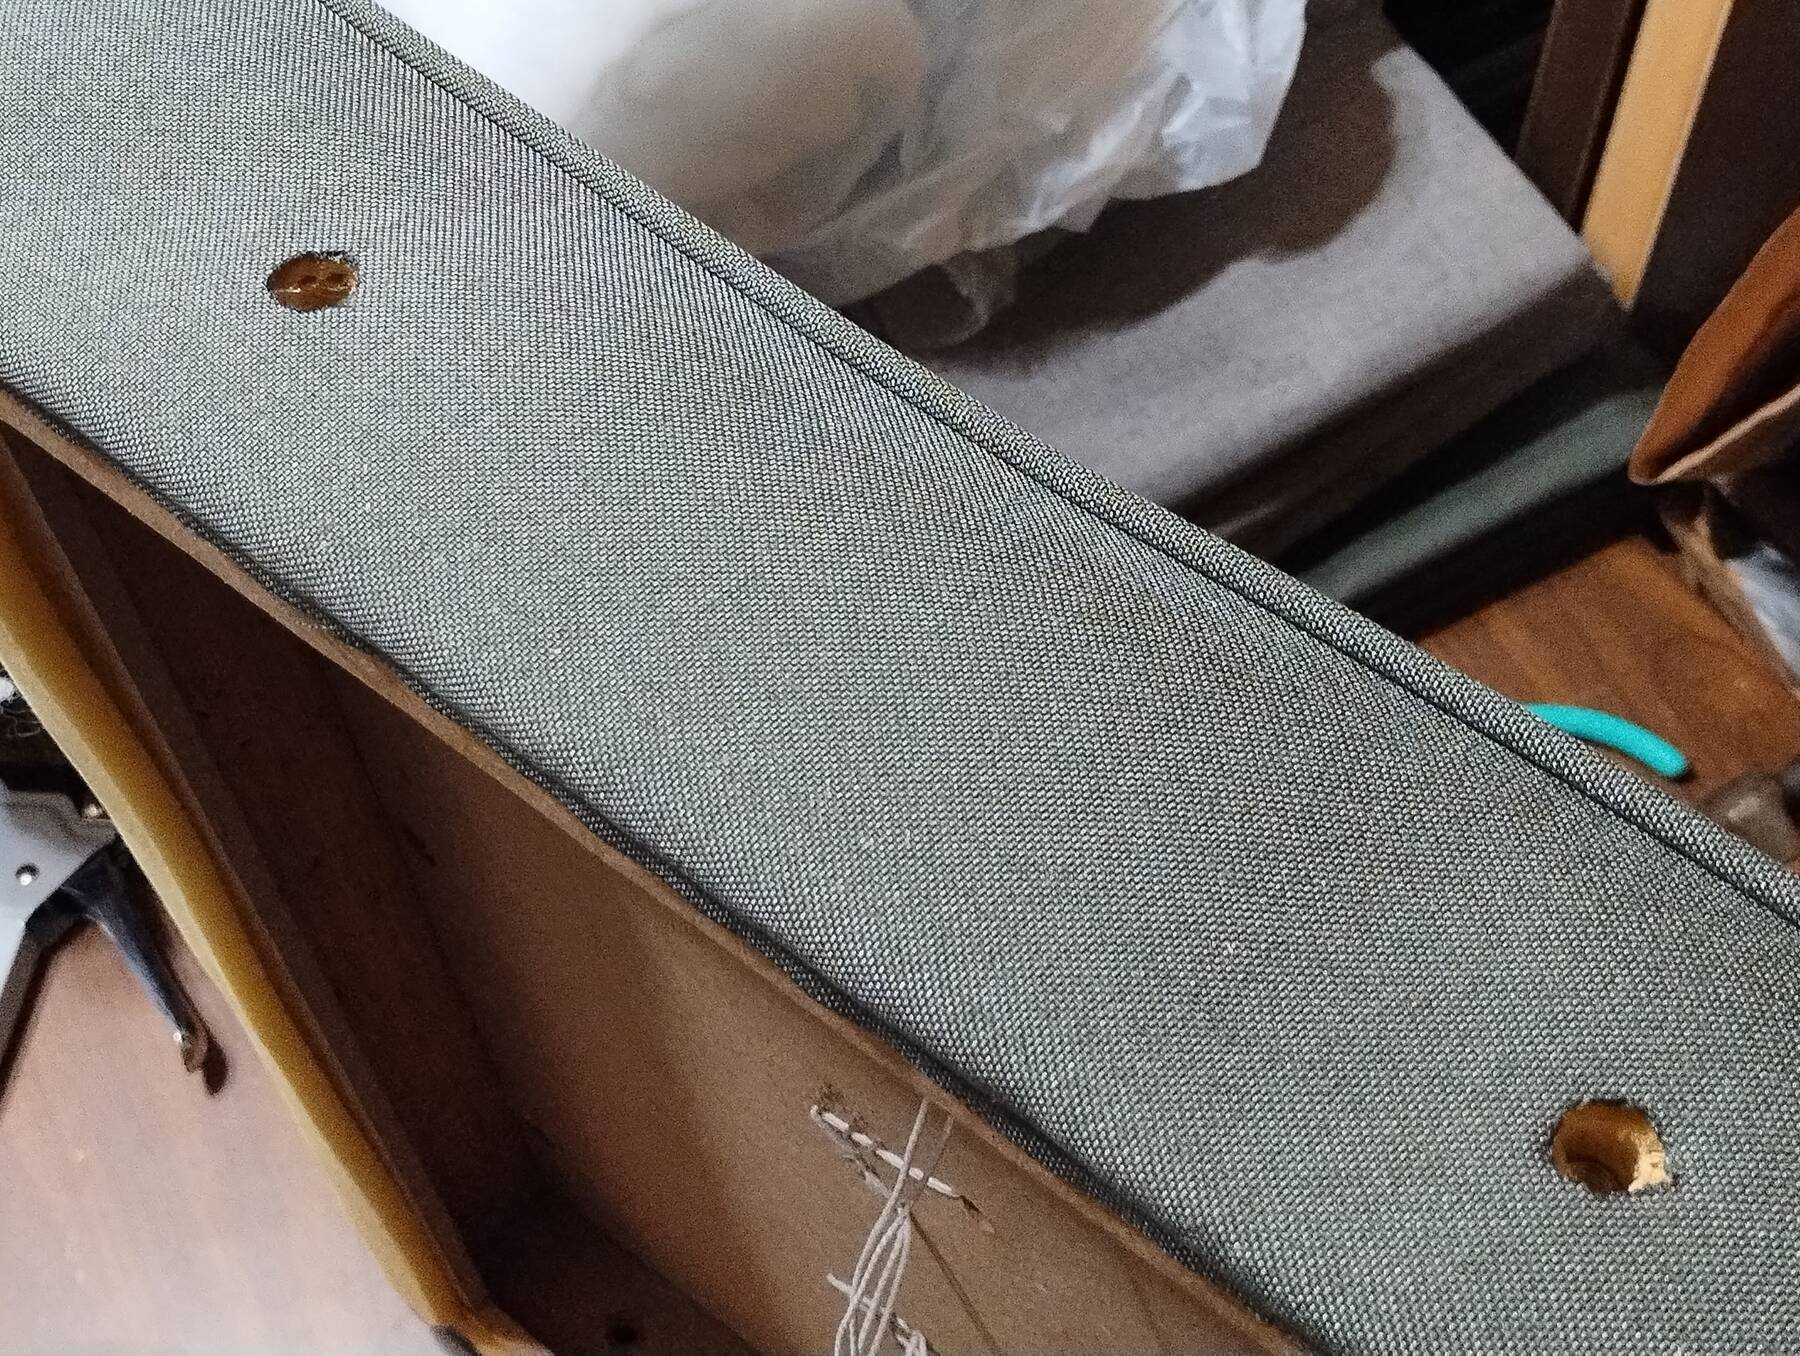
I took it to bits, and removed all the staples to get the fabric off.
I took copious photos of everything to note how it was assembled, where screws go, and other details. Most of those aren't here.
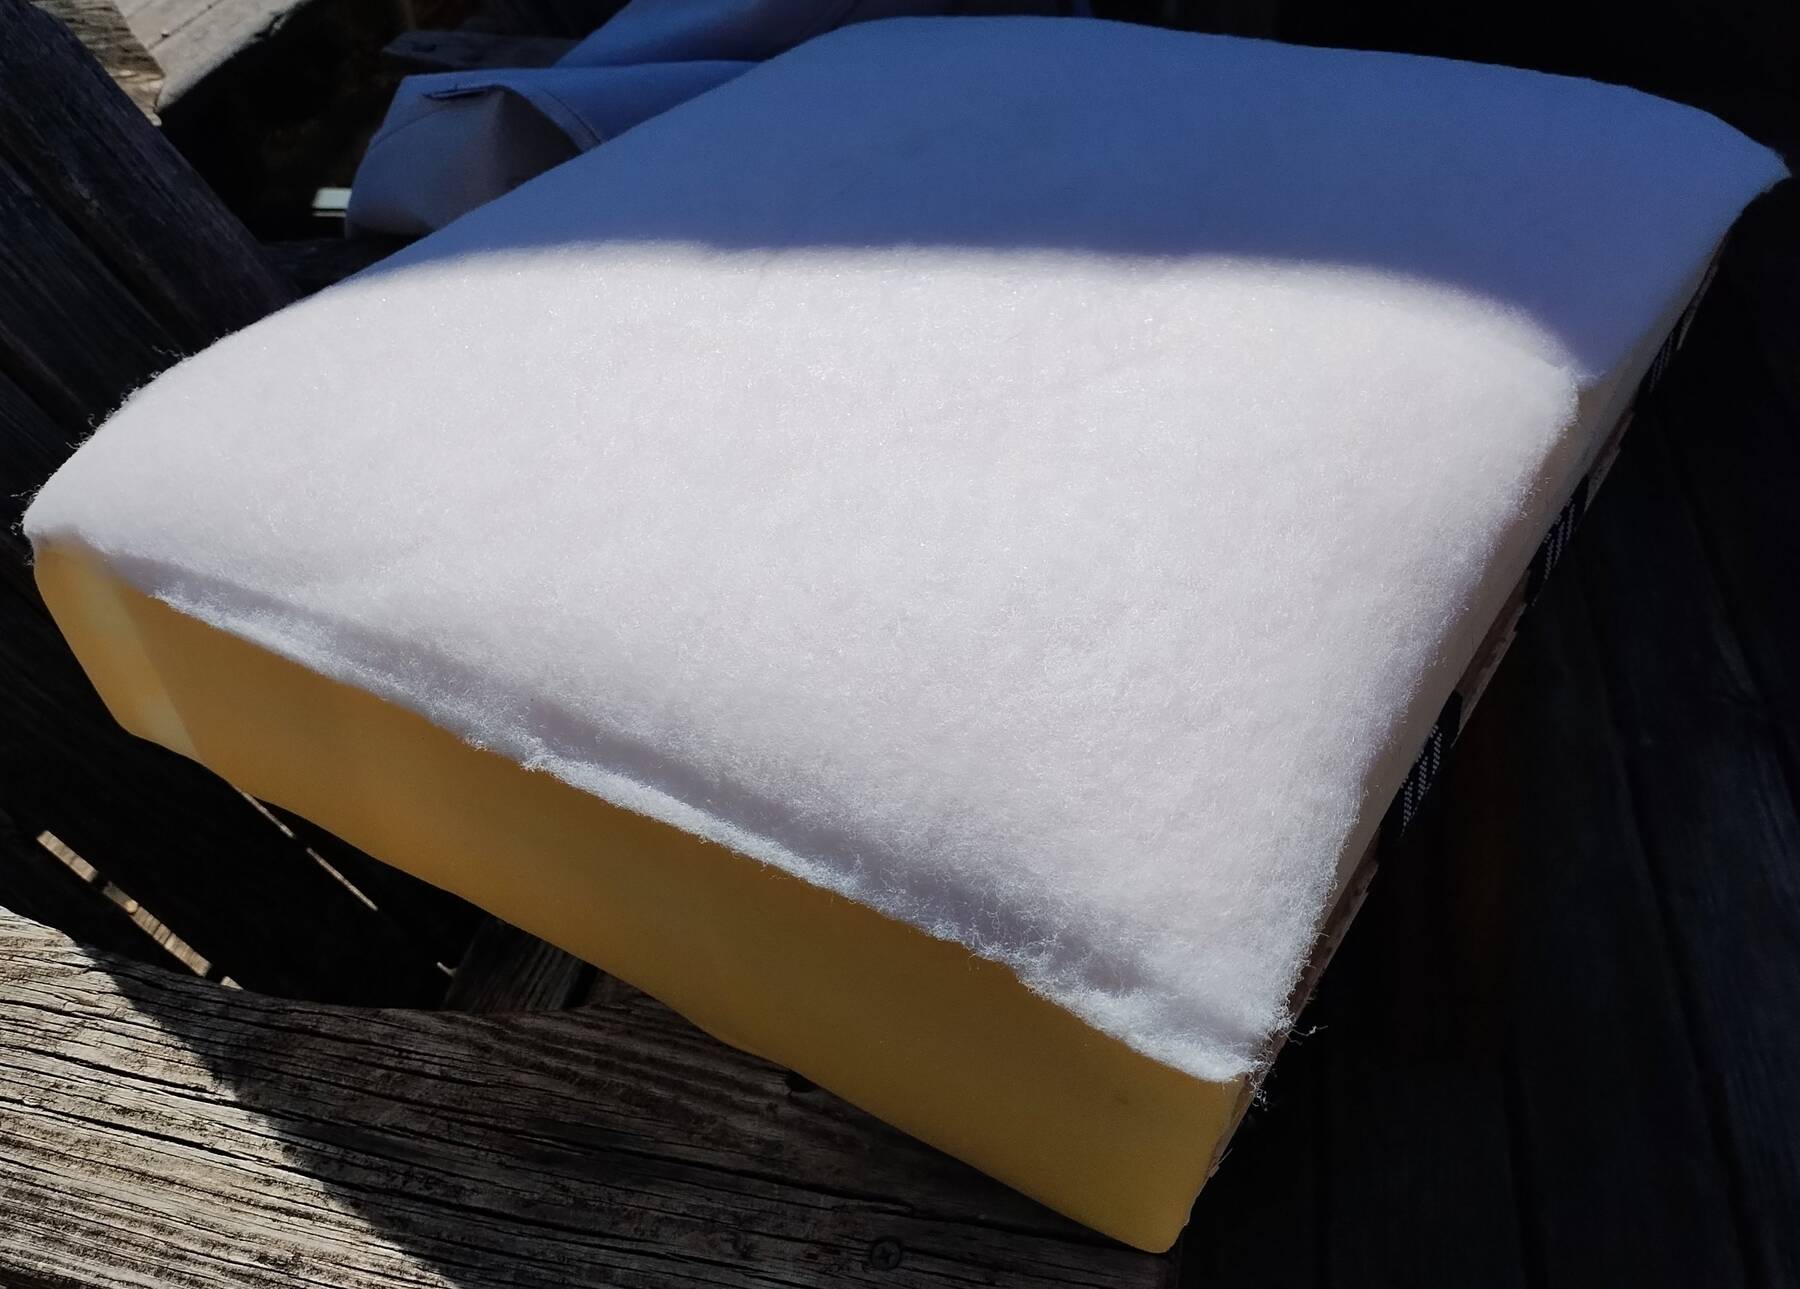
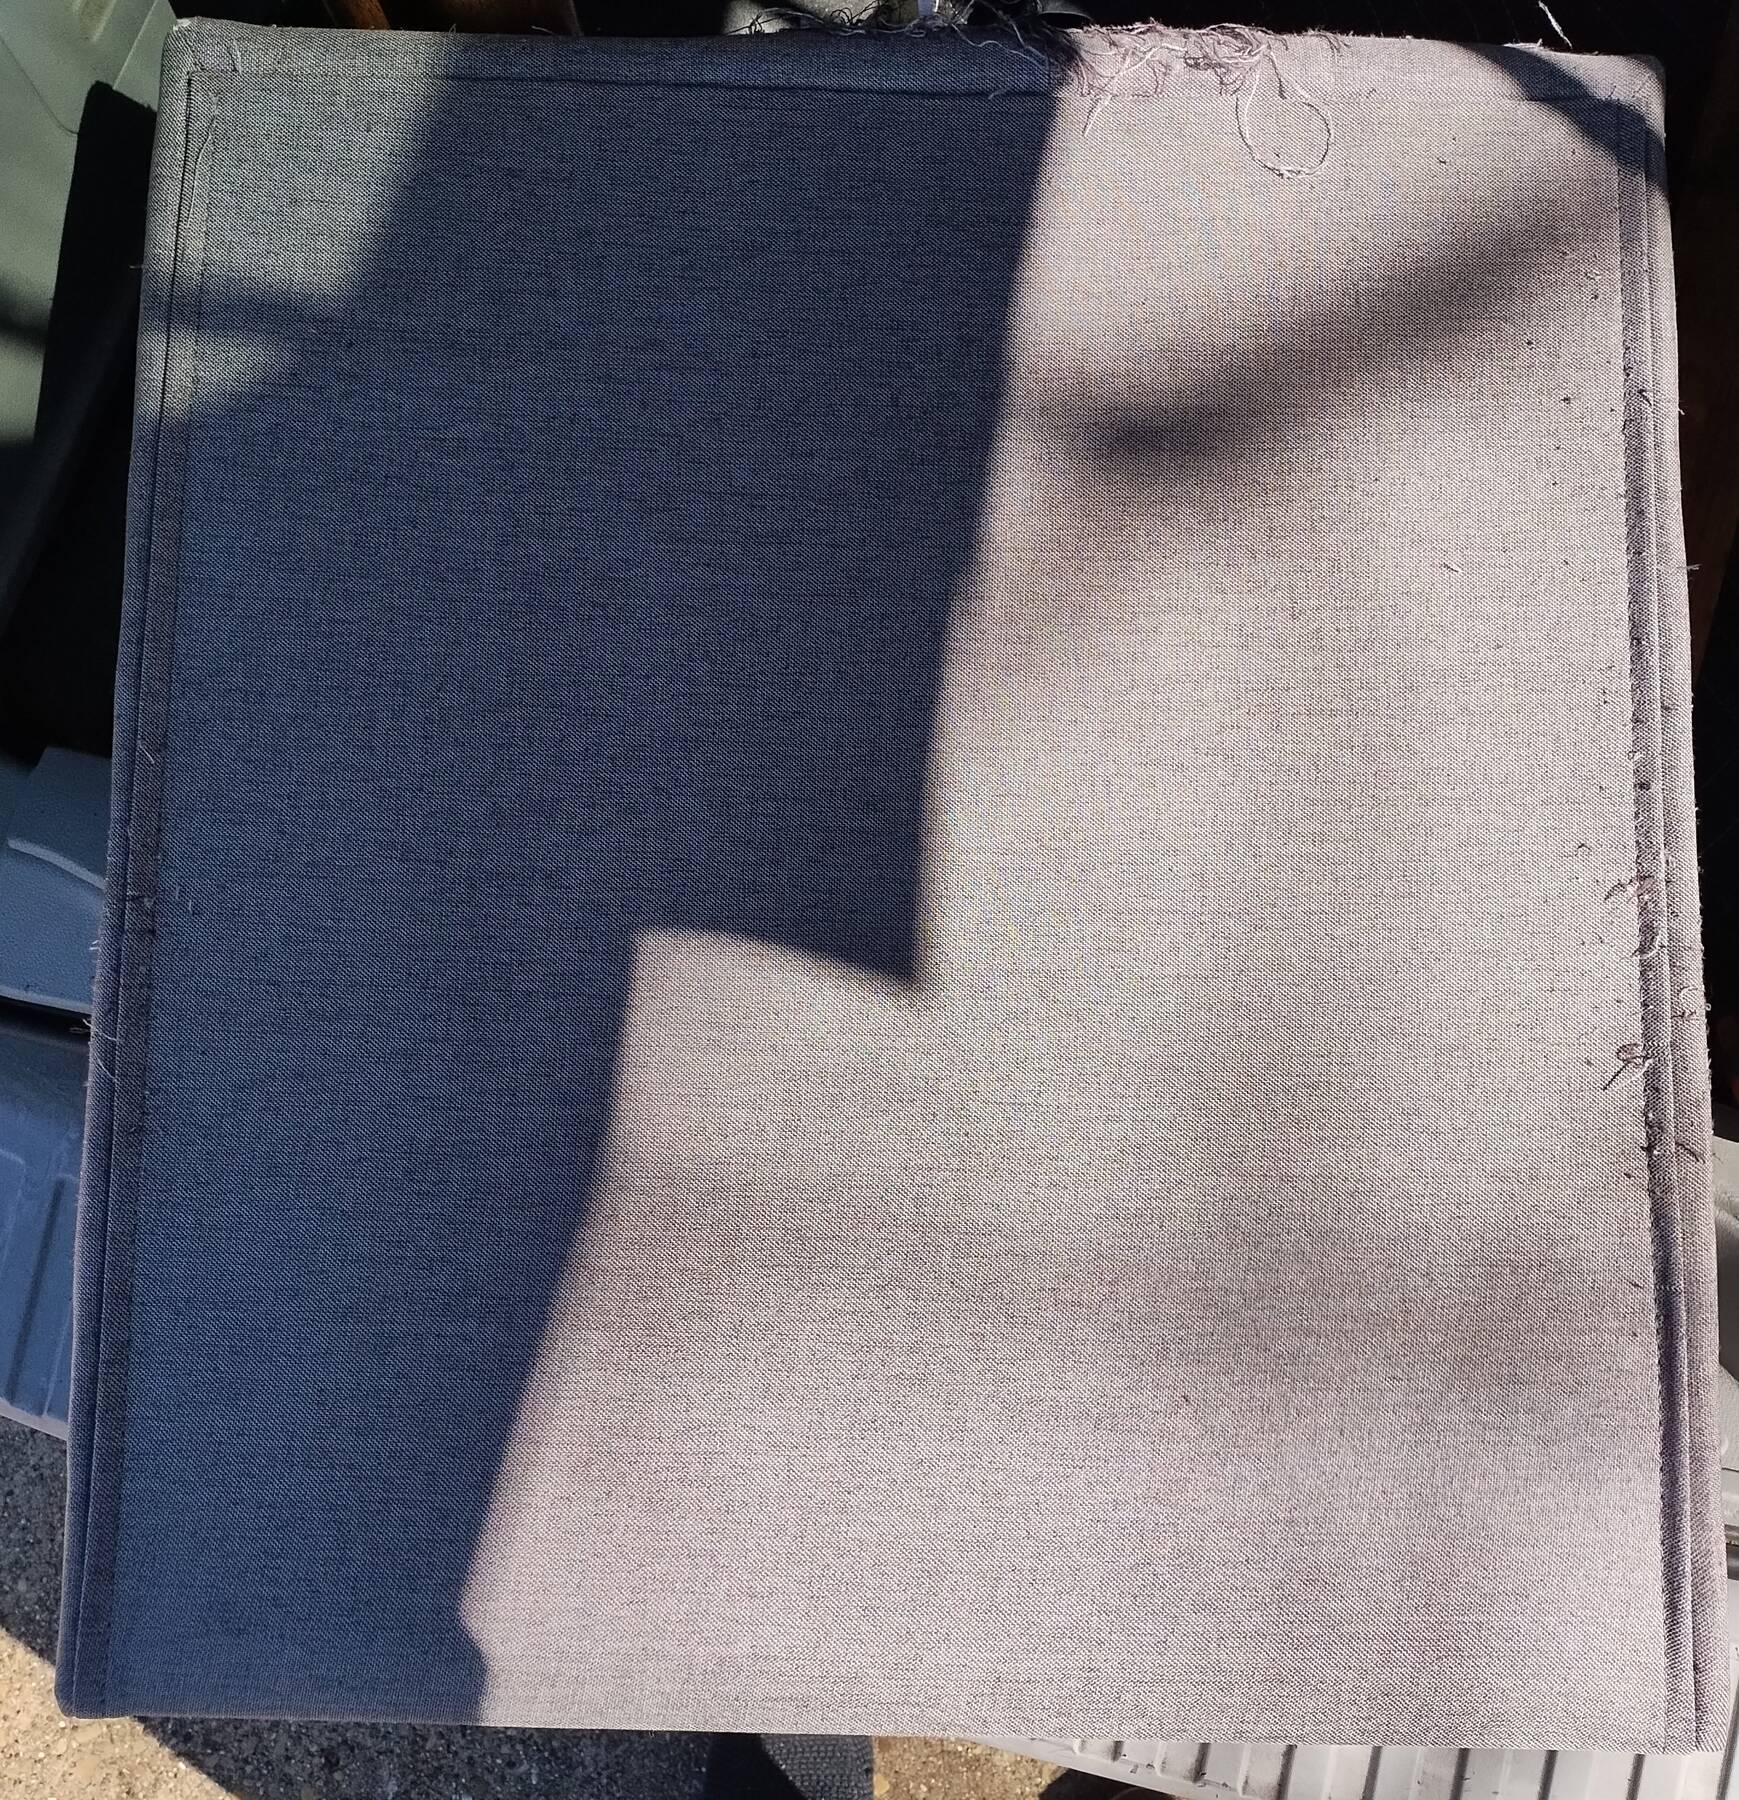
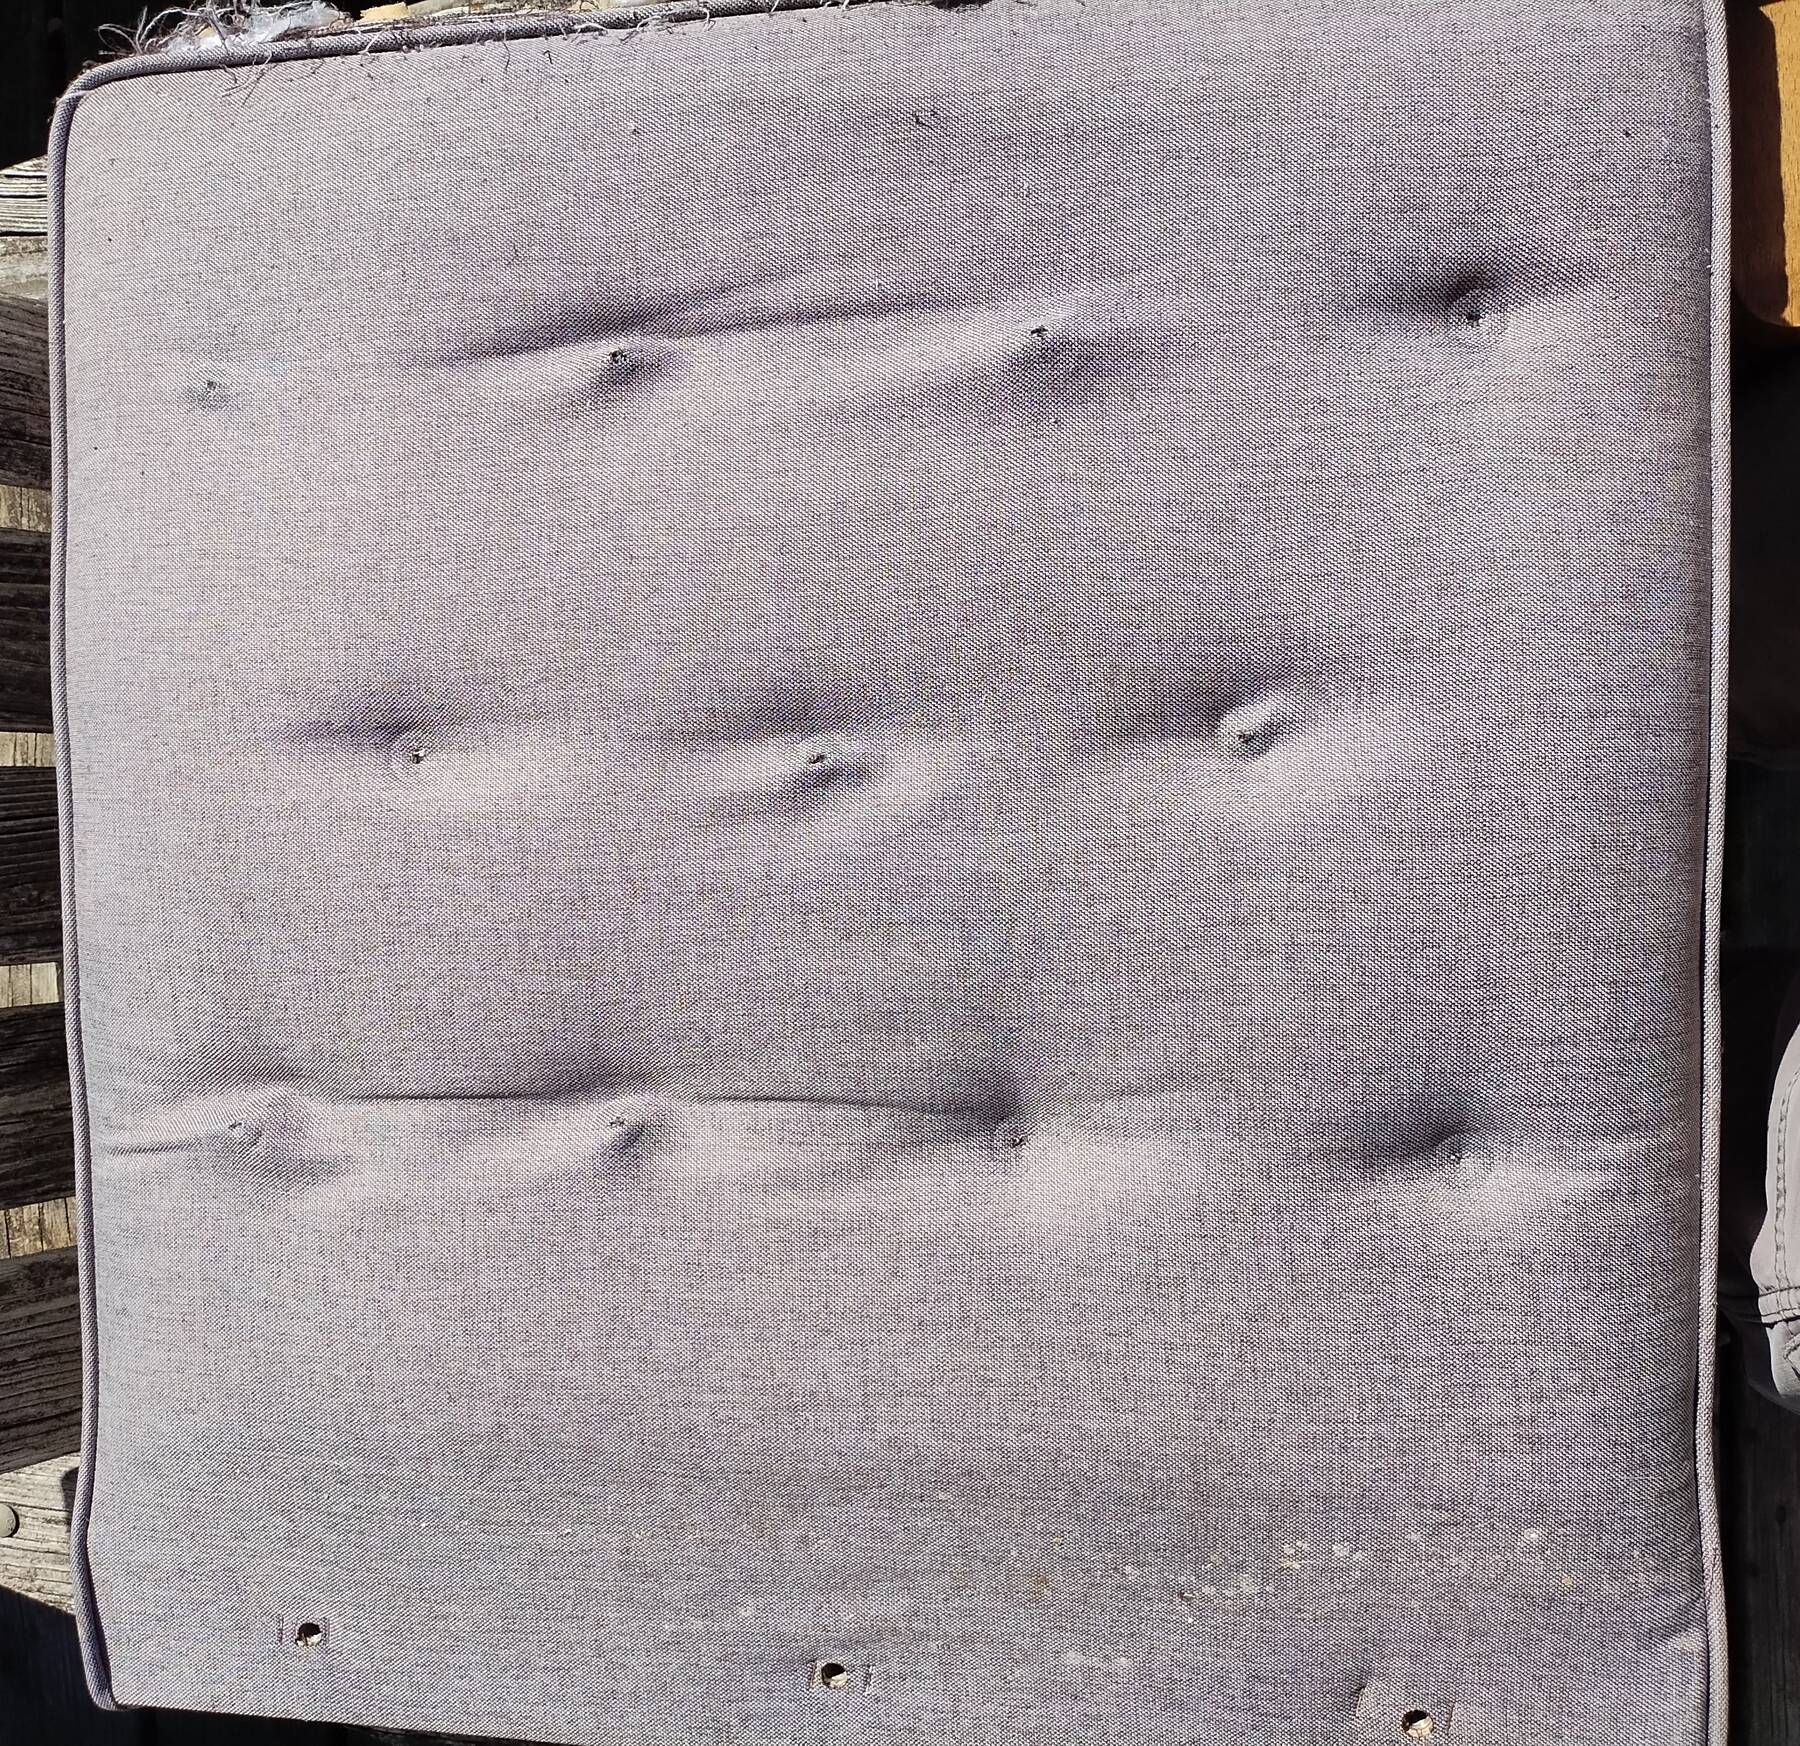
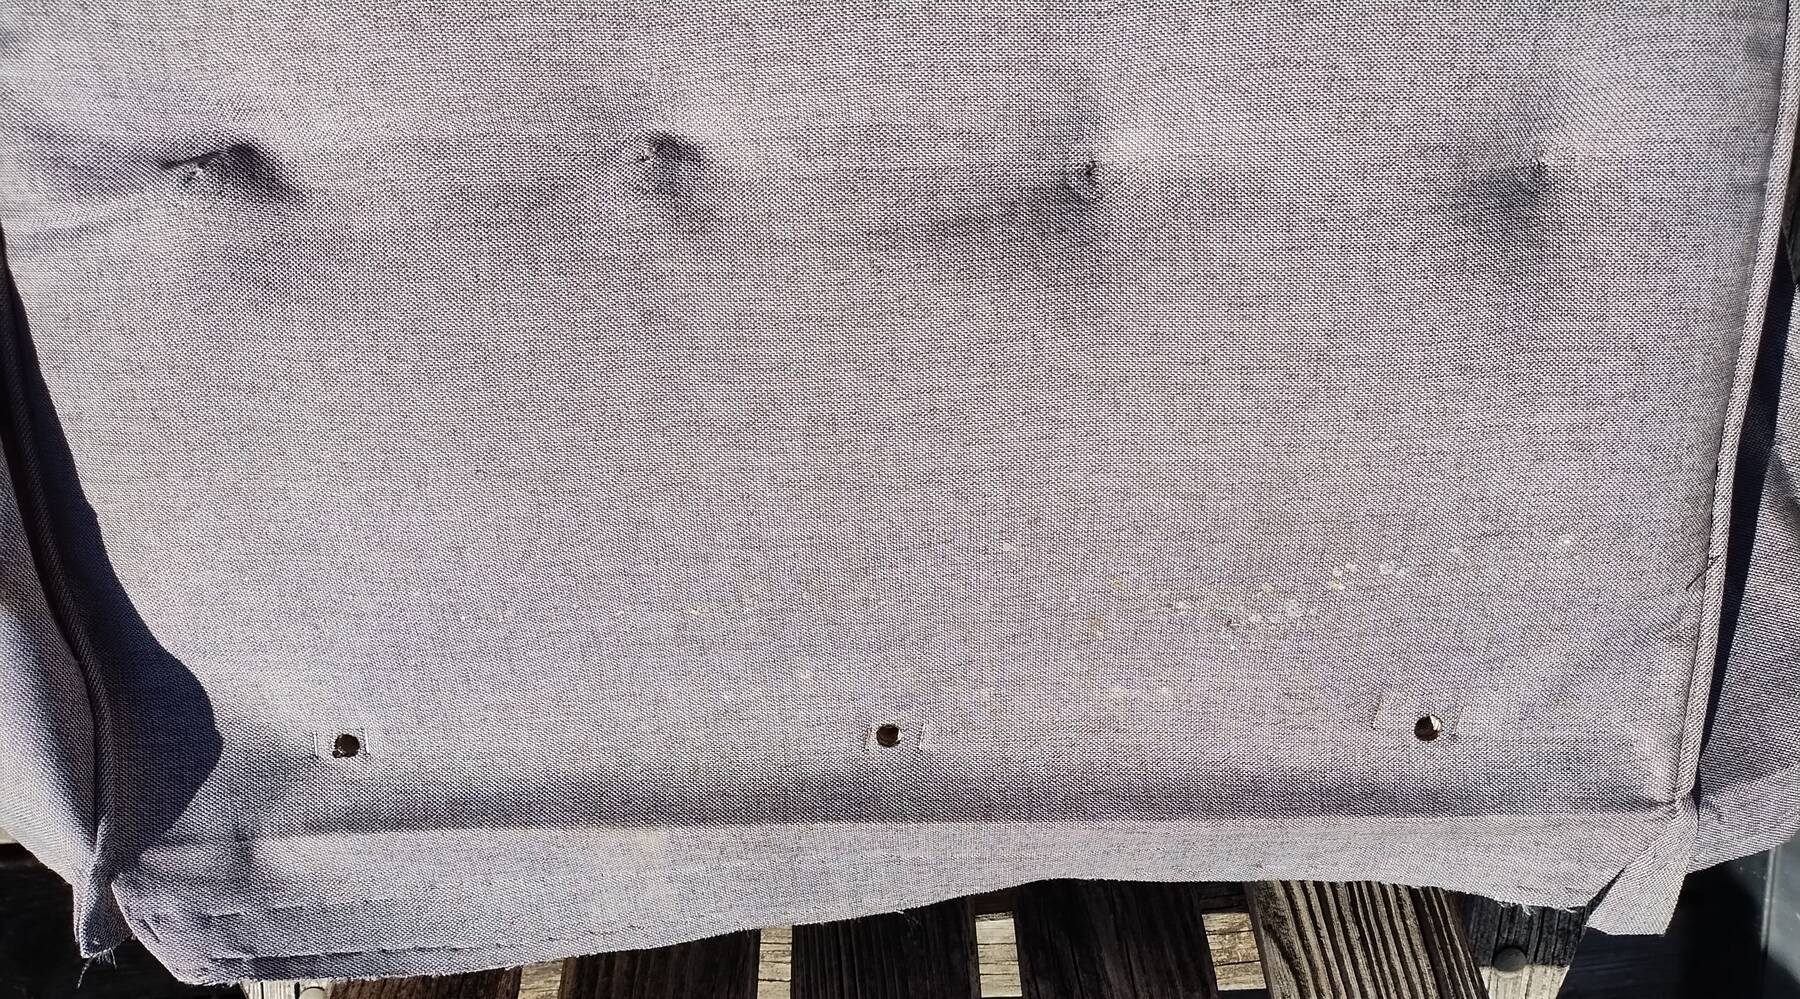
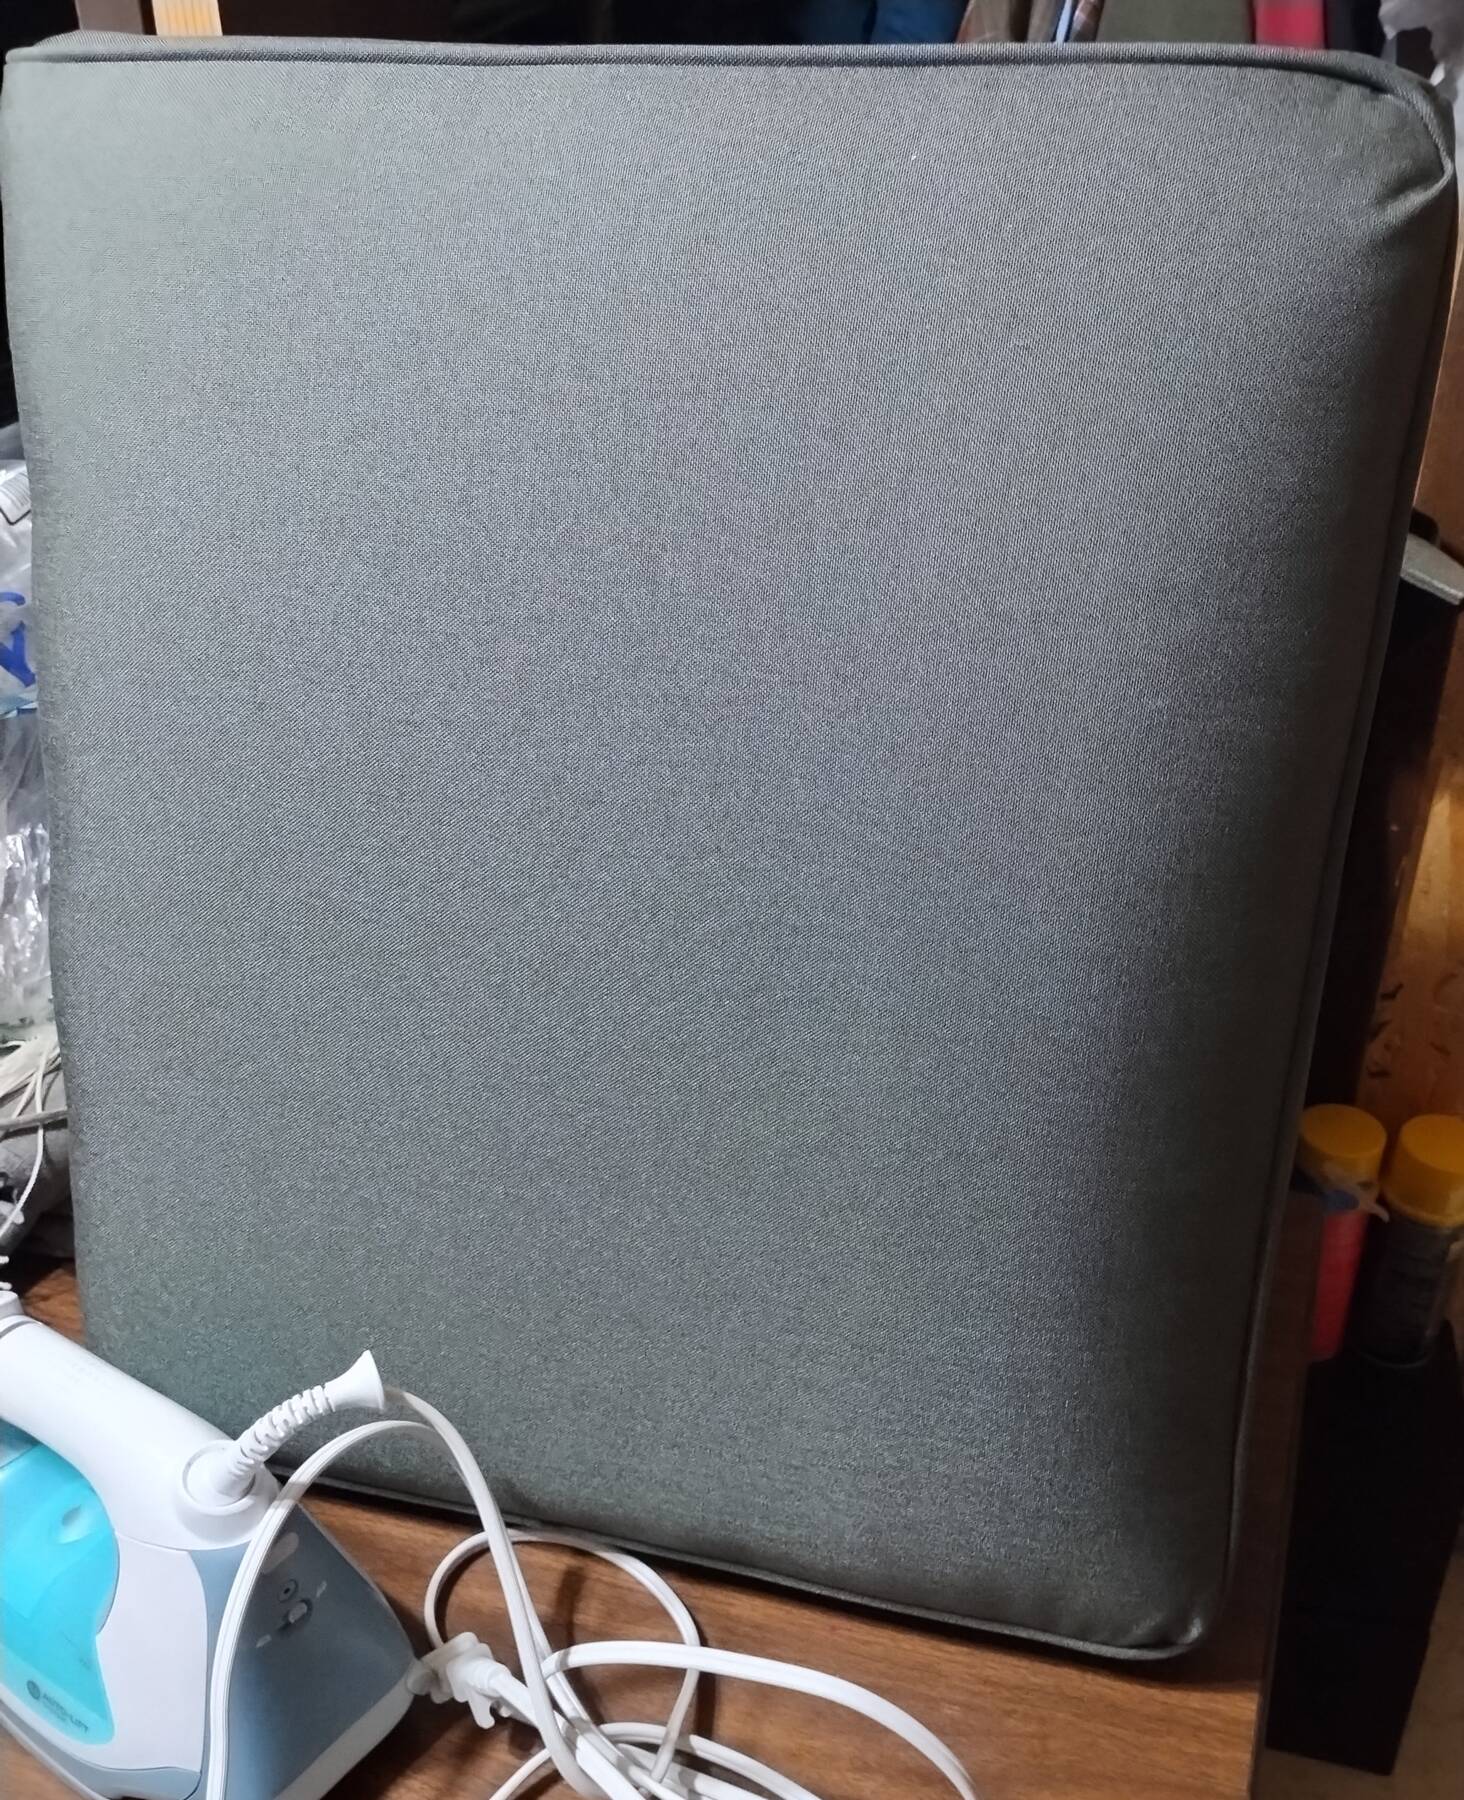
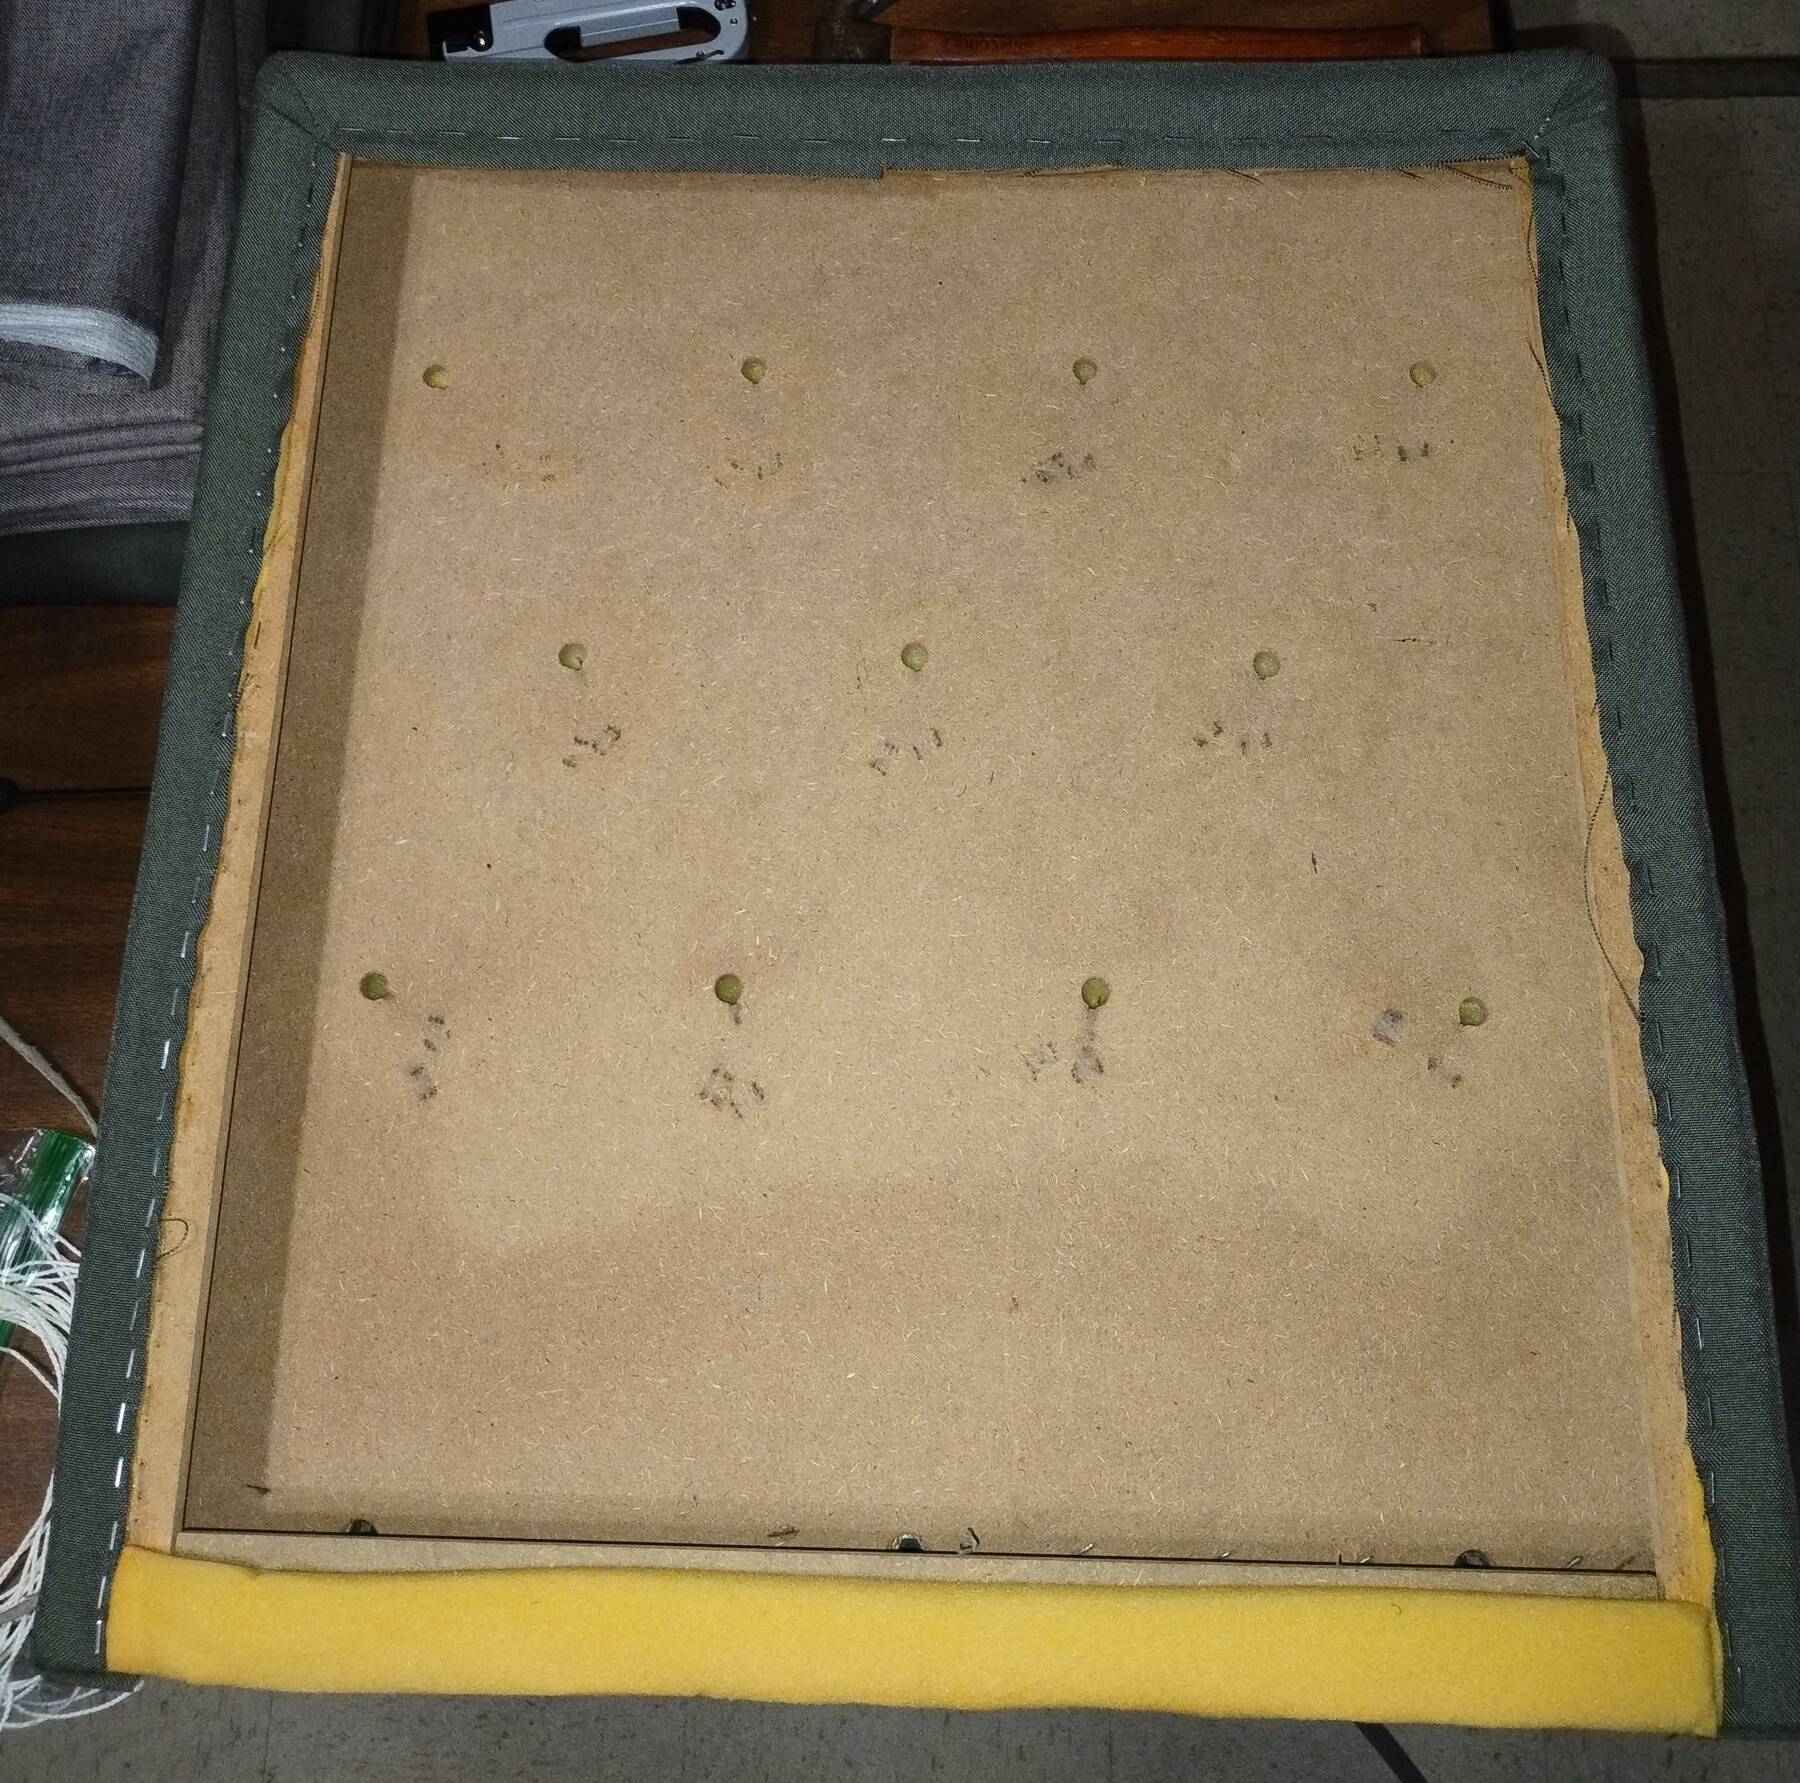
Seat cushion
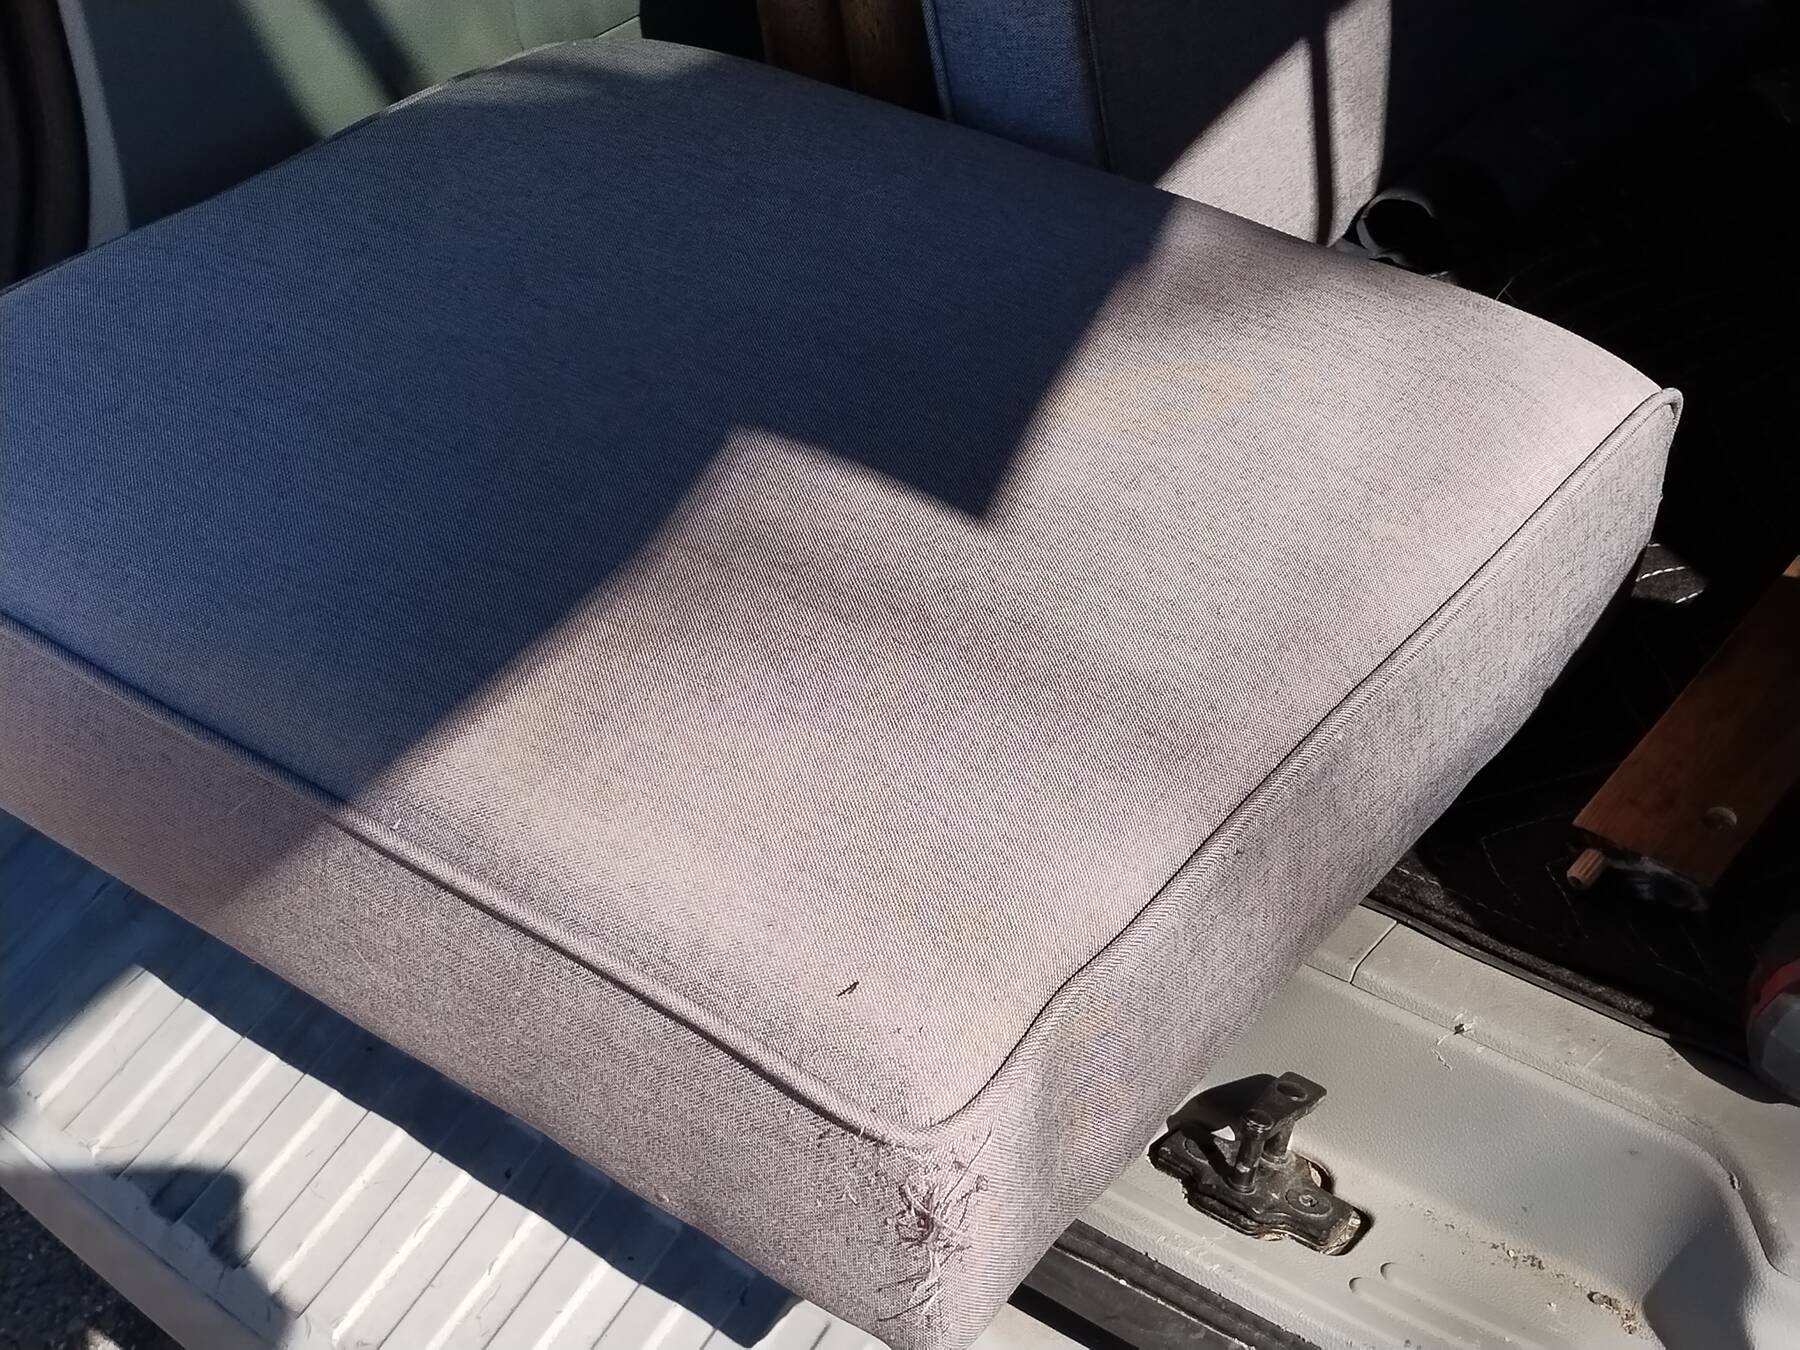
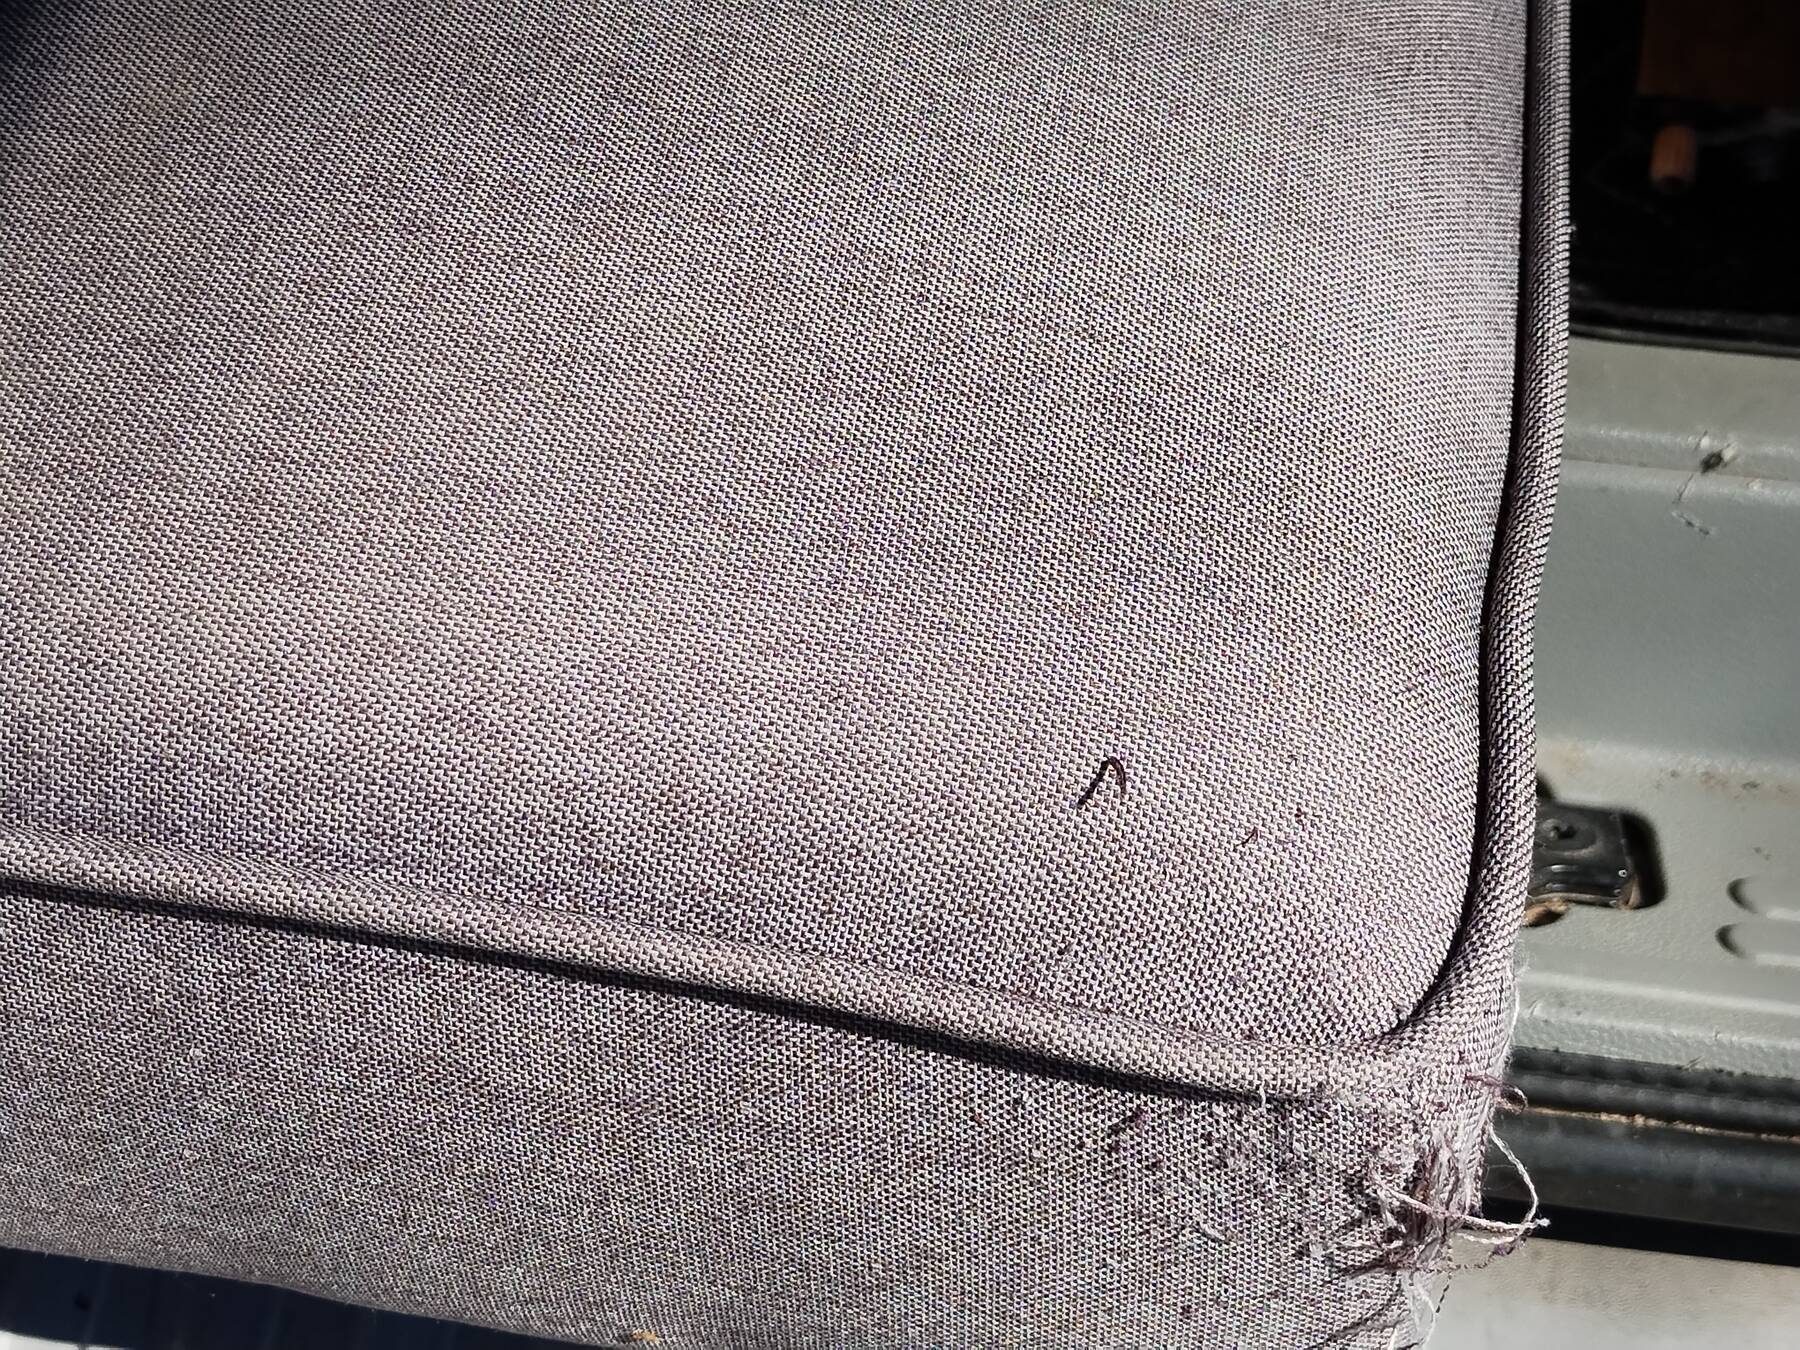
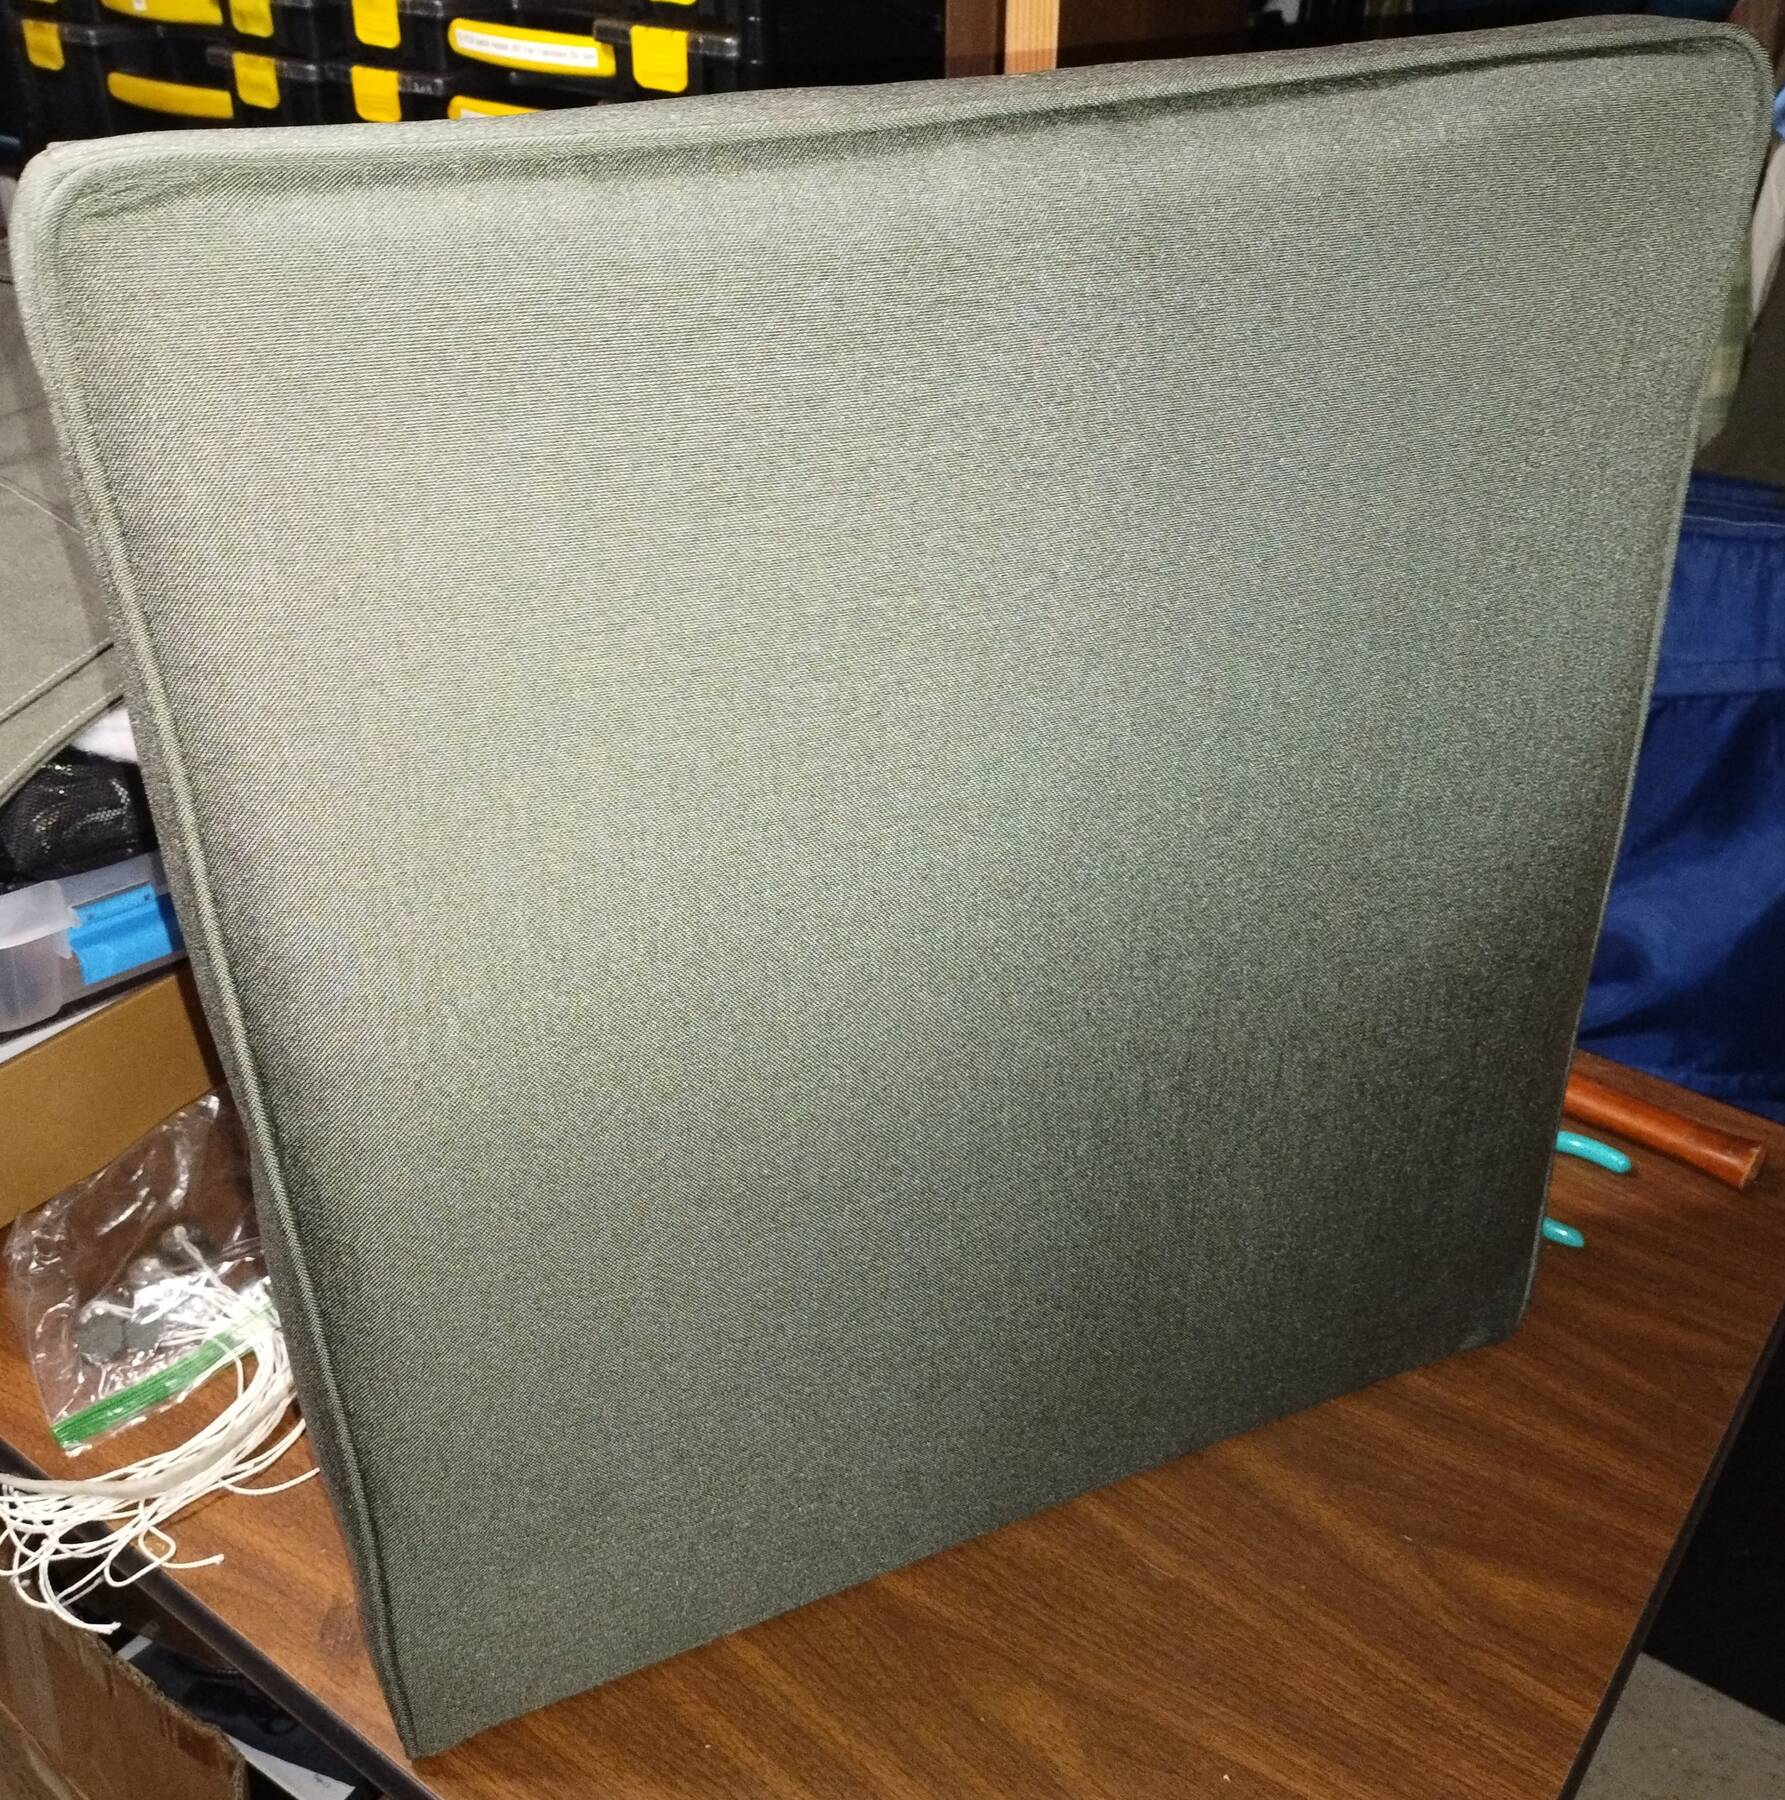
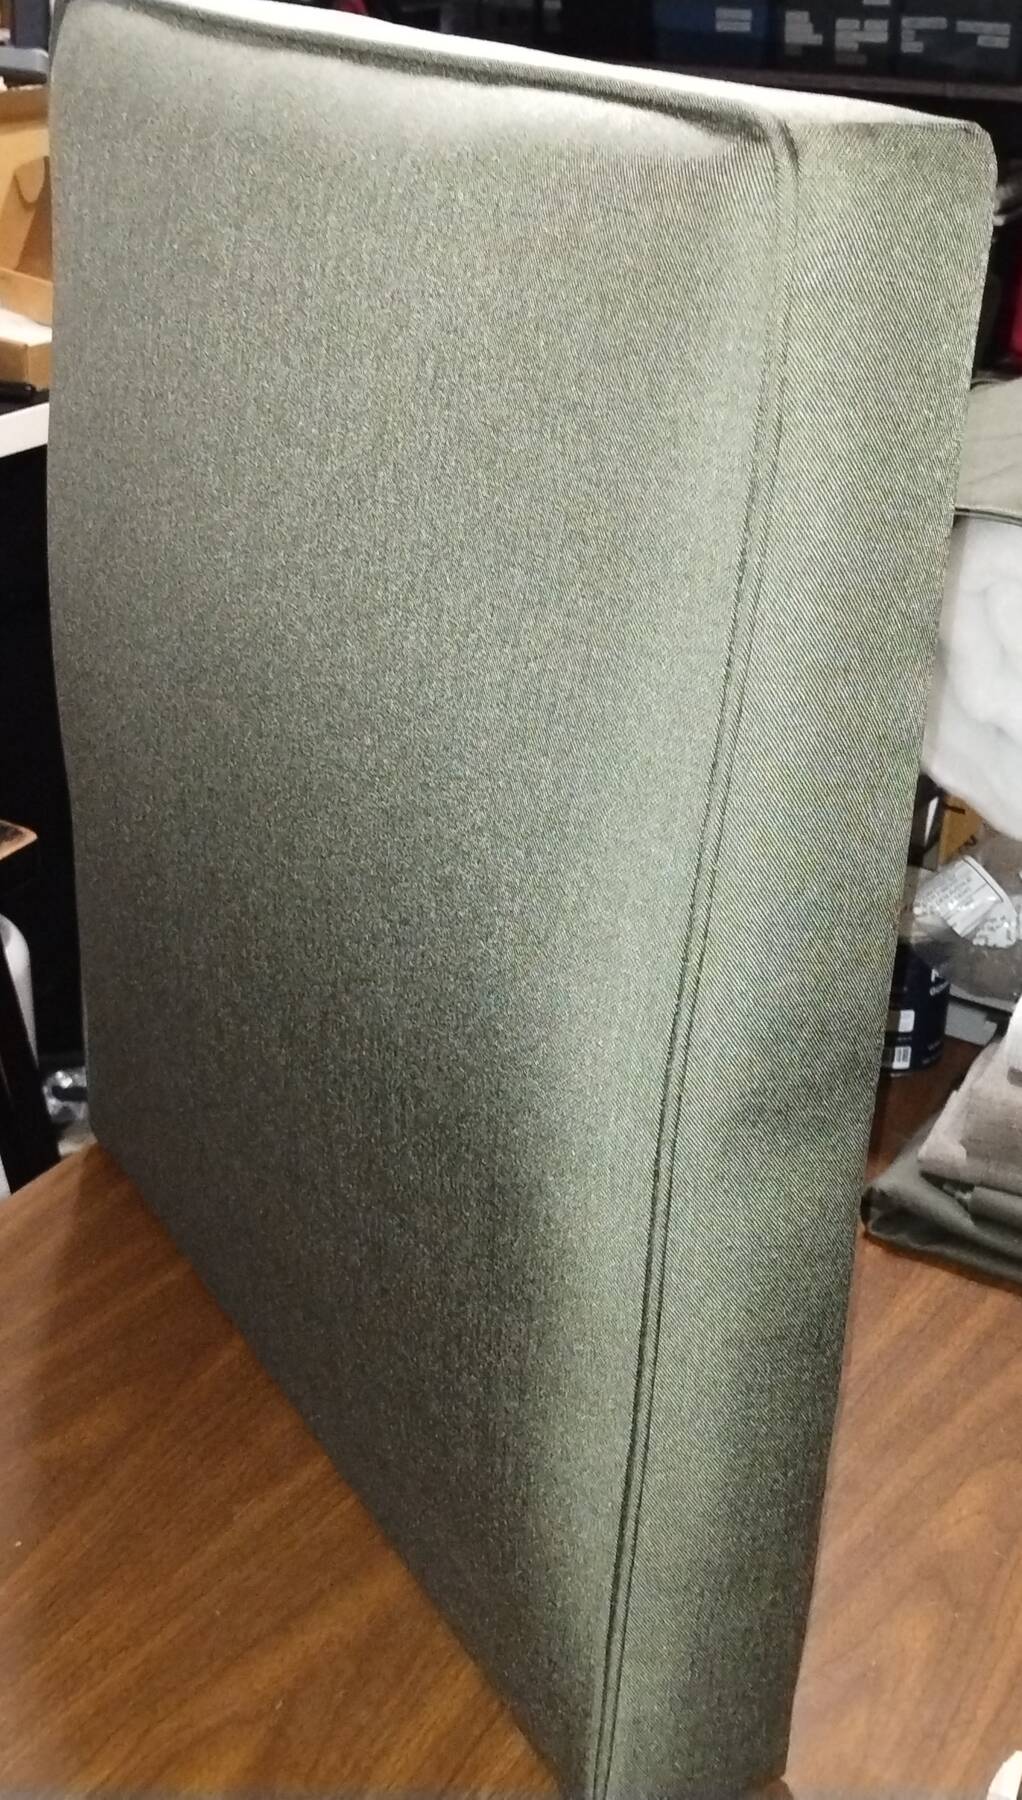
Back cushion

Modifications
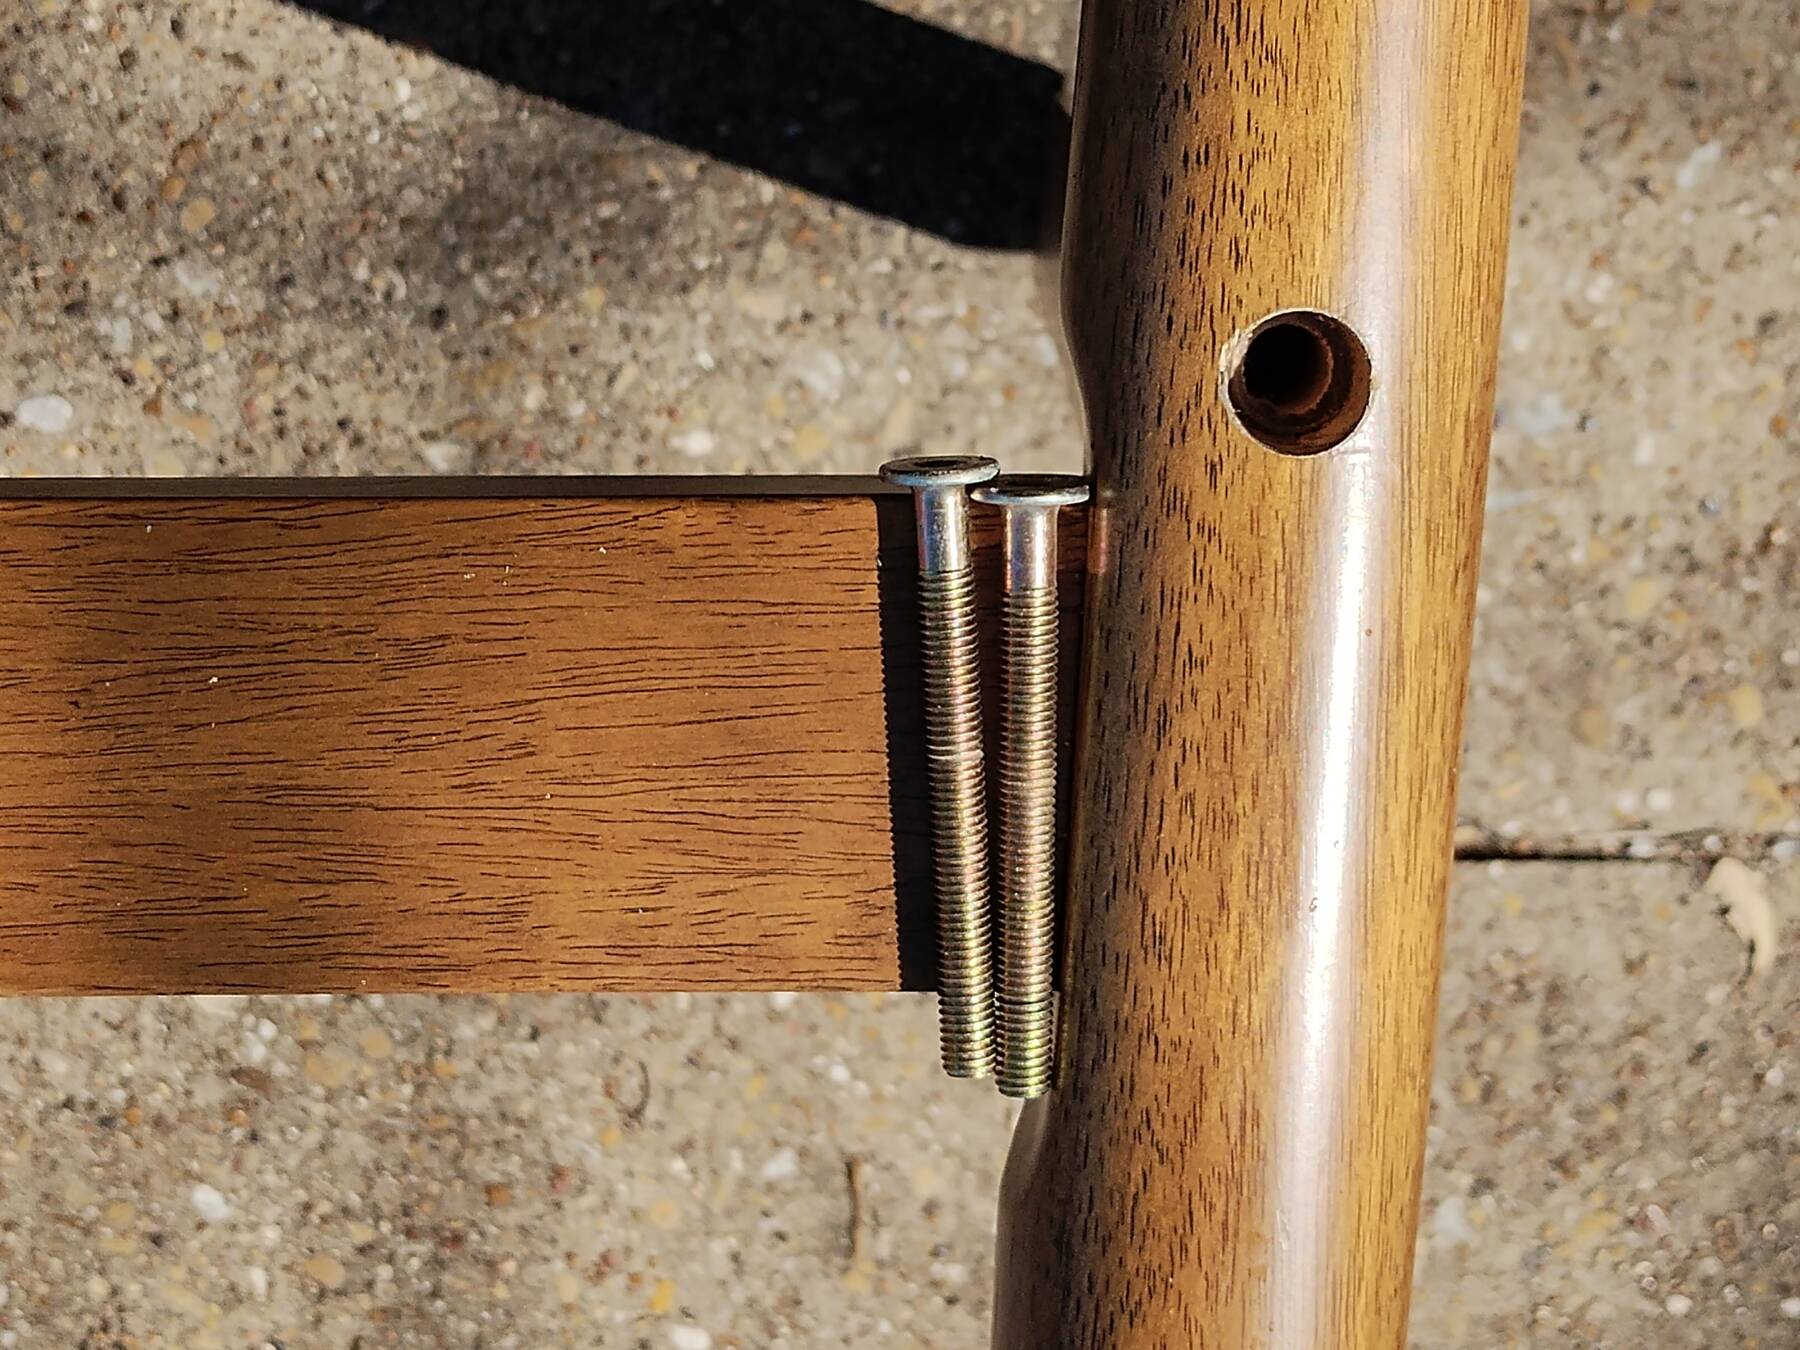
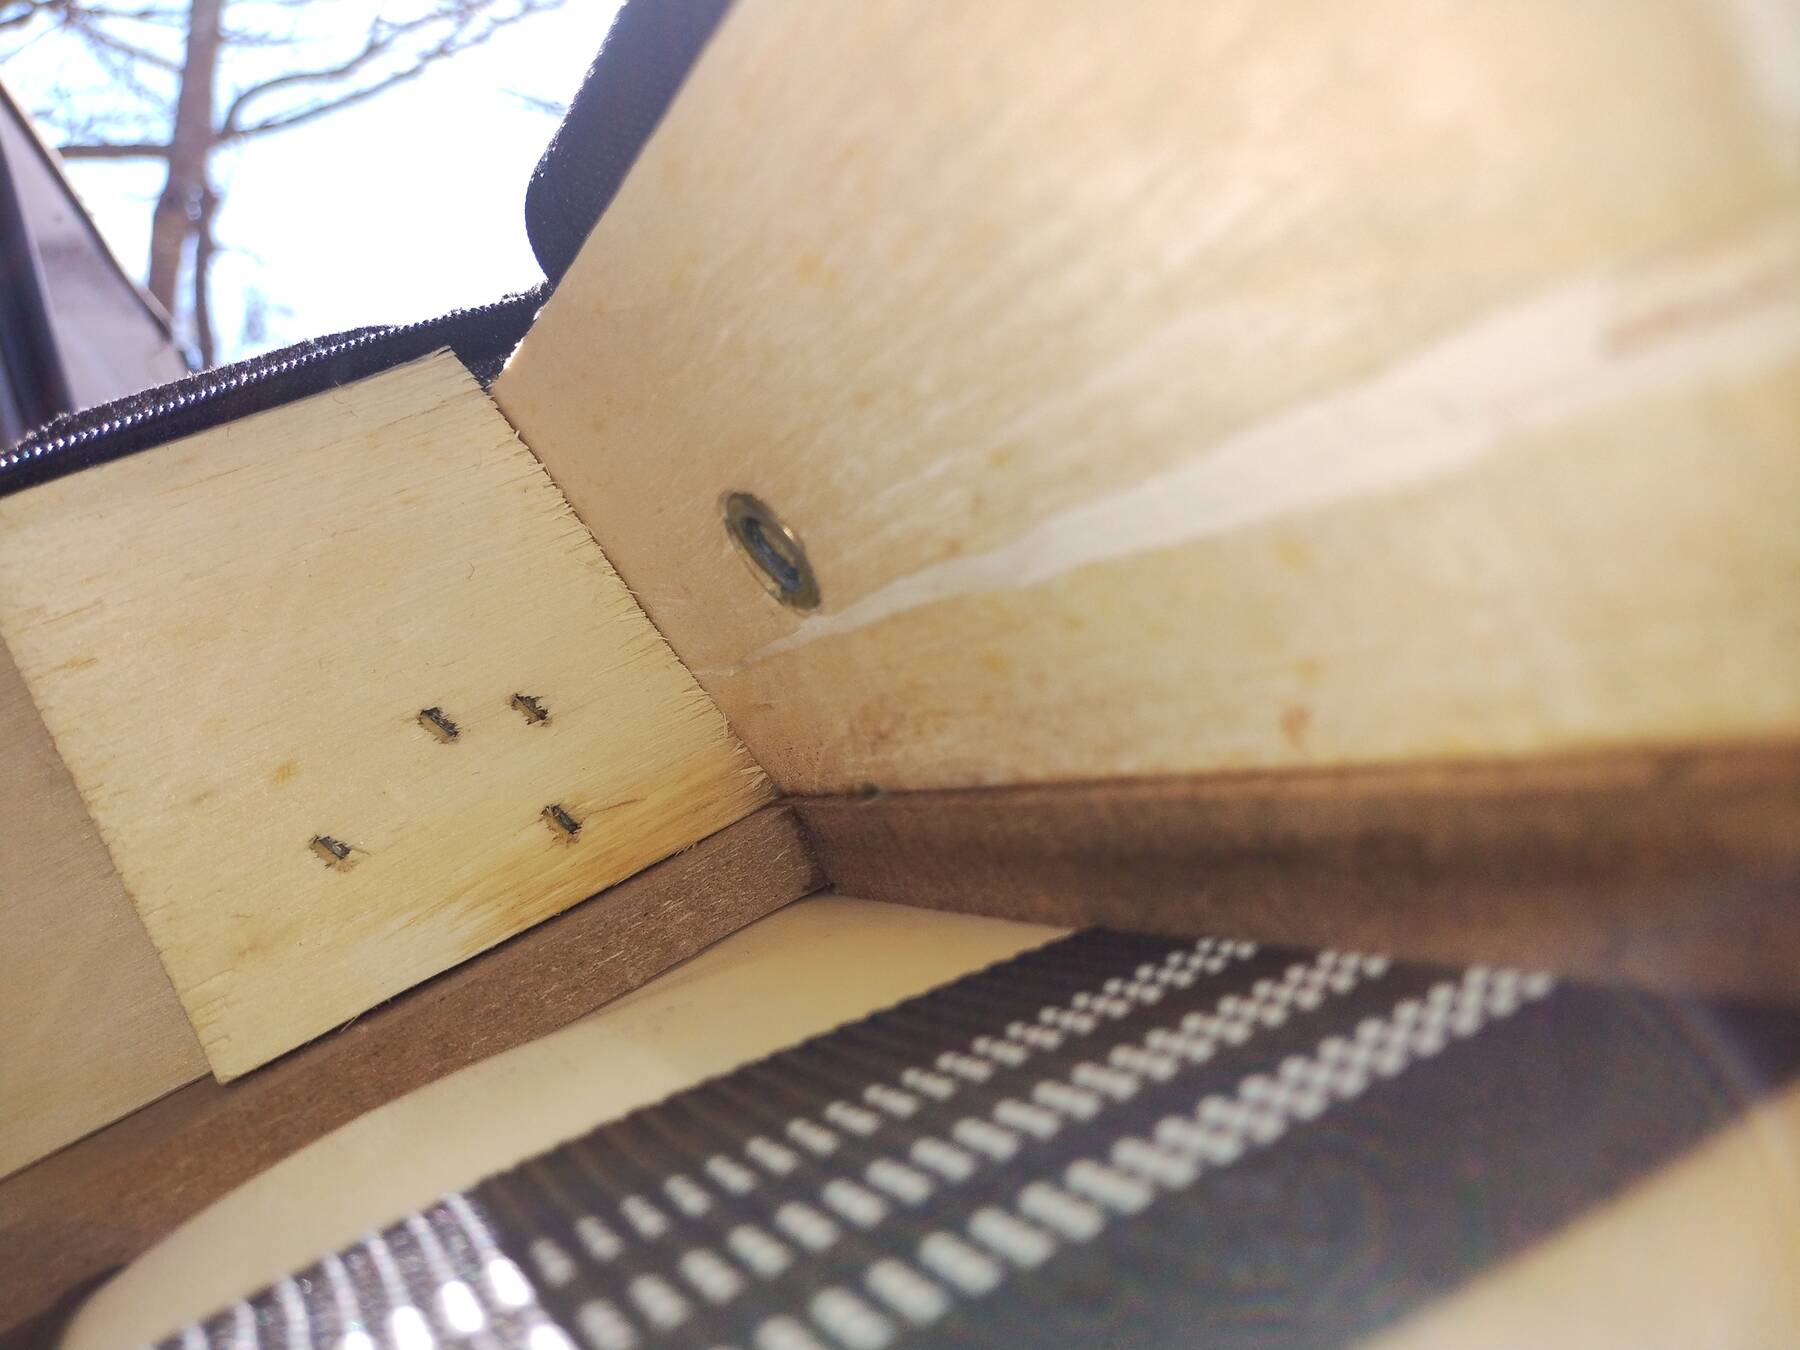
I modified the frame so the seat sits a bit lower. I also lowered the back cushion slightly more so it has a bit extra tilt, but not as much as I was originally envisioning. The rear legs would need to be cut down to get there, and I'm not too keen on that.
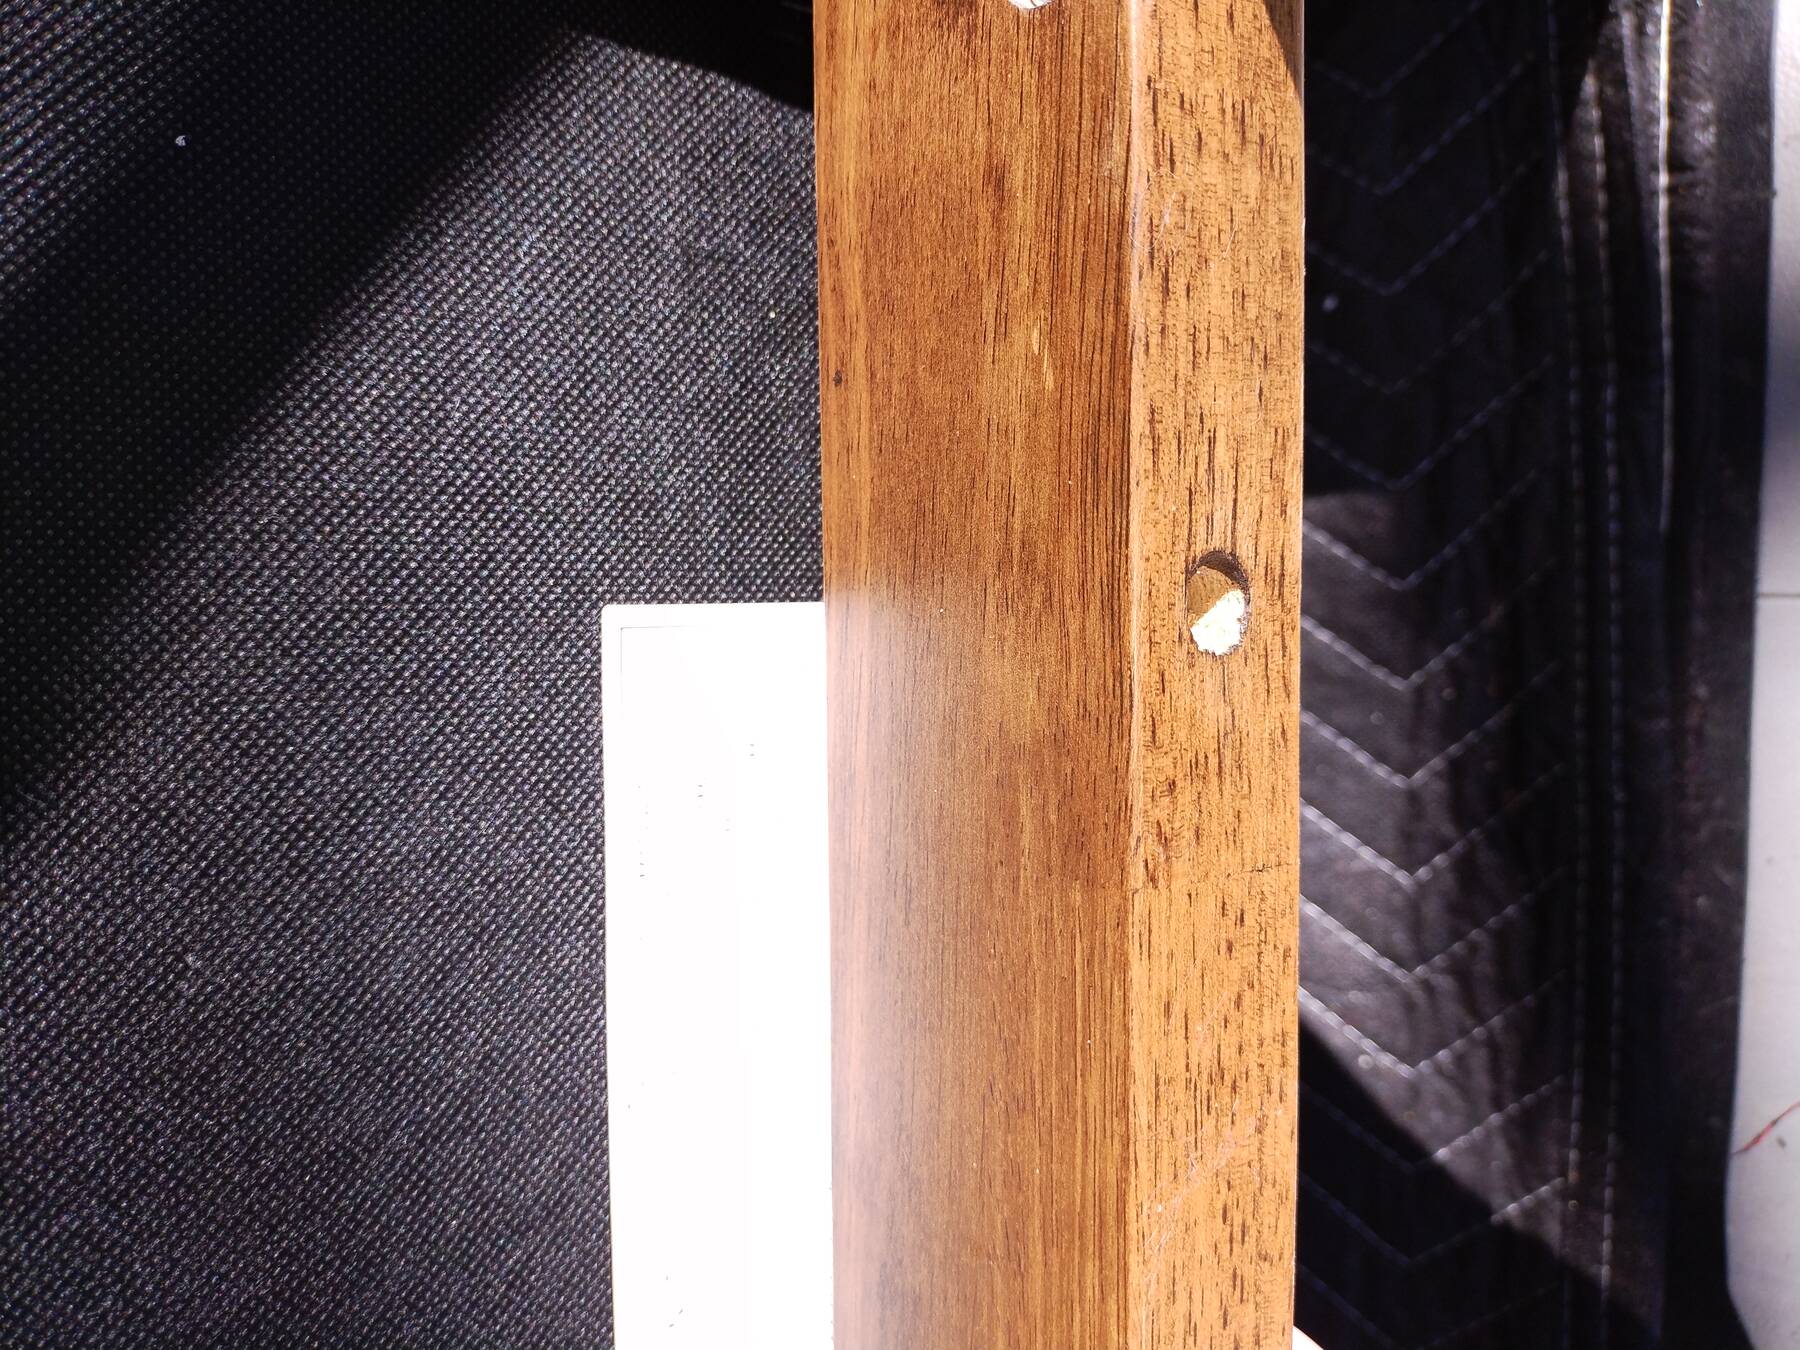
The front cross-support was flipped to keep the screw position, but move the dowels below them. New dowel holes are drilled on the inside of the frame. The old hole area was sanded for clearance, and stained, but not coated. It will be mostly covered by the cushion in the end.
The back of the seat cushion is supported by the backrest. So I moved it's mounting holes to lower it to match the cross-support.
Then the cushions went into a trash bag, and the legs sat in my garage for some months.
Re-upholstering
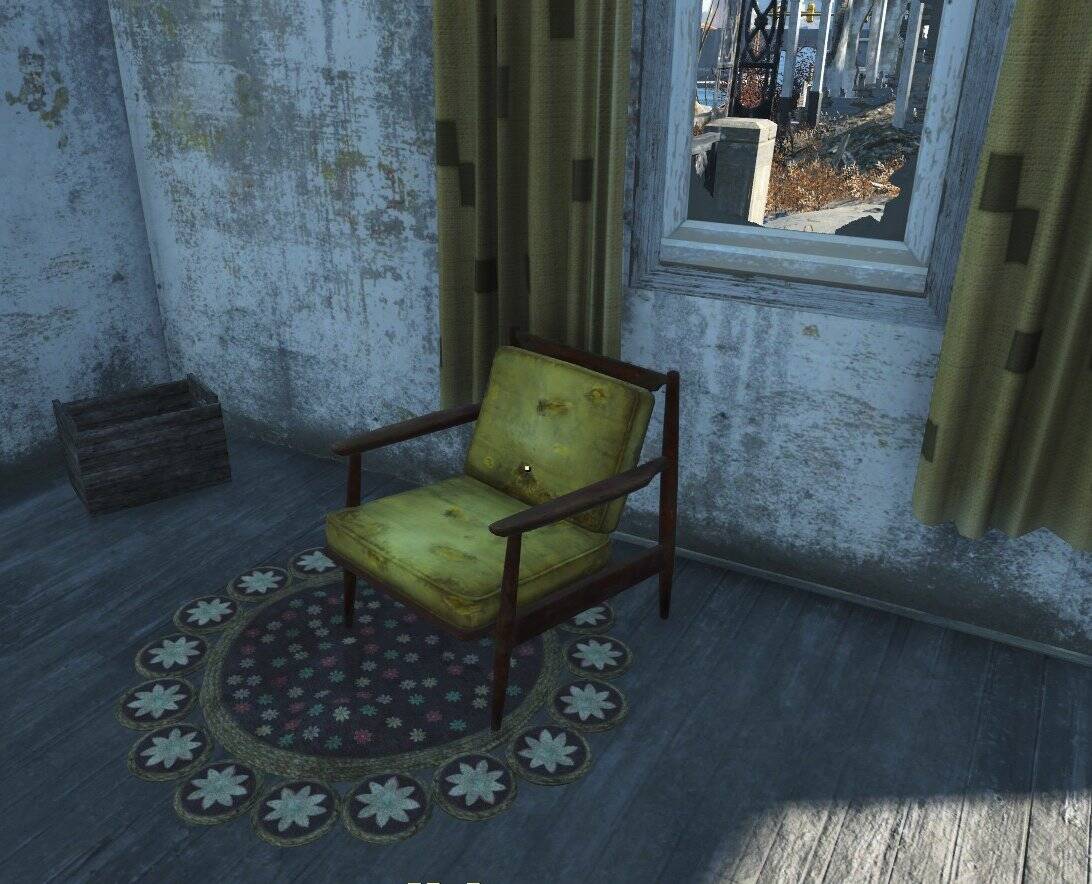
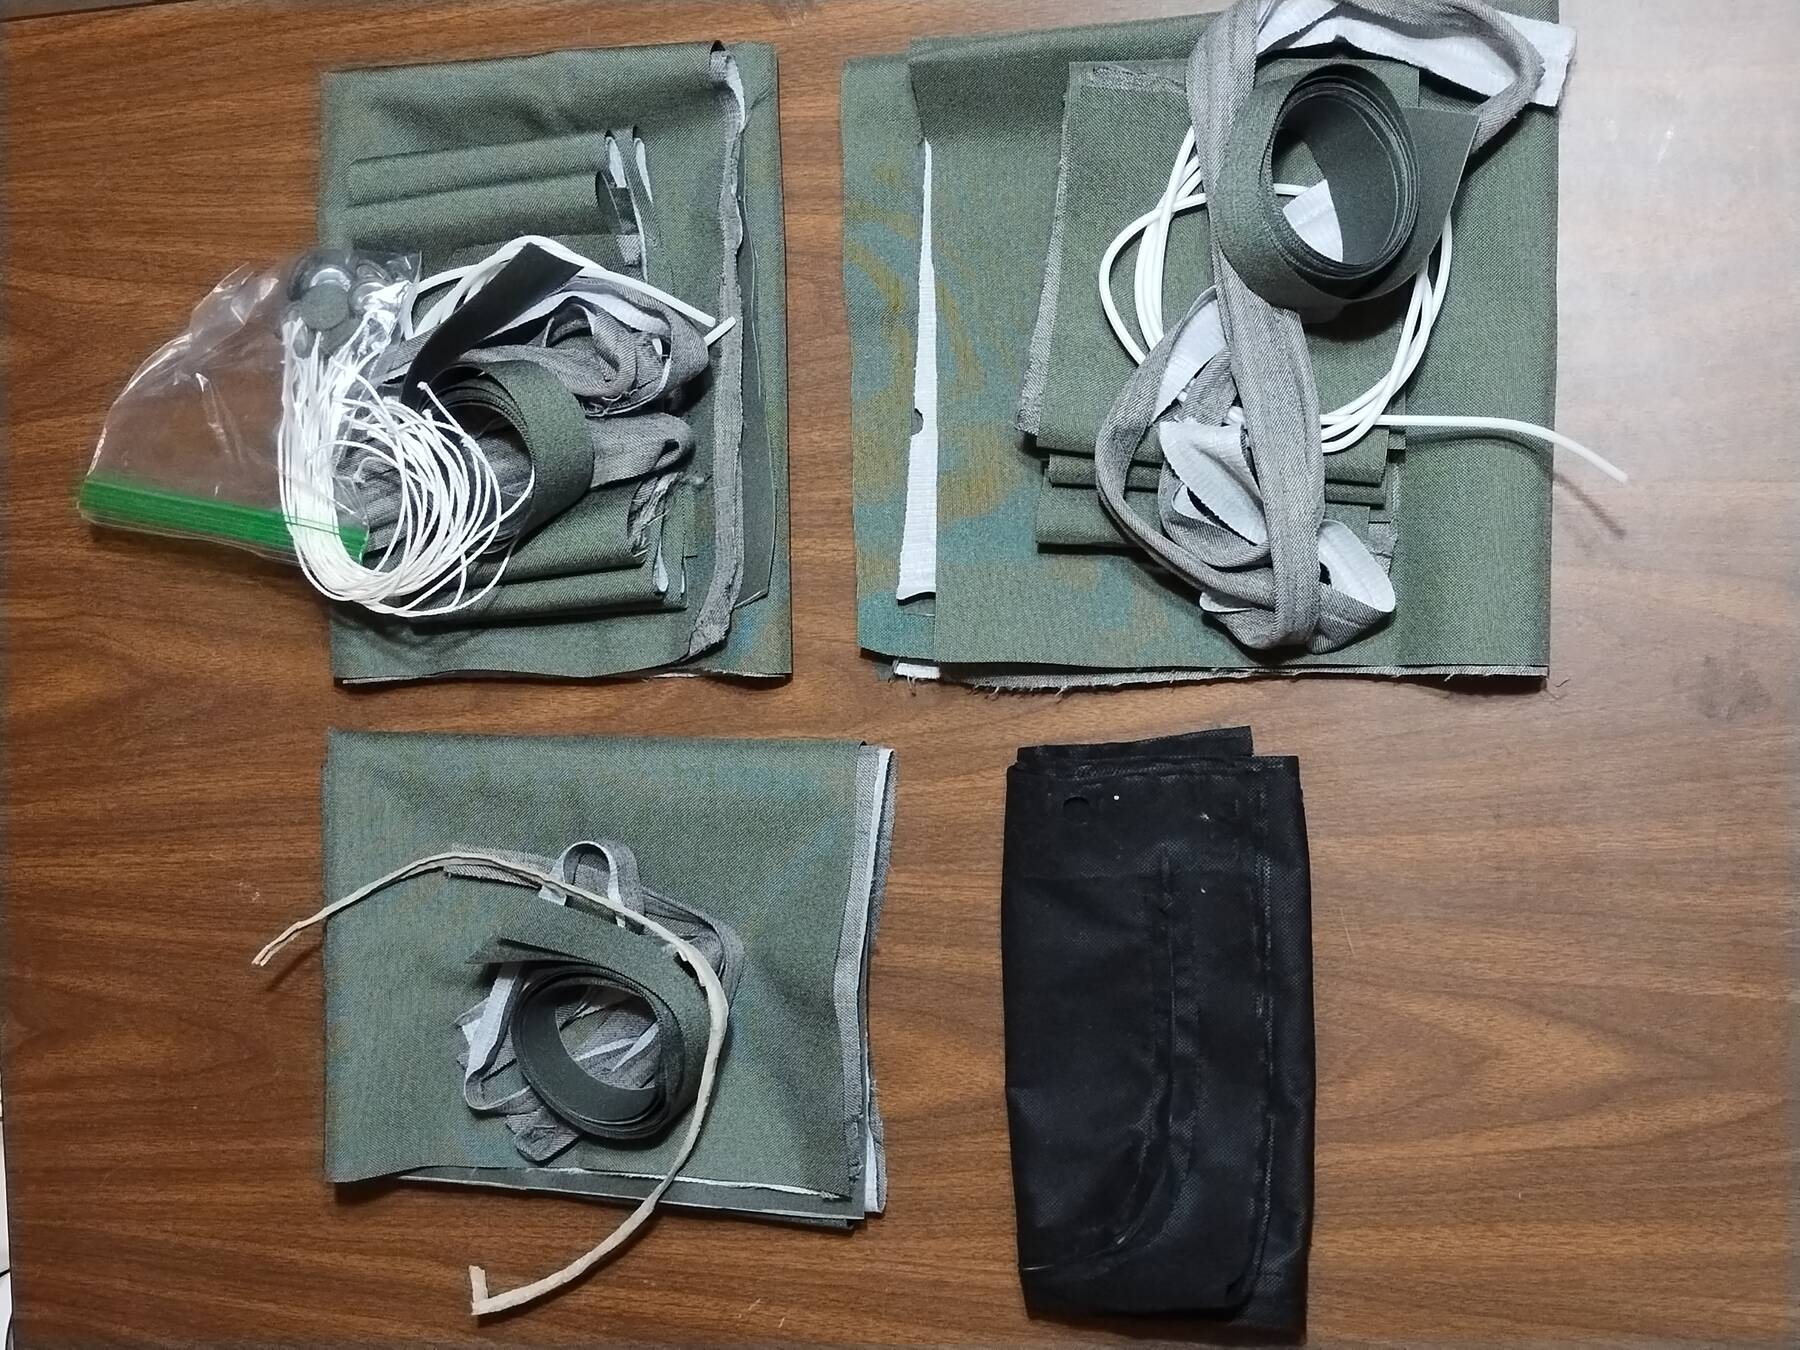
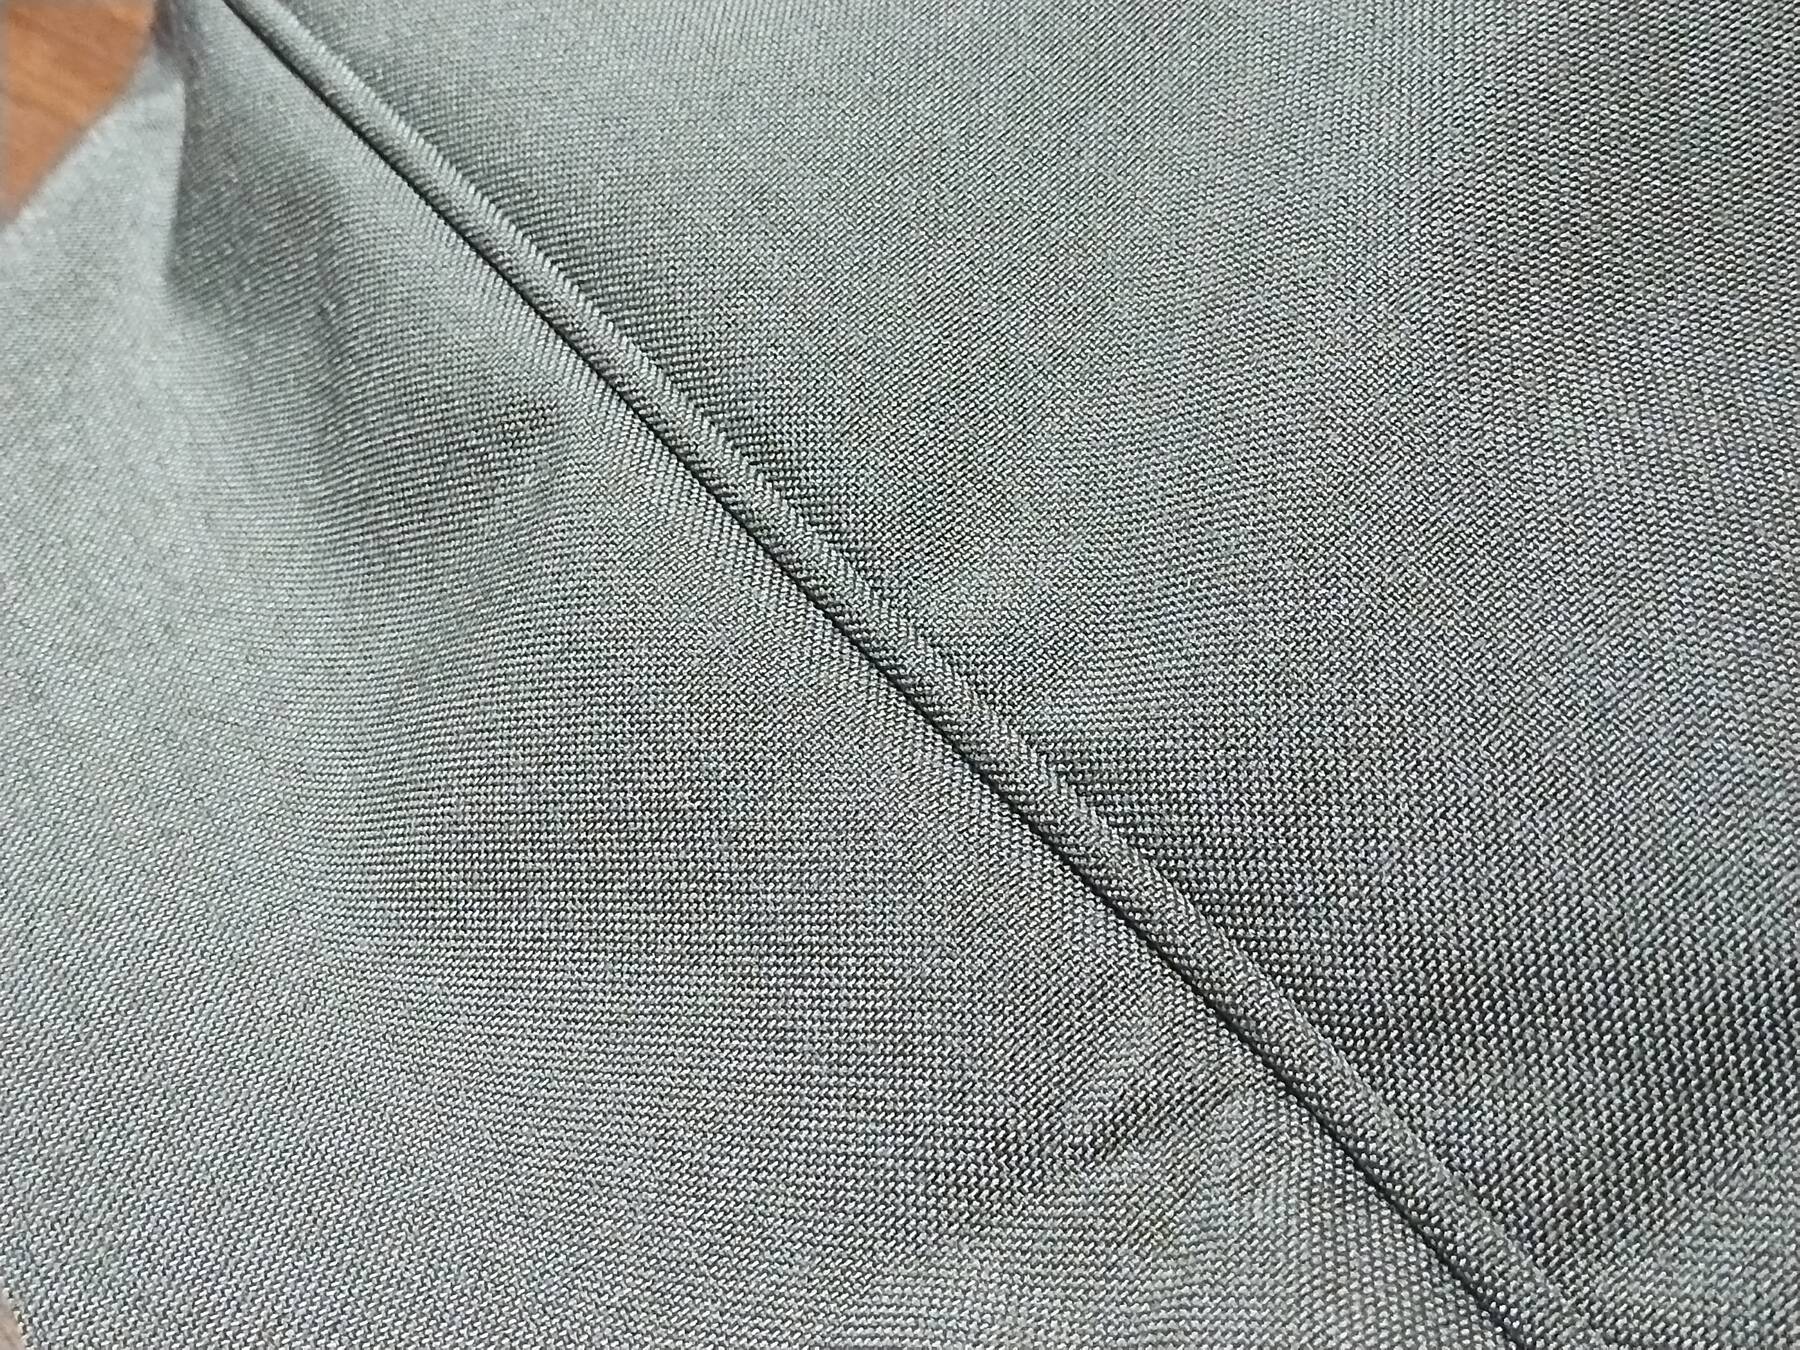
I have some grey coated cordura fabric that I'm using. I considered yellow (like a chair I saw in Fallout 4), but thought it would take marks too easily, and the color I have is a bit loud.
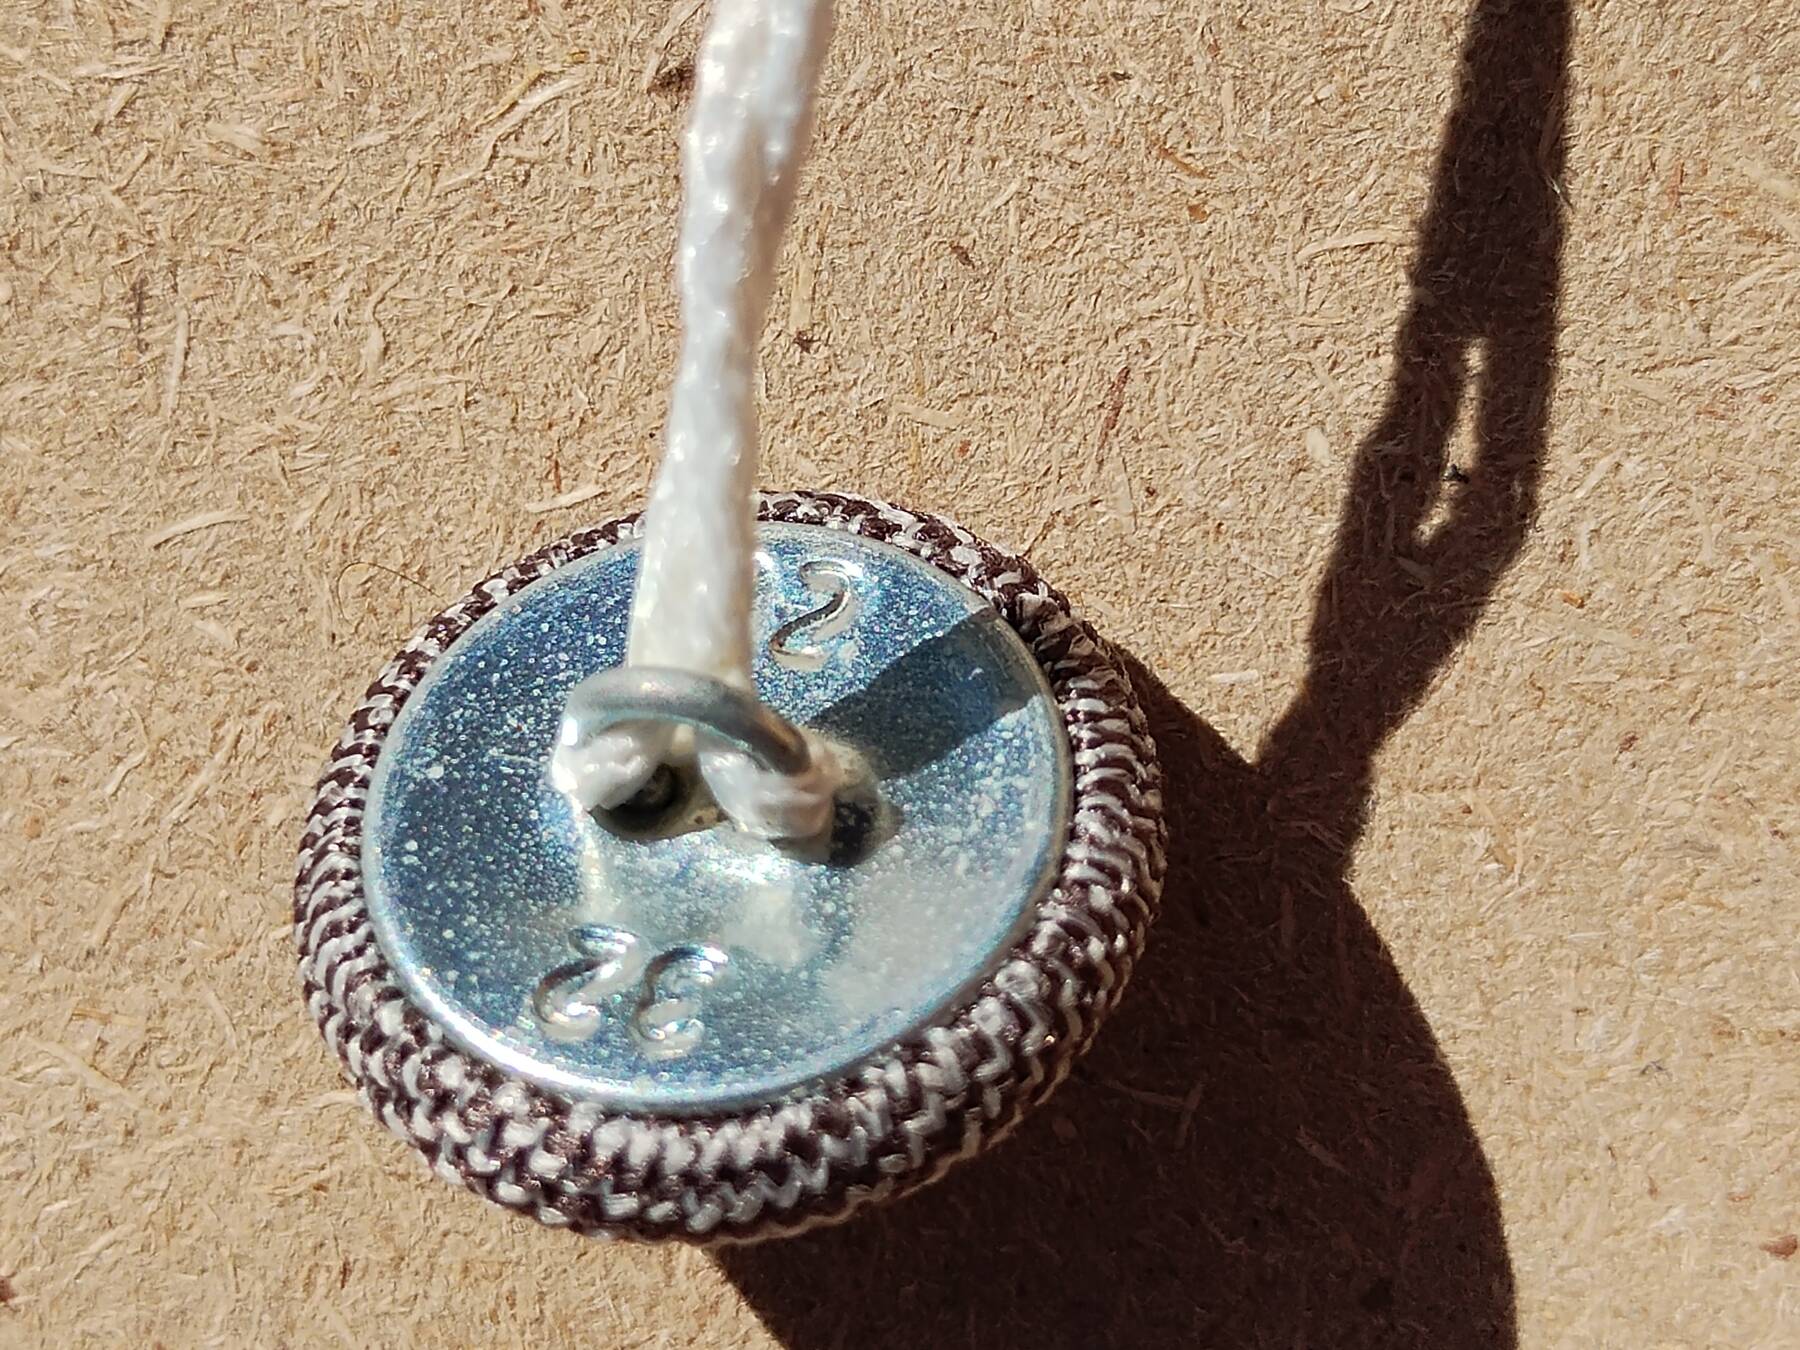
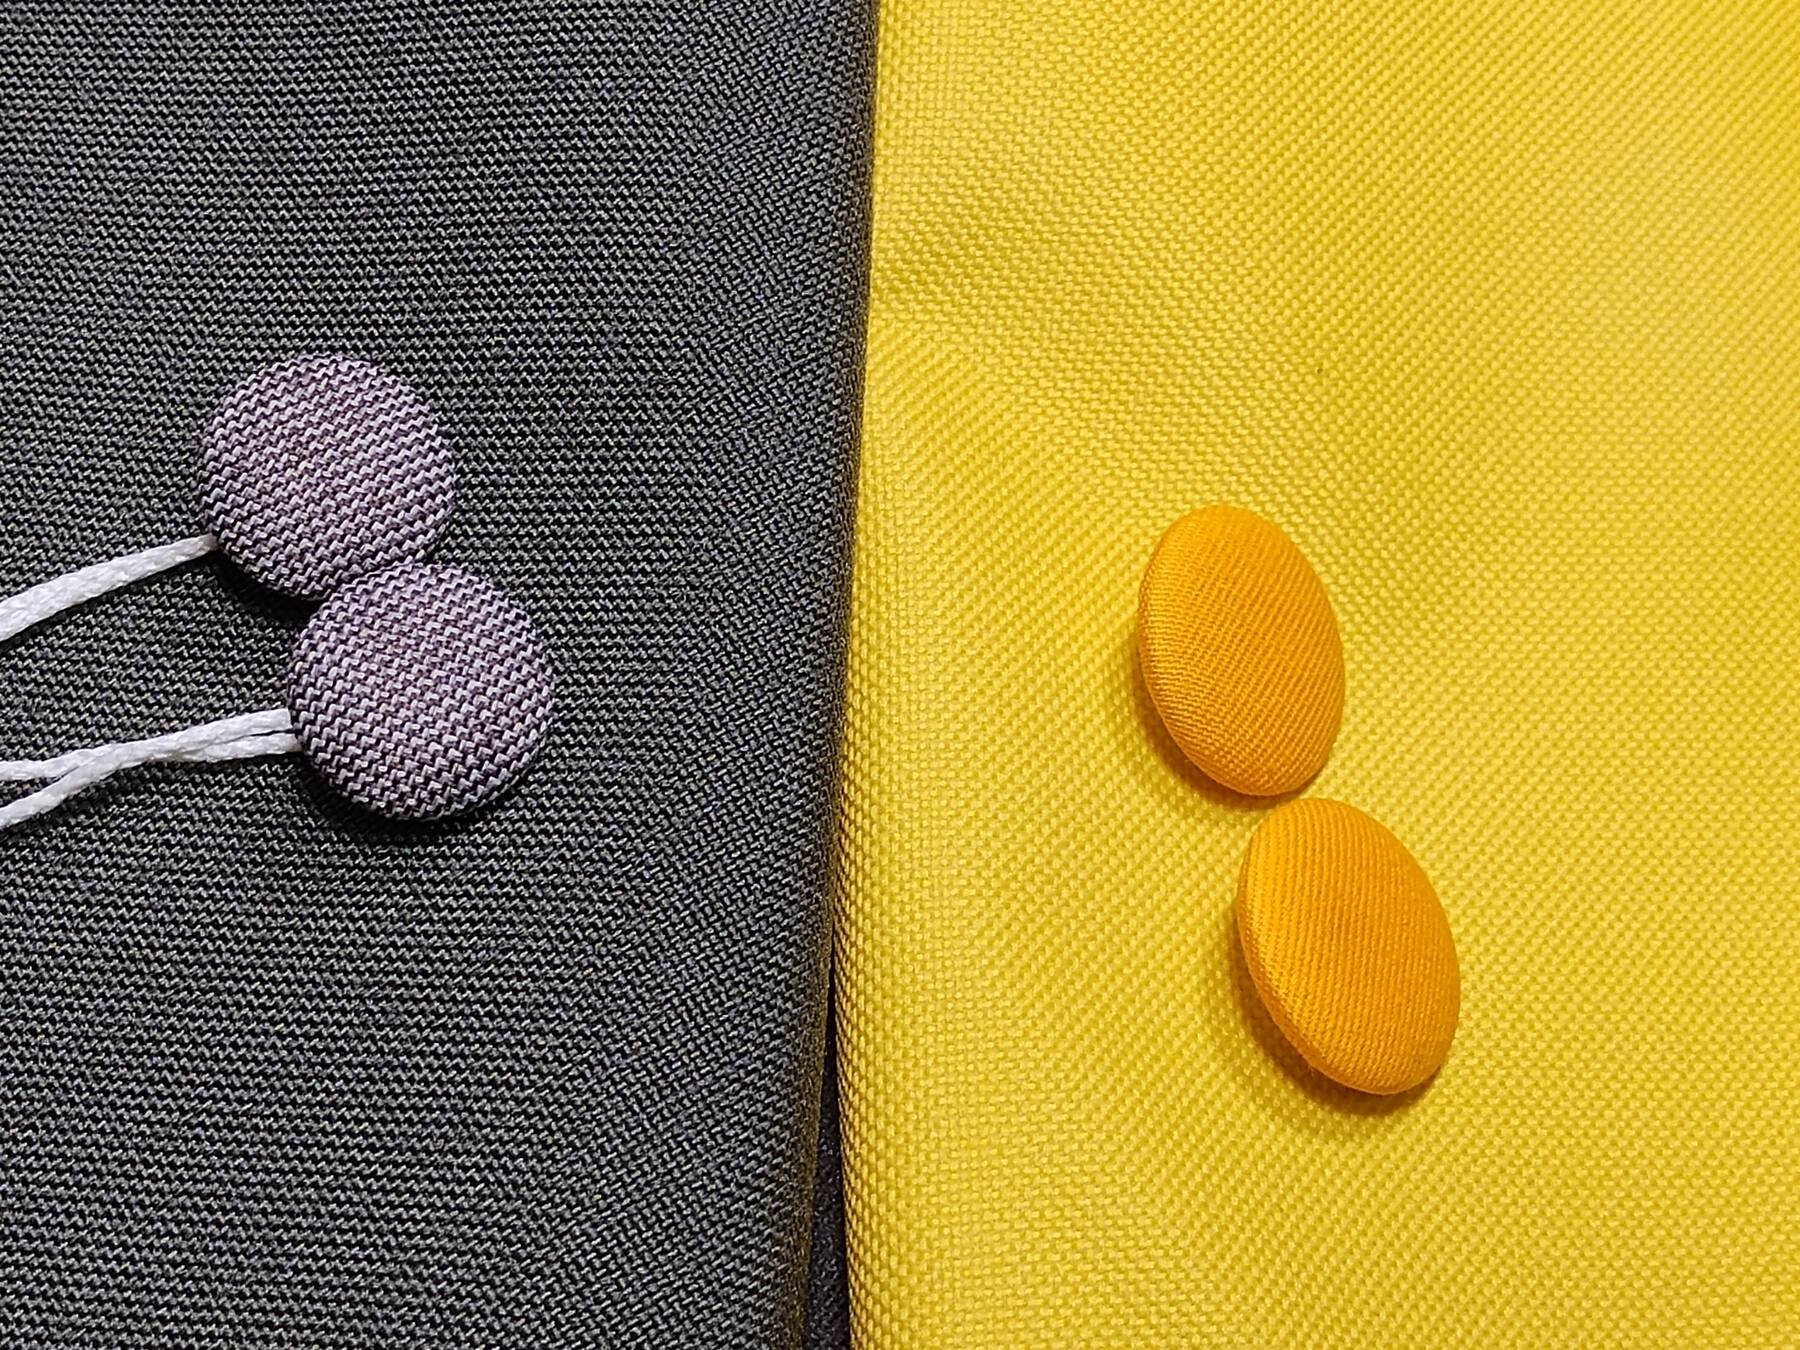
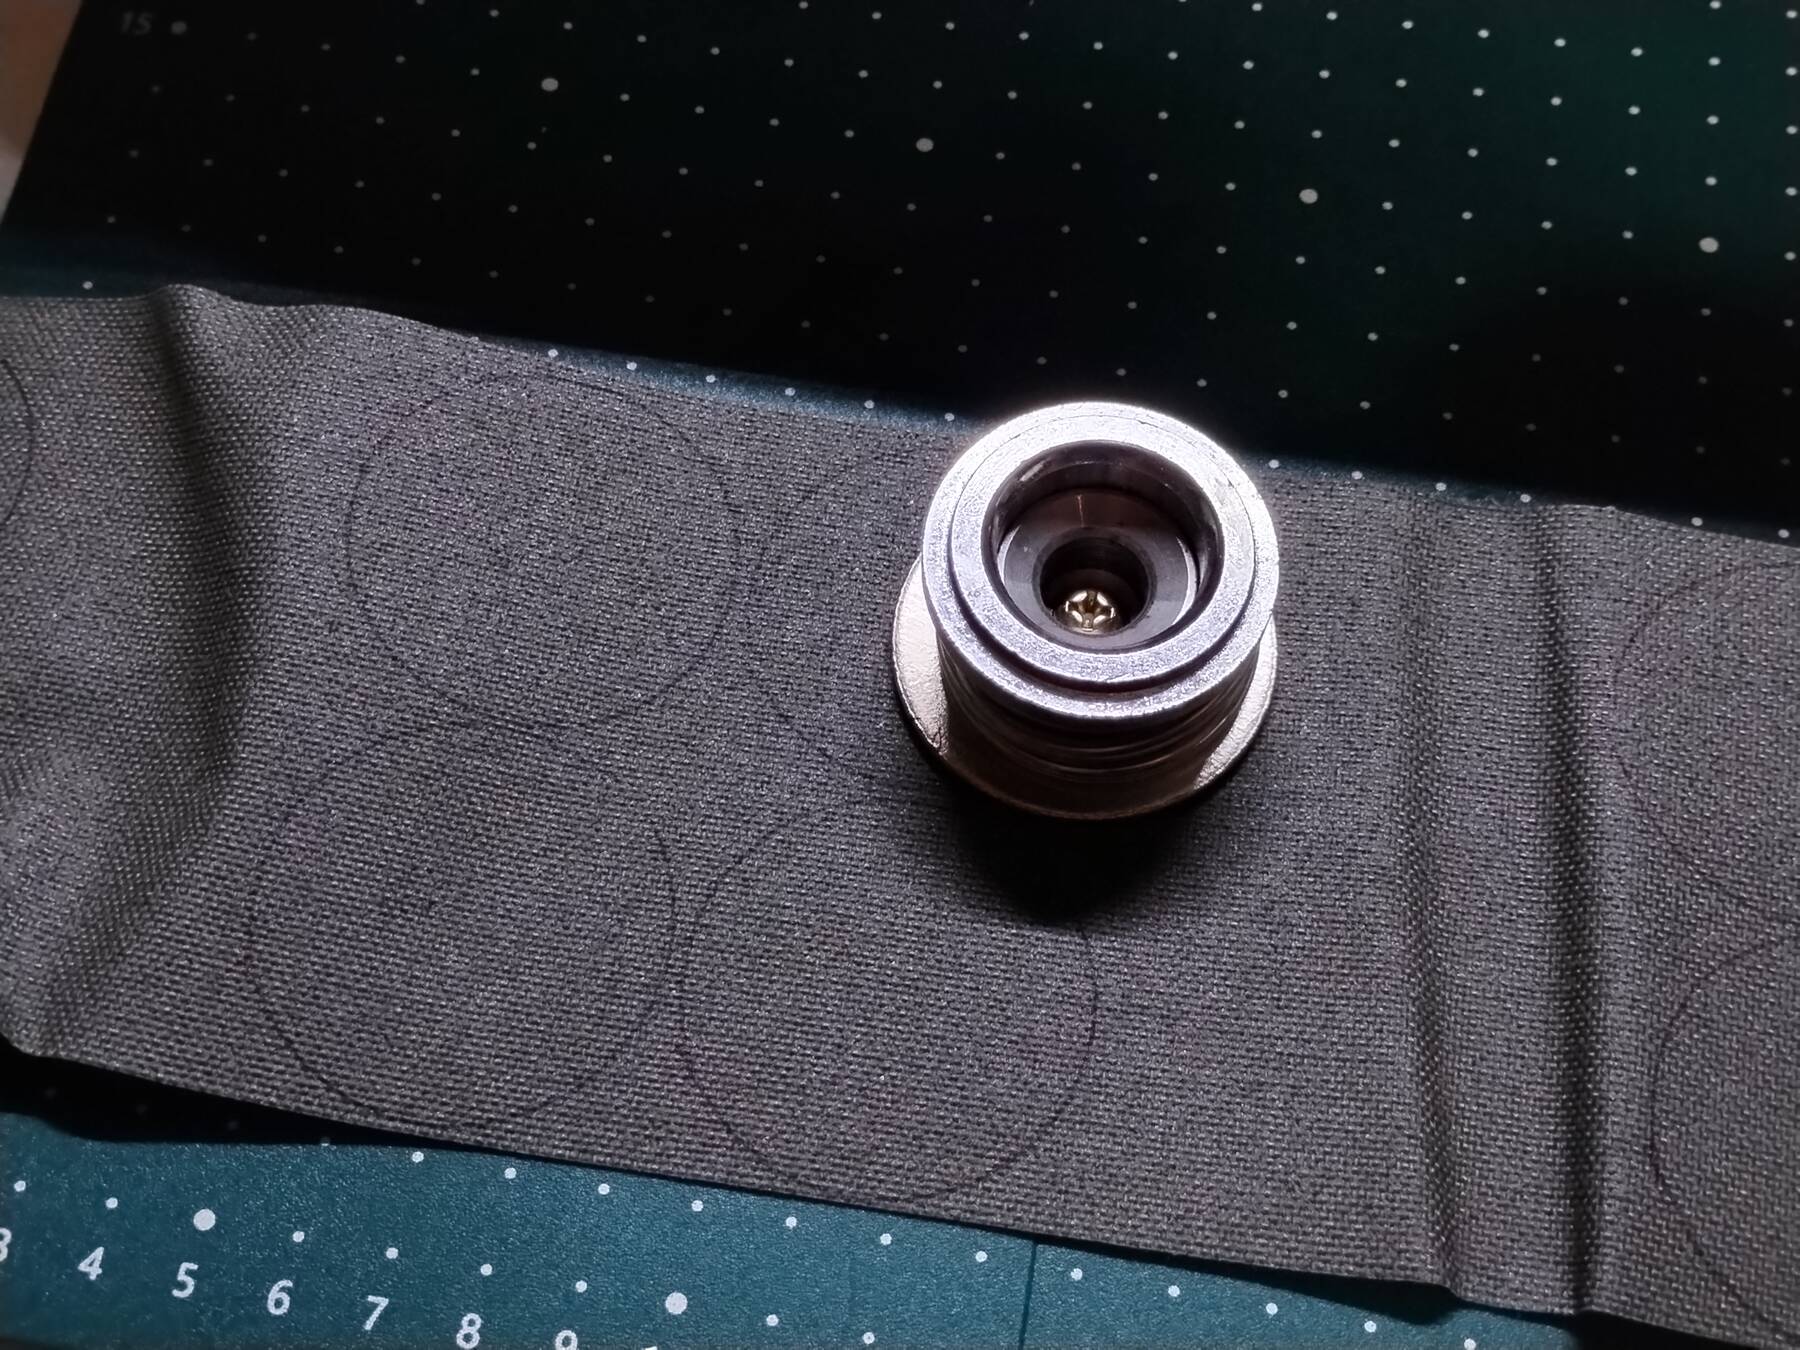
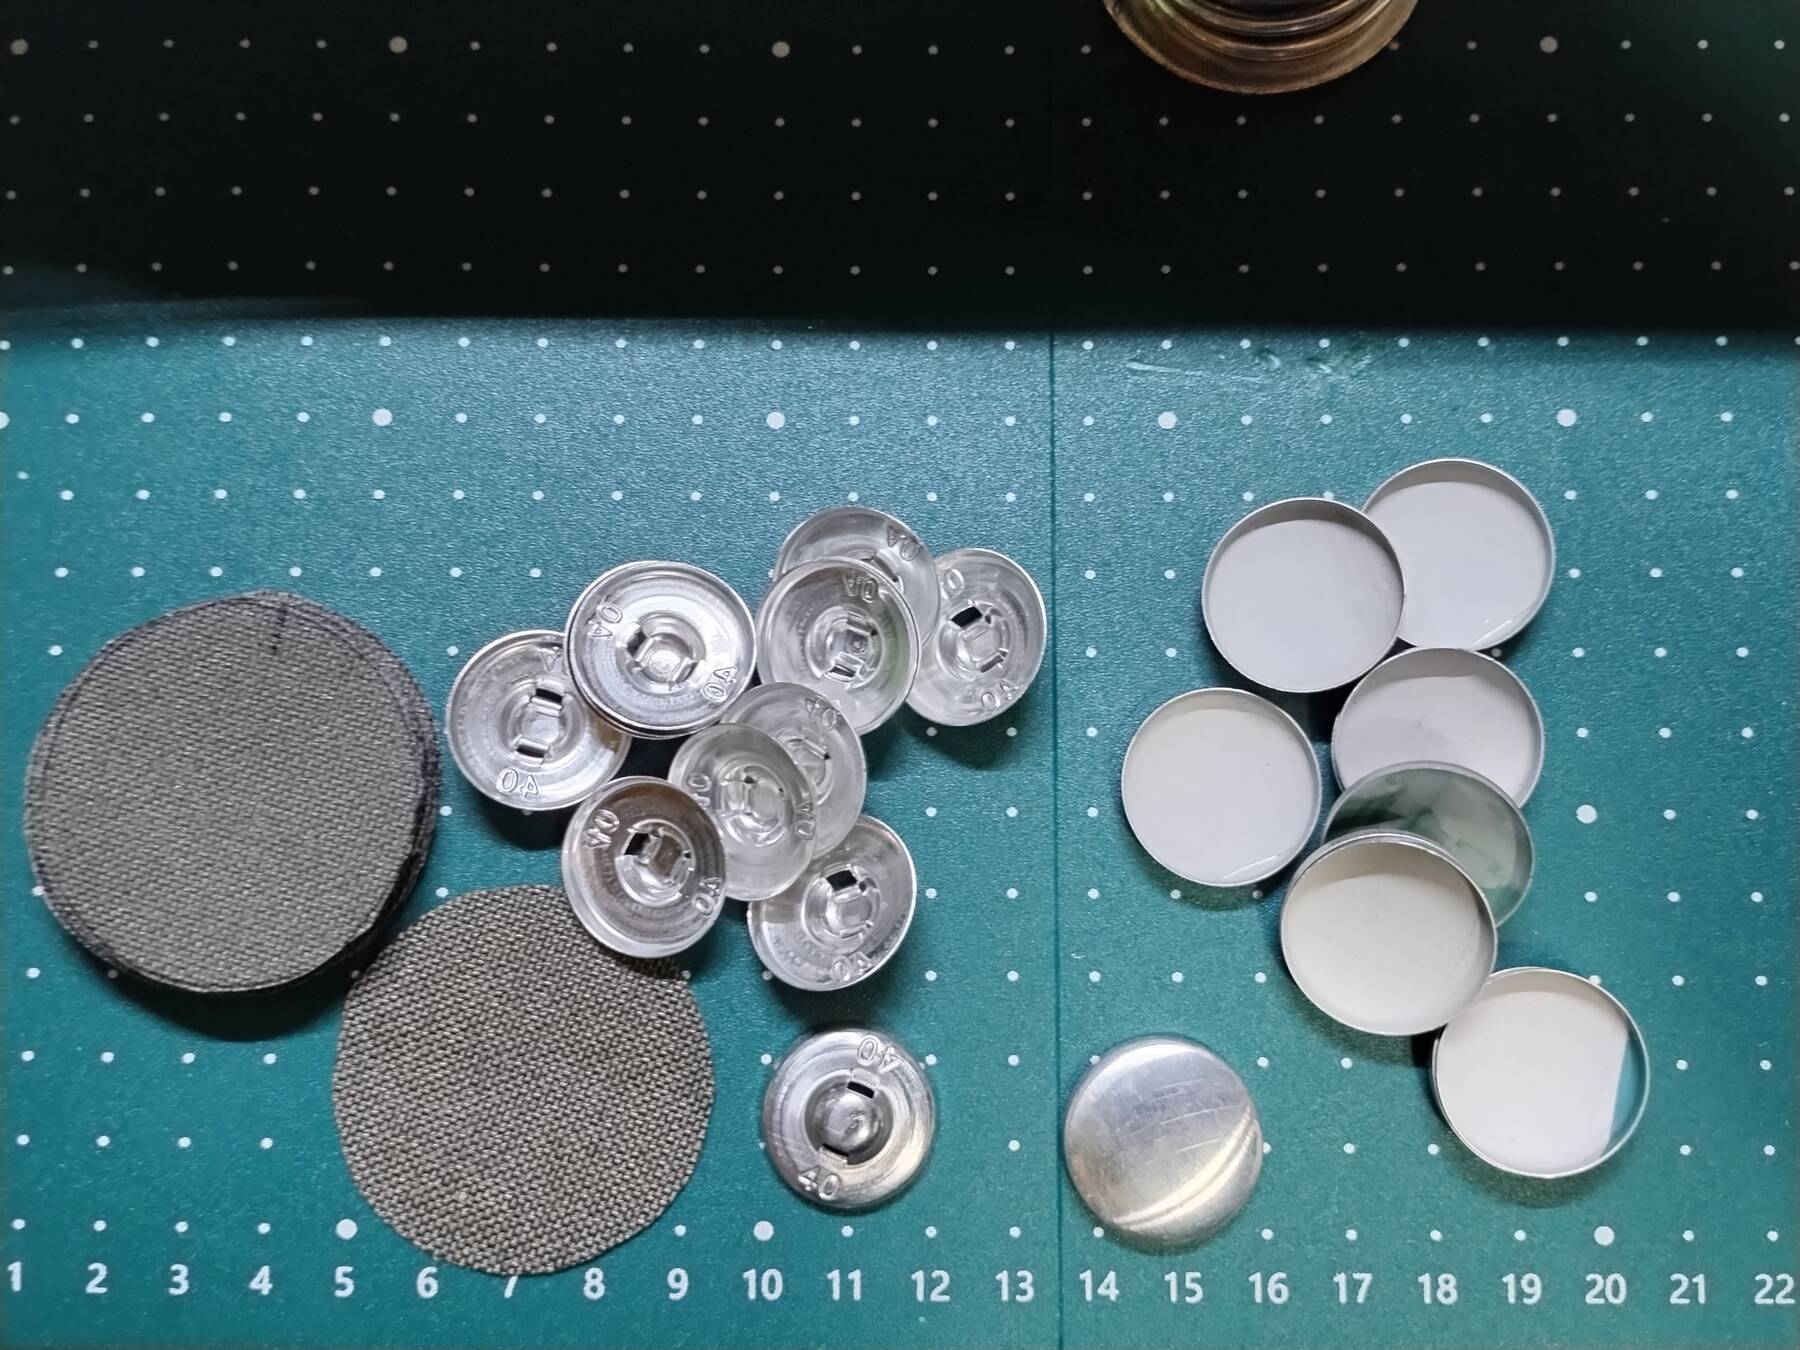
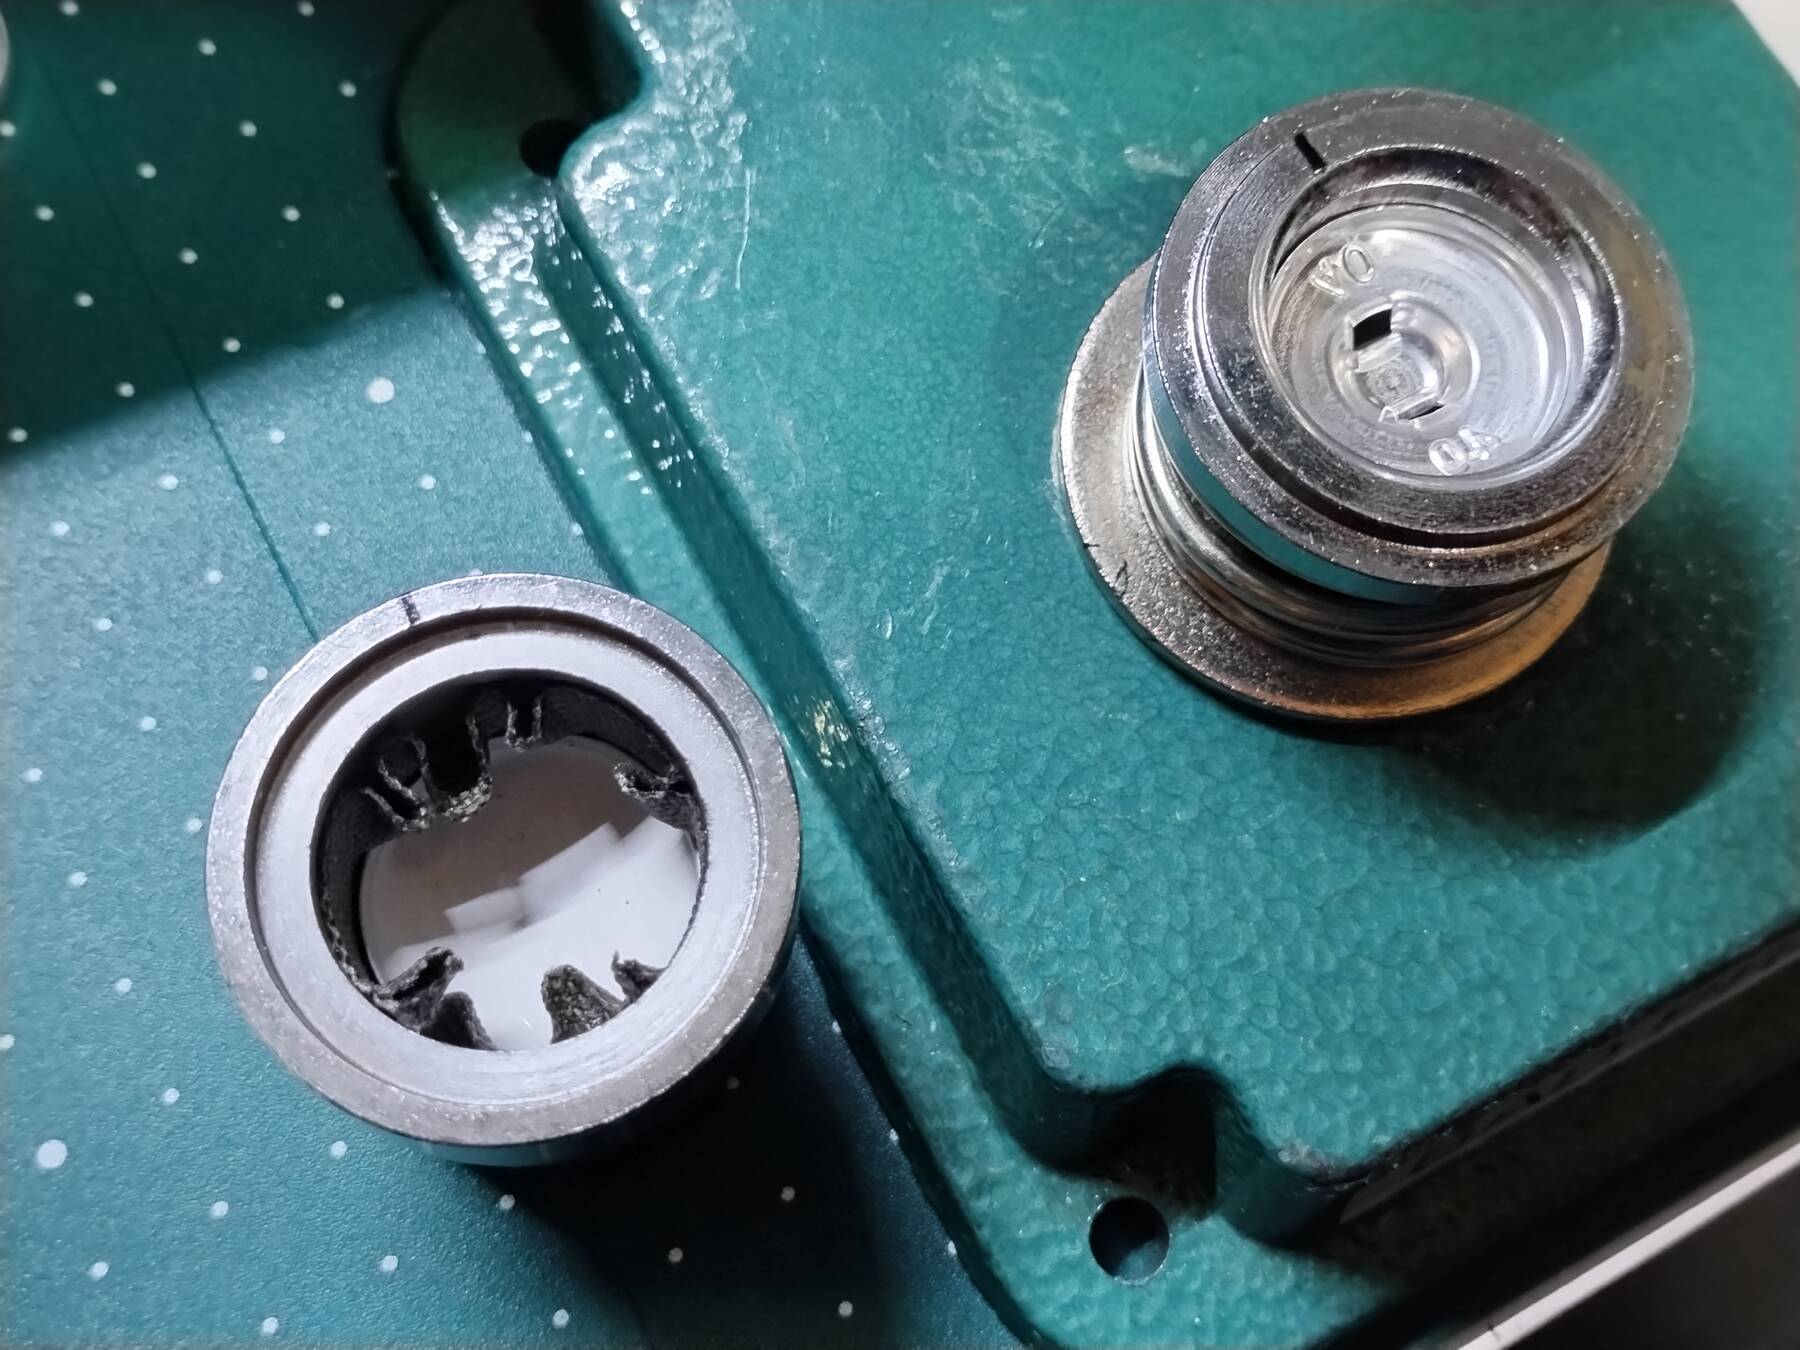
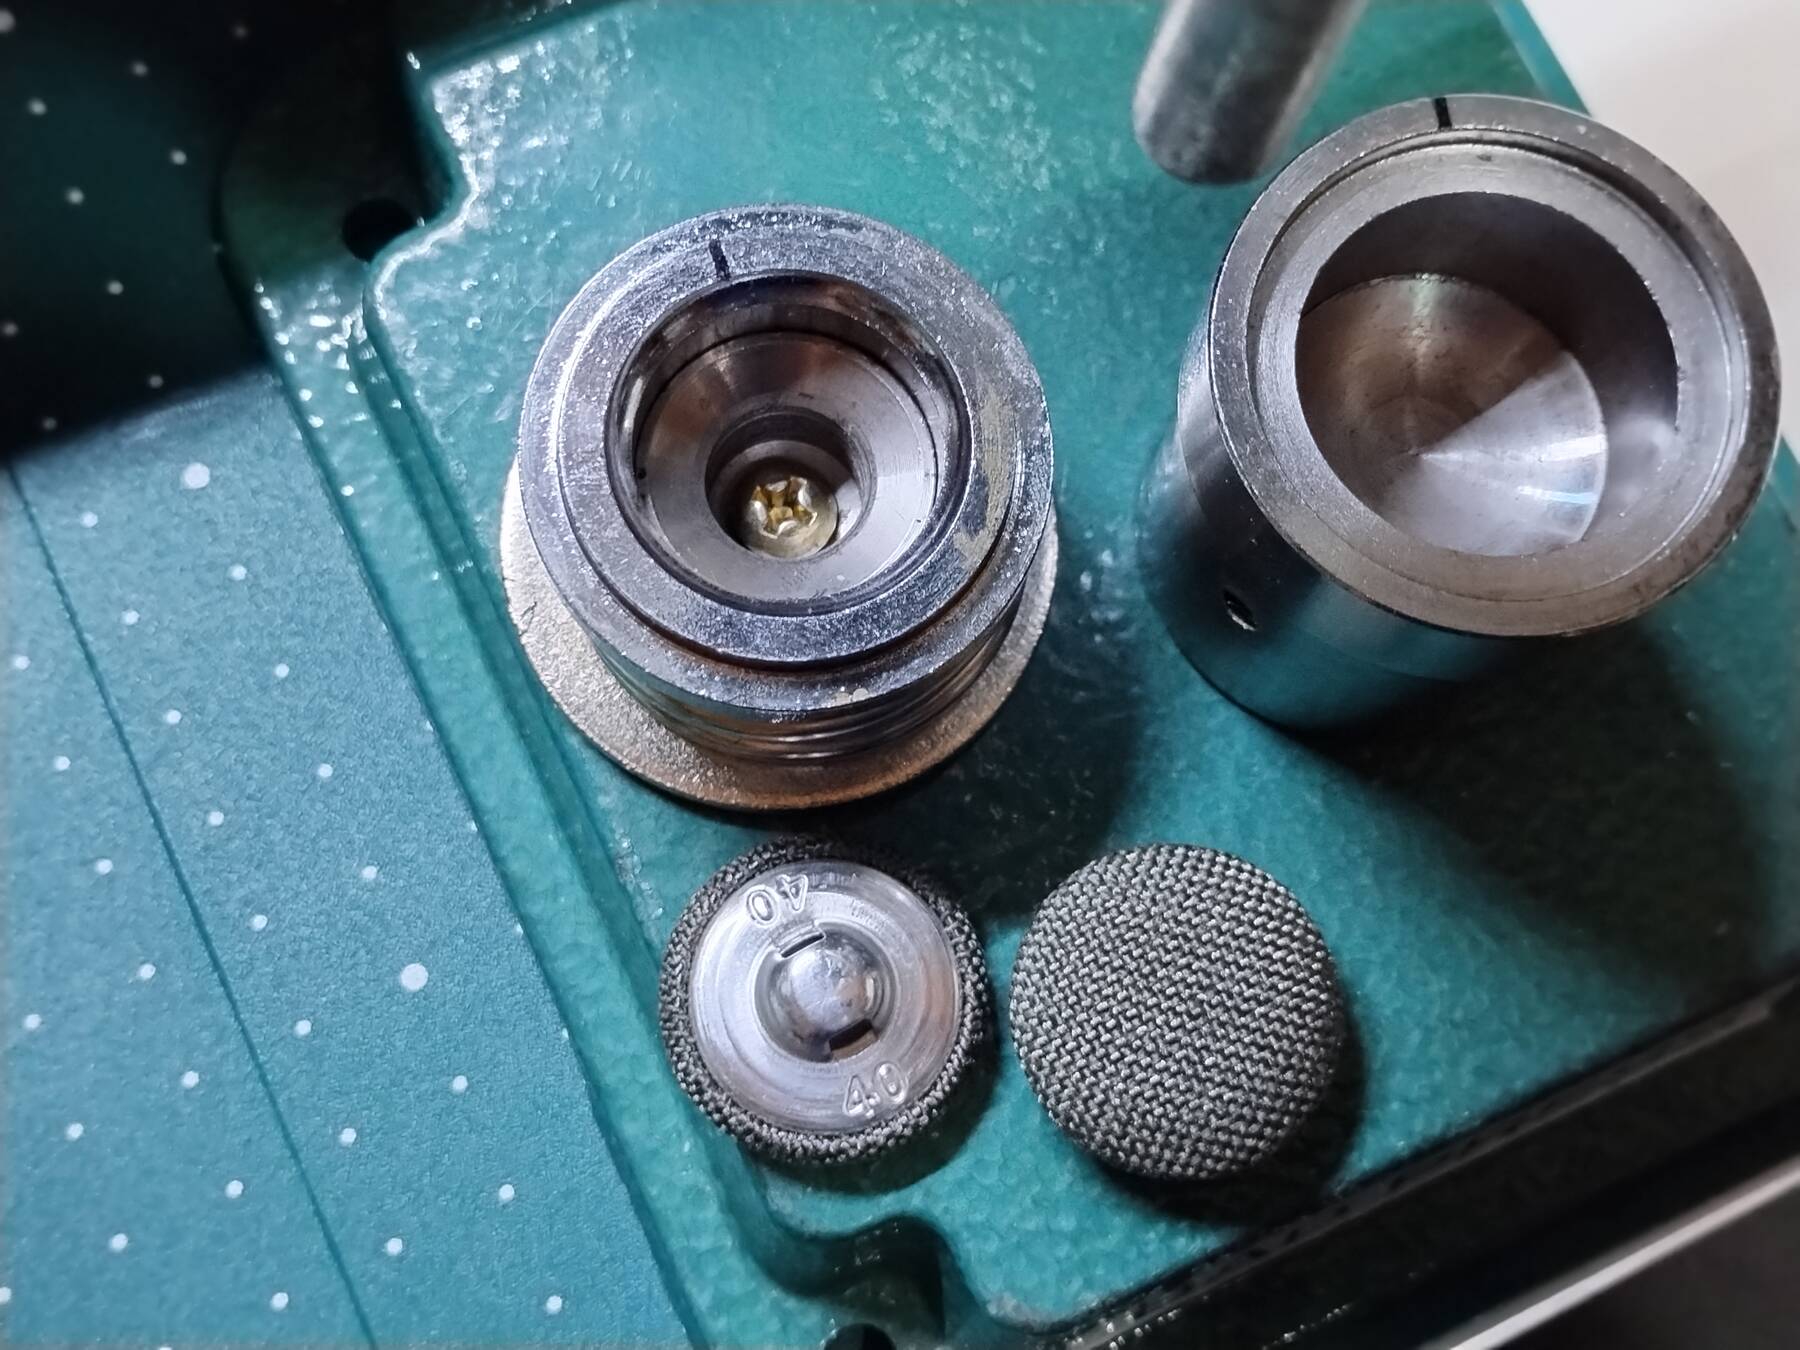
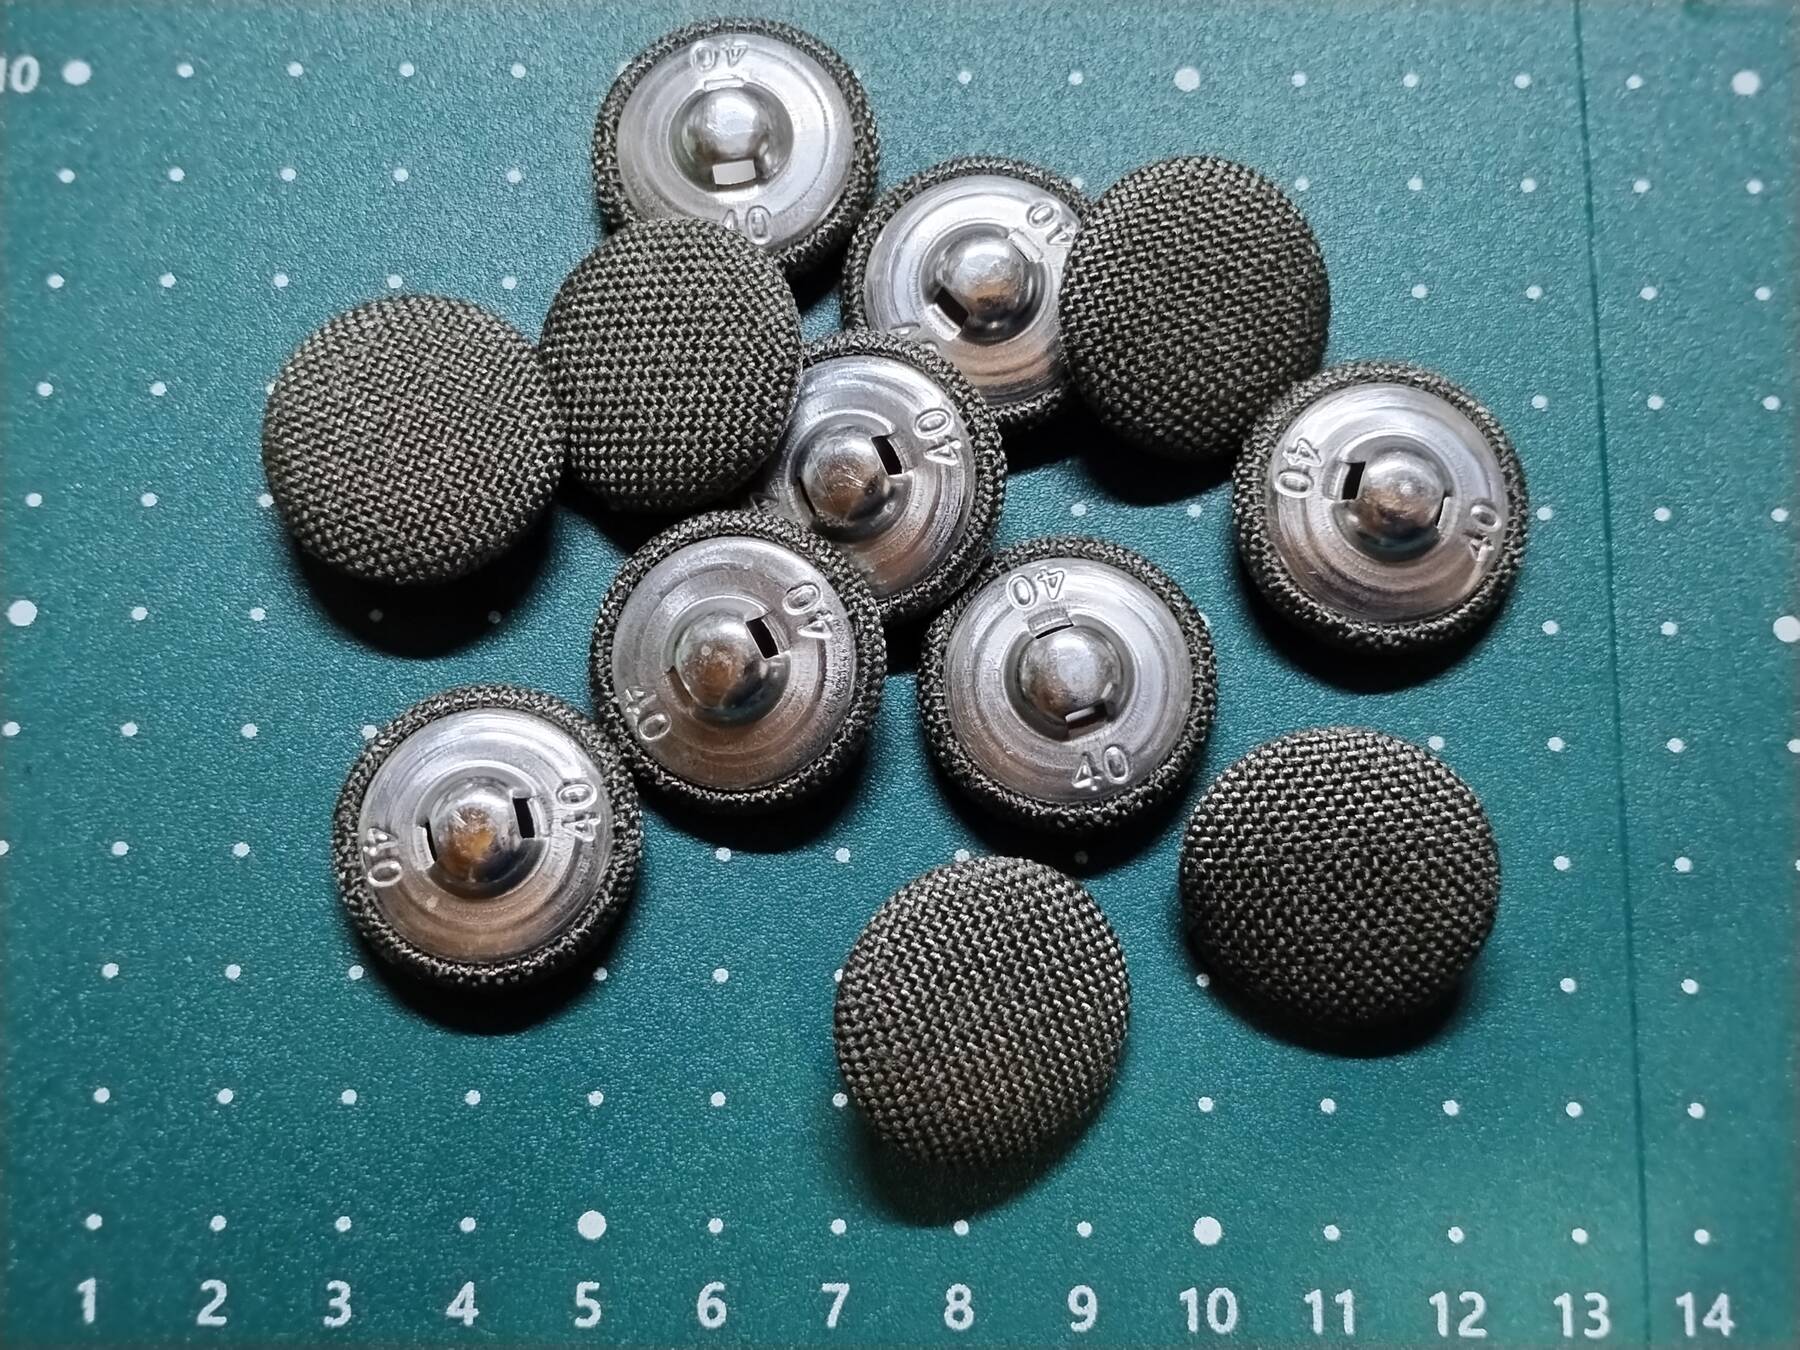
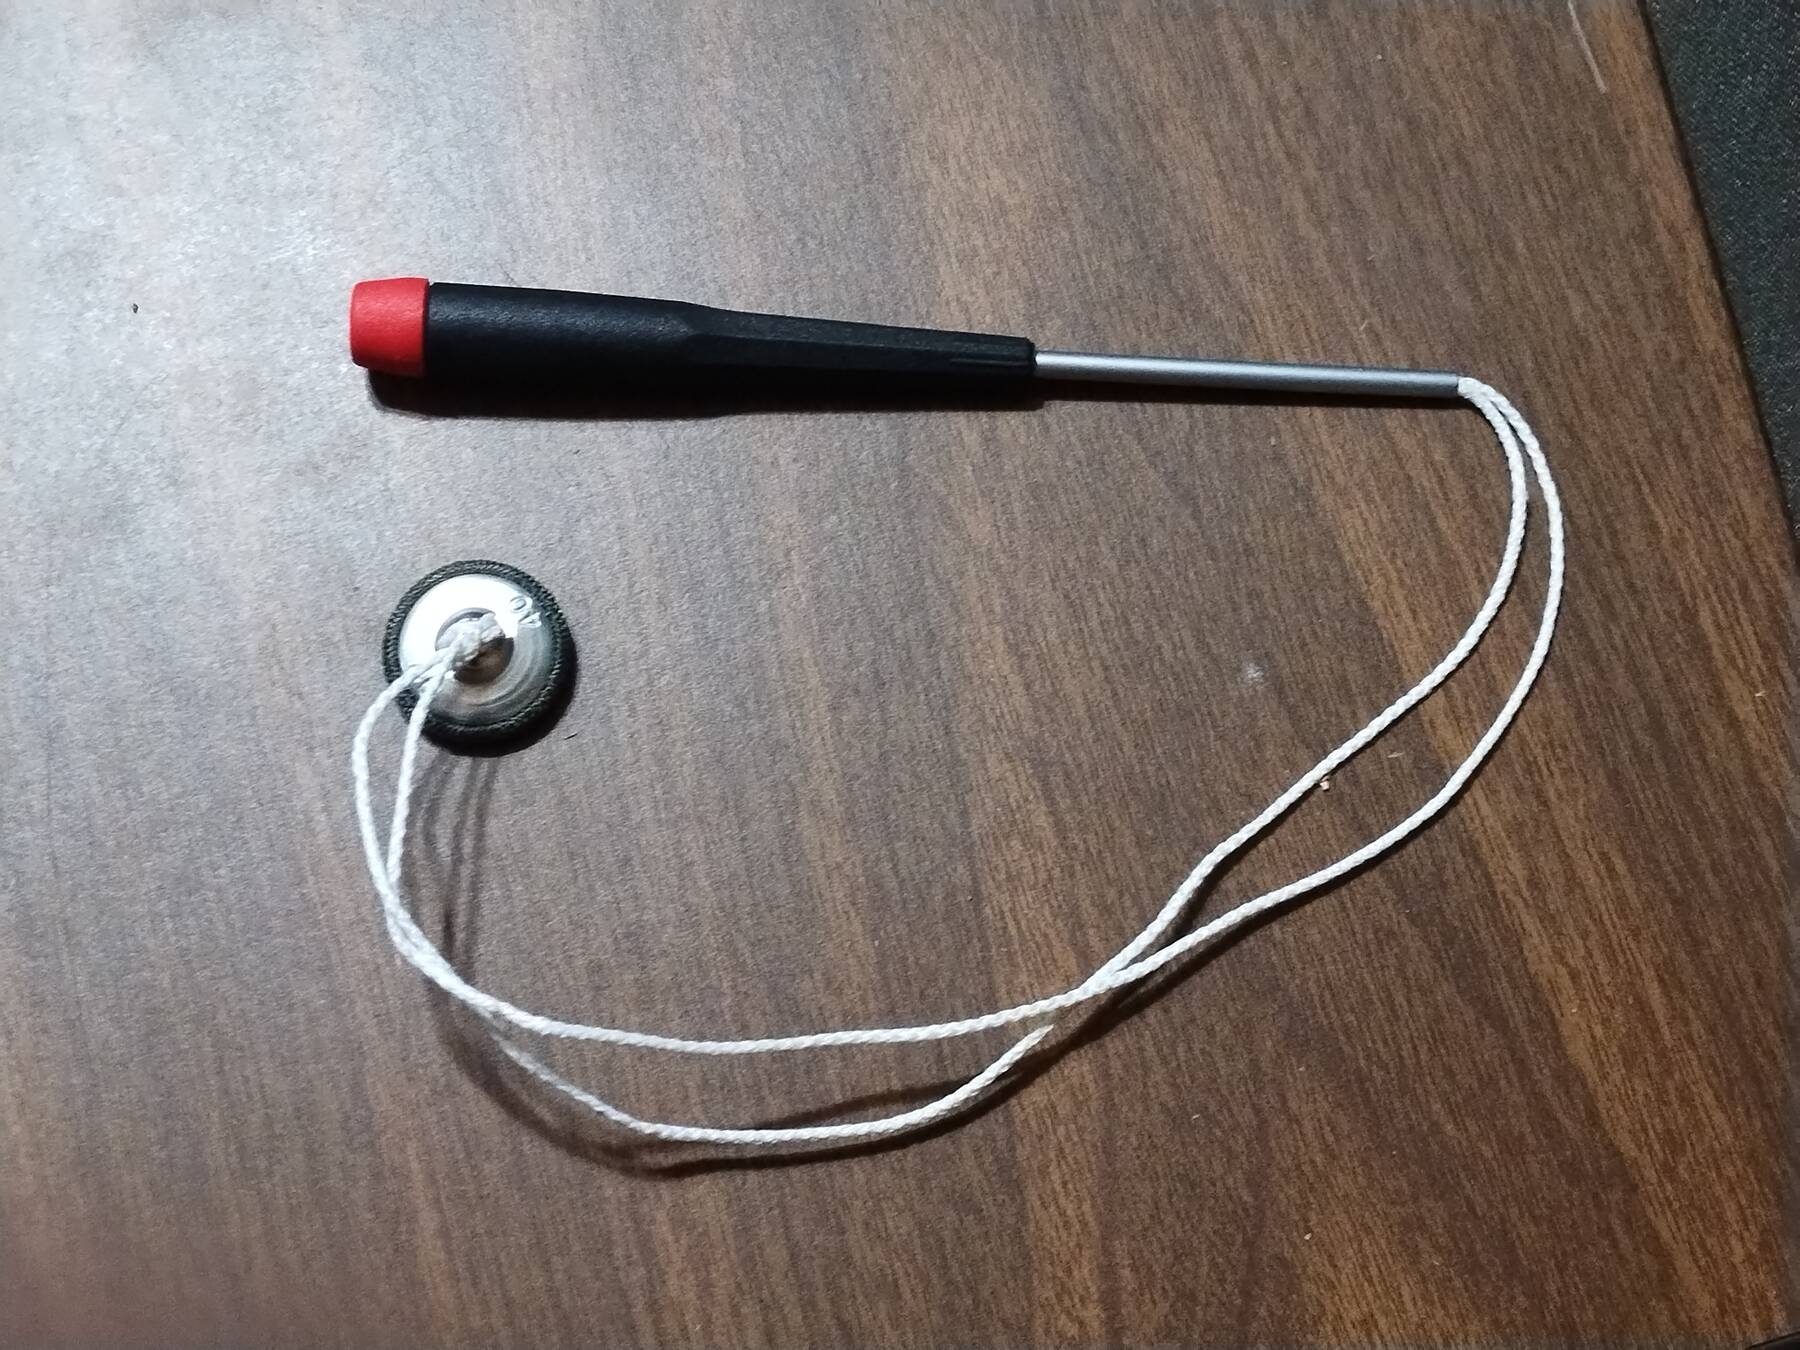
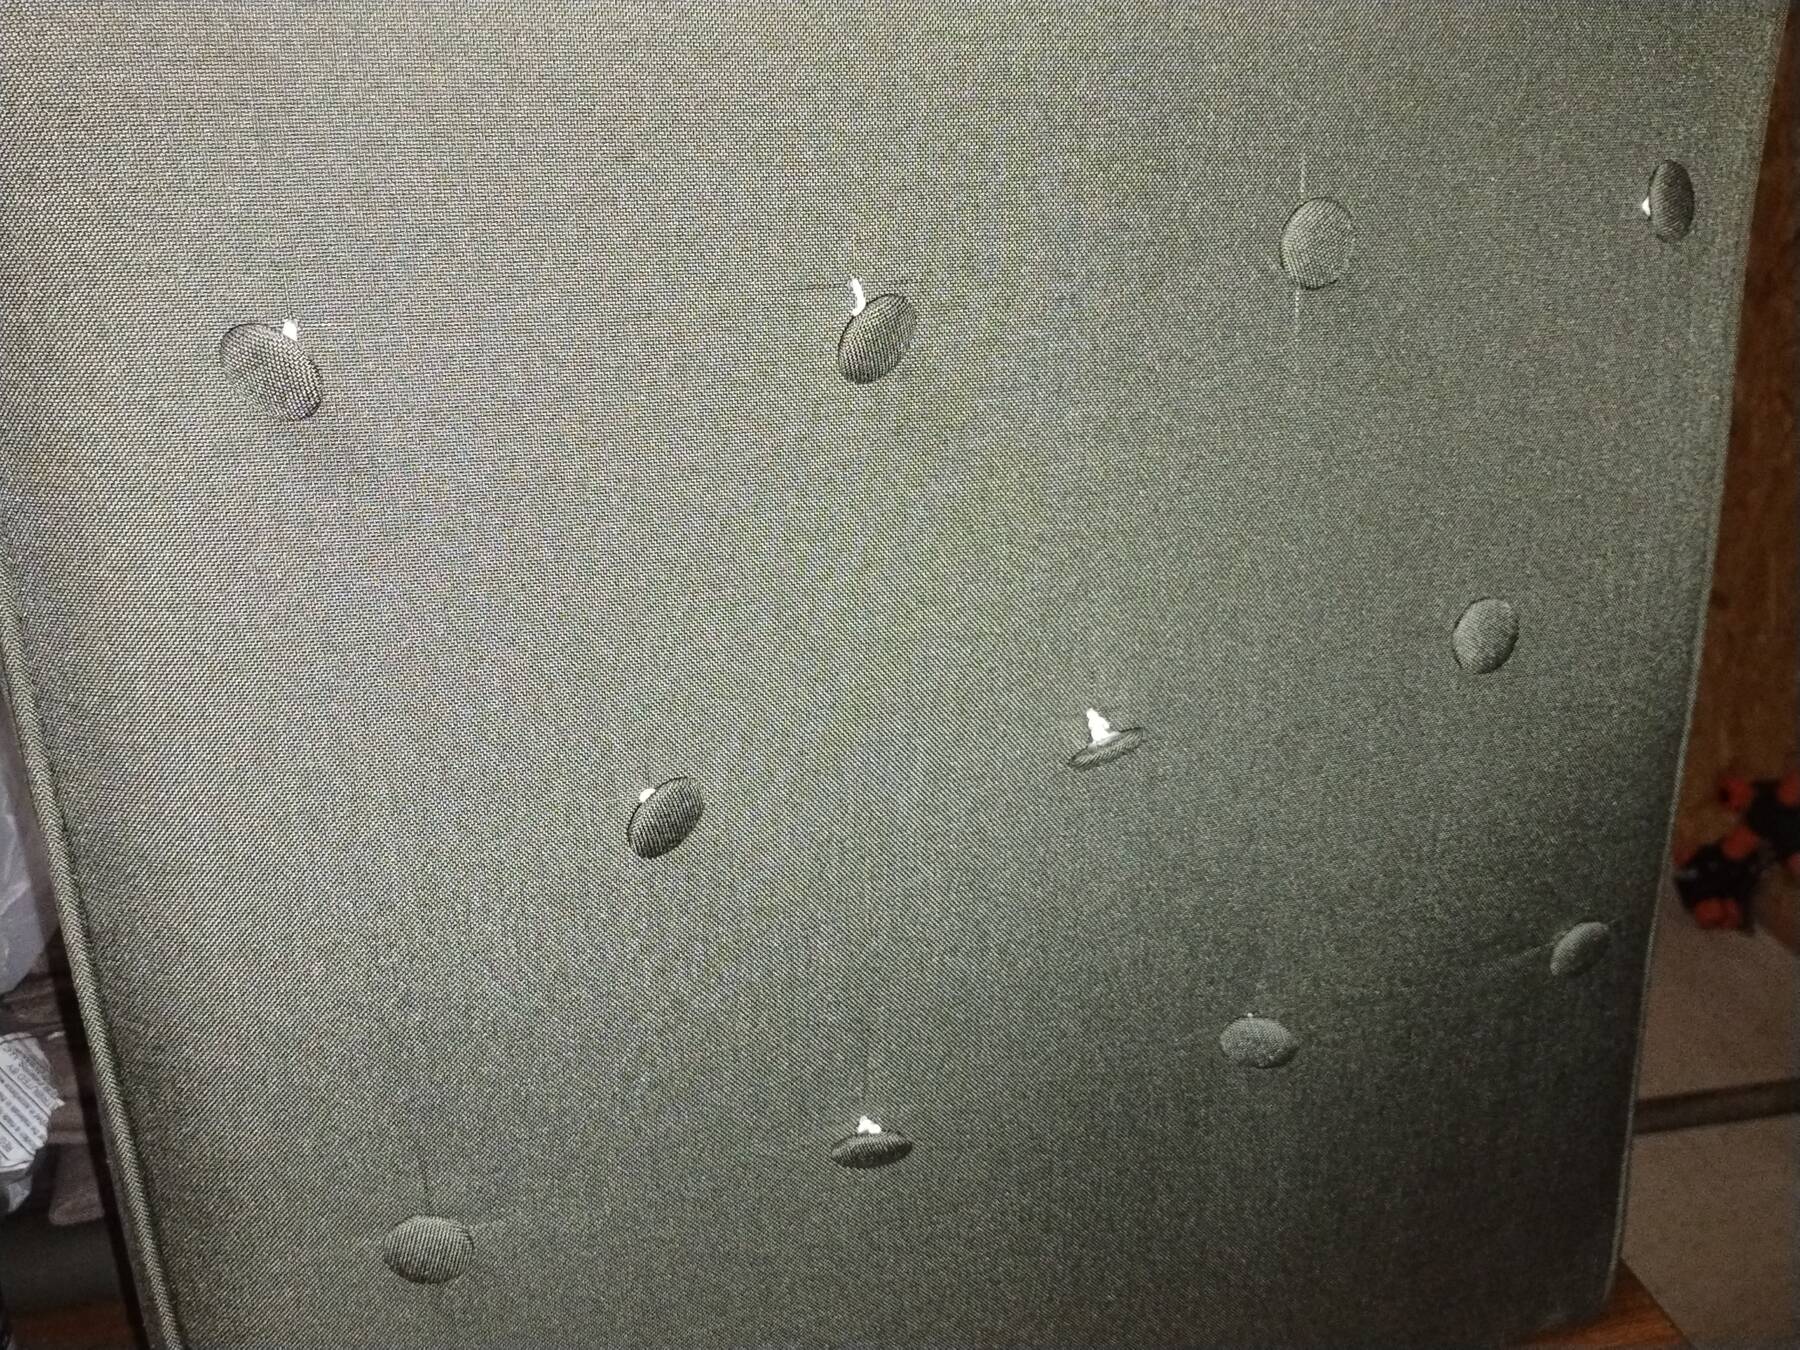
Originally I thought I was going to have to re-use the original buttons, or use some pre-made ones. I obtained a button press for review, so I was able to make my own matching buttons.
Day 1 - Making buttons, and cutting fabric
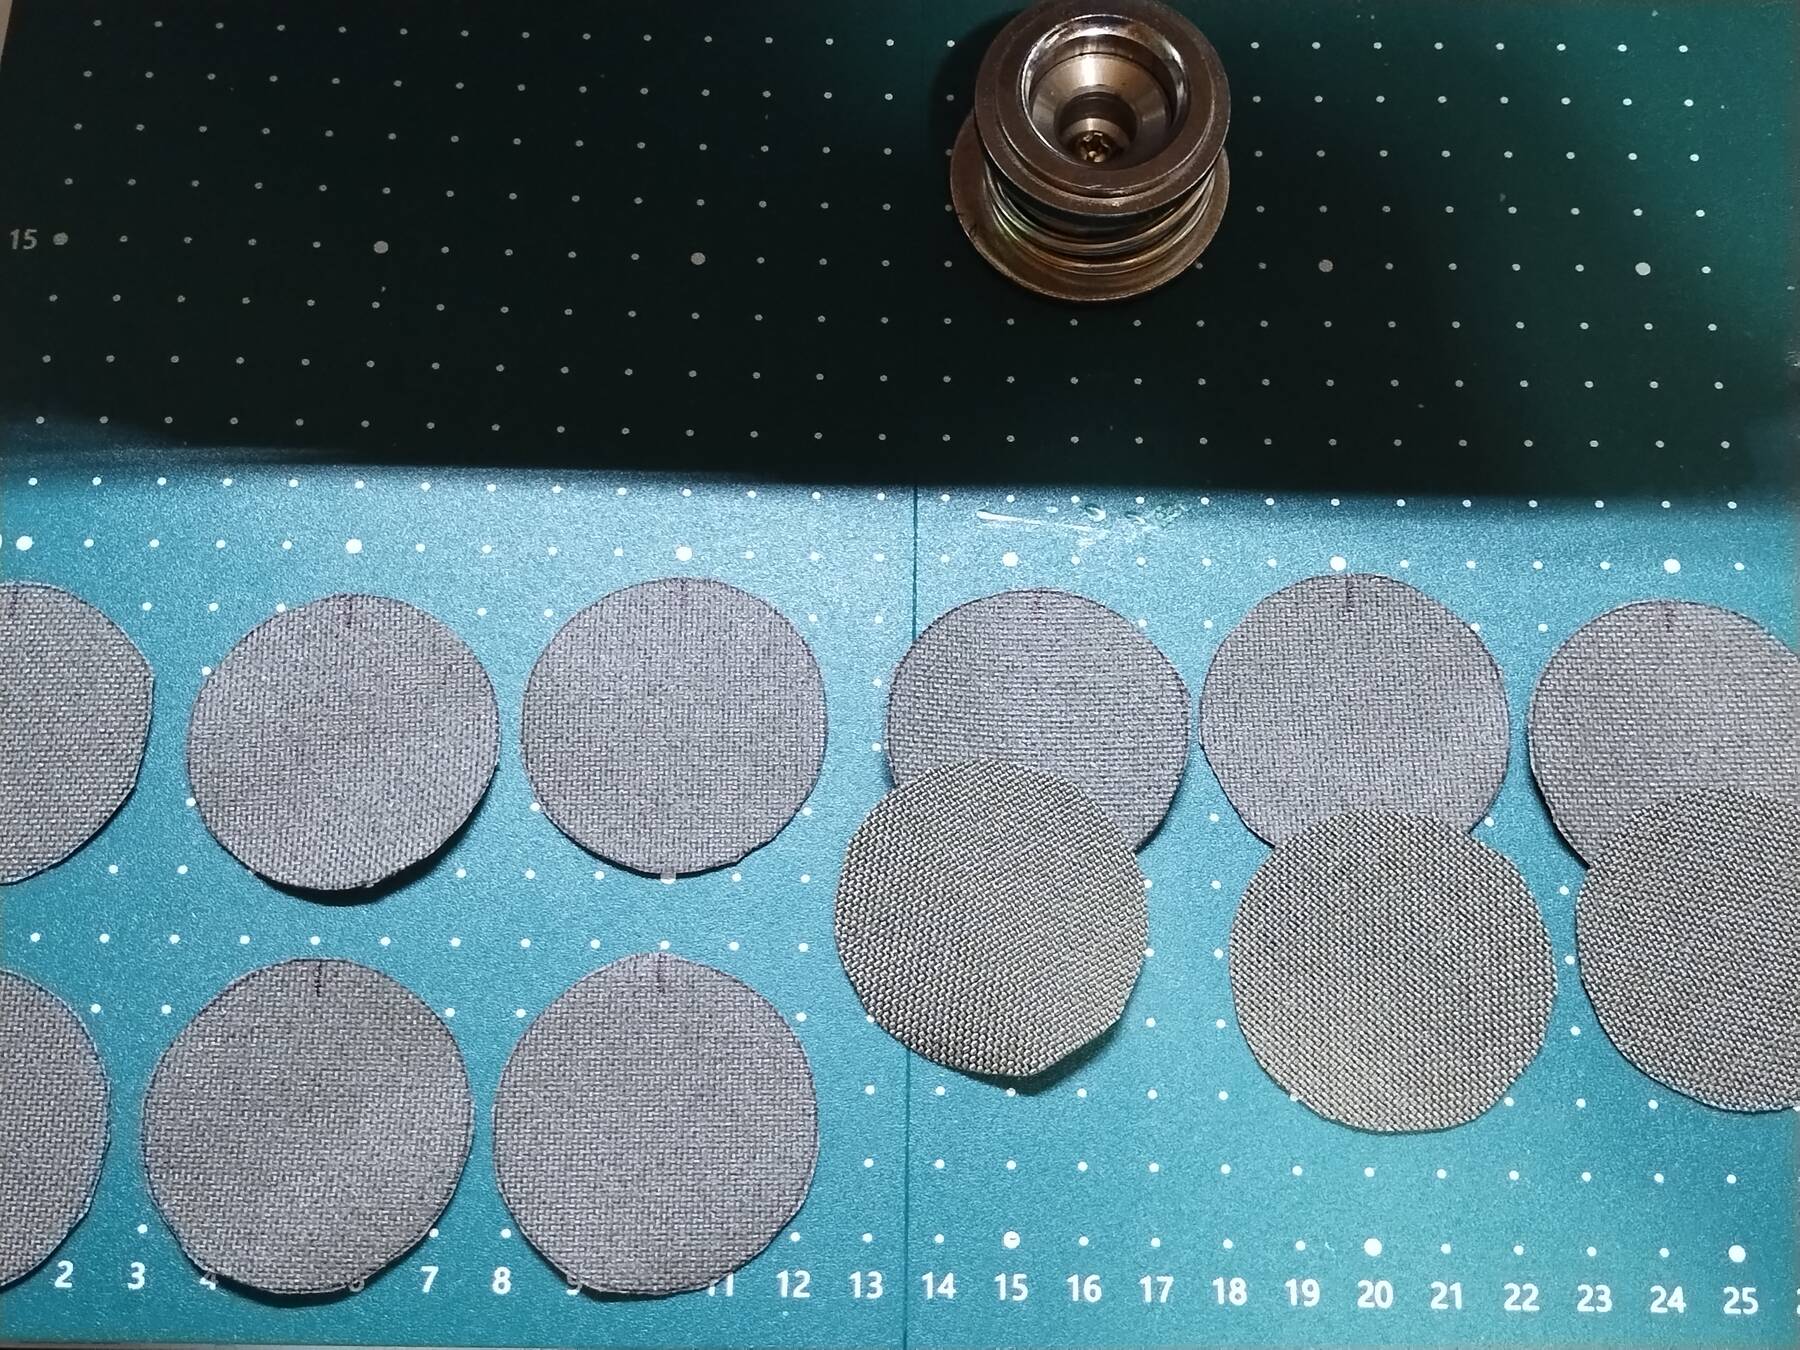
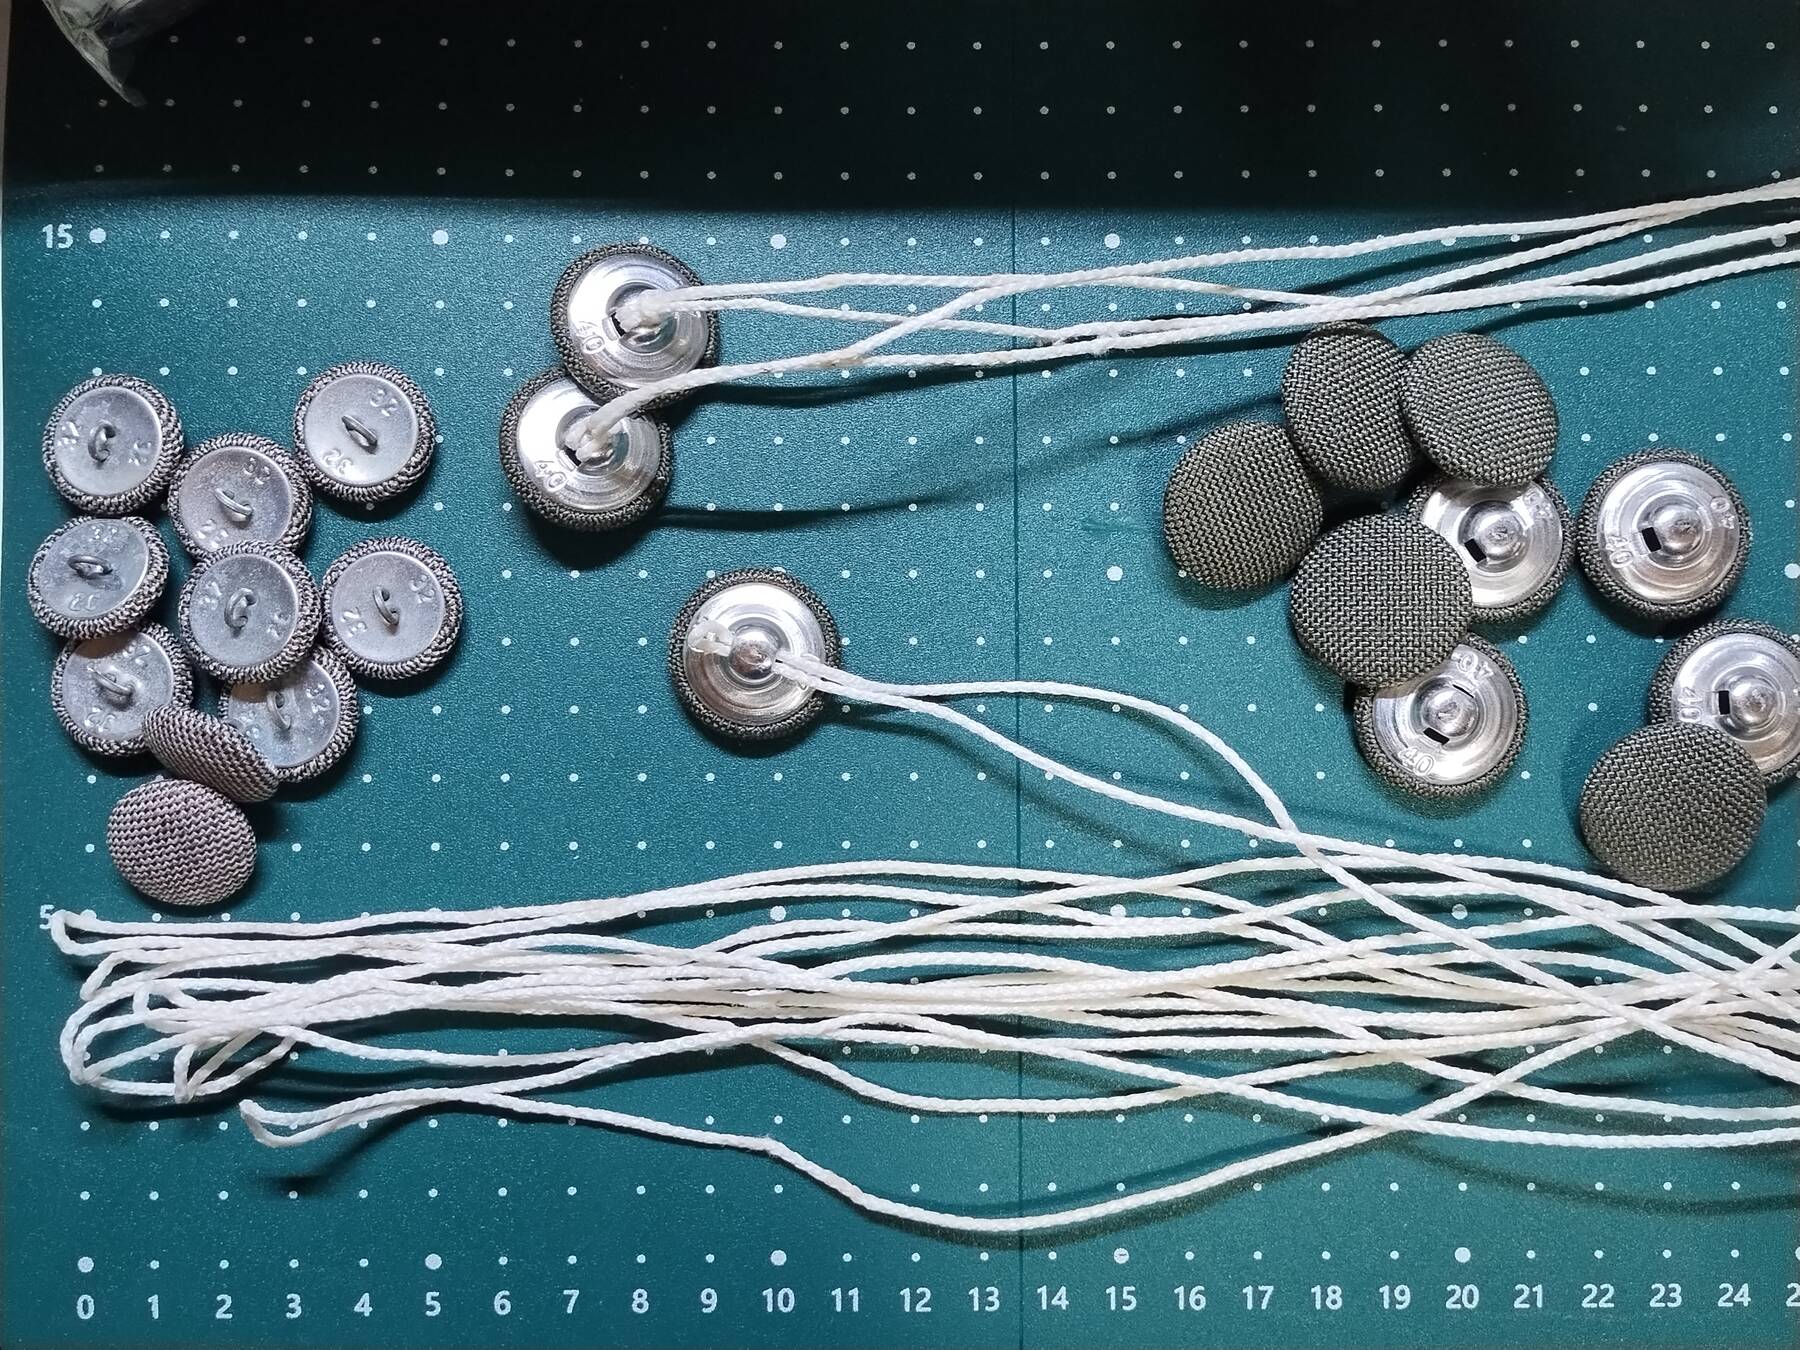
I needed to make 11 buttons, but made 12.
The original buttons were 32mm diameter, but my options were 30, 40, and 48. I went with 40mm.
I oriented the fabric with the string hole to help them look consistent in the final product. A sharpie mark on the mold was used to align things.
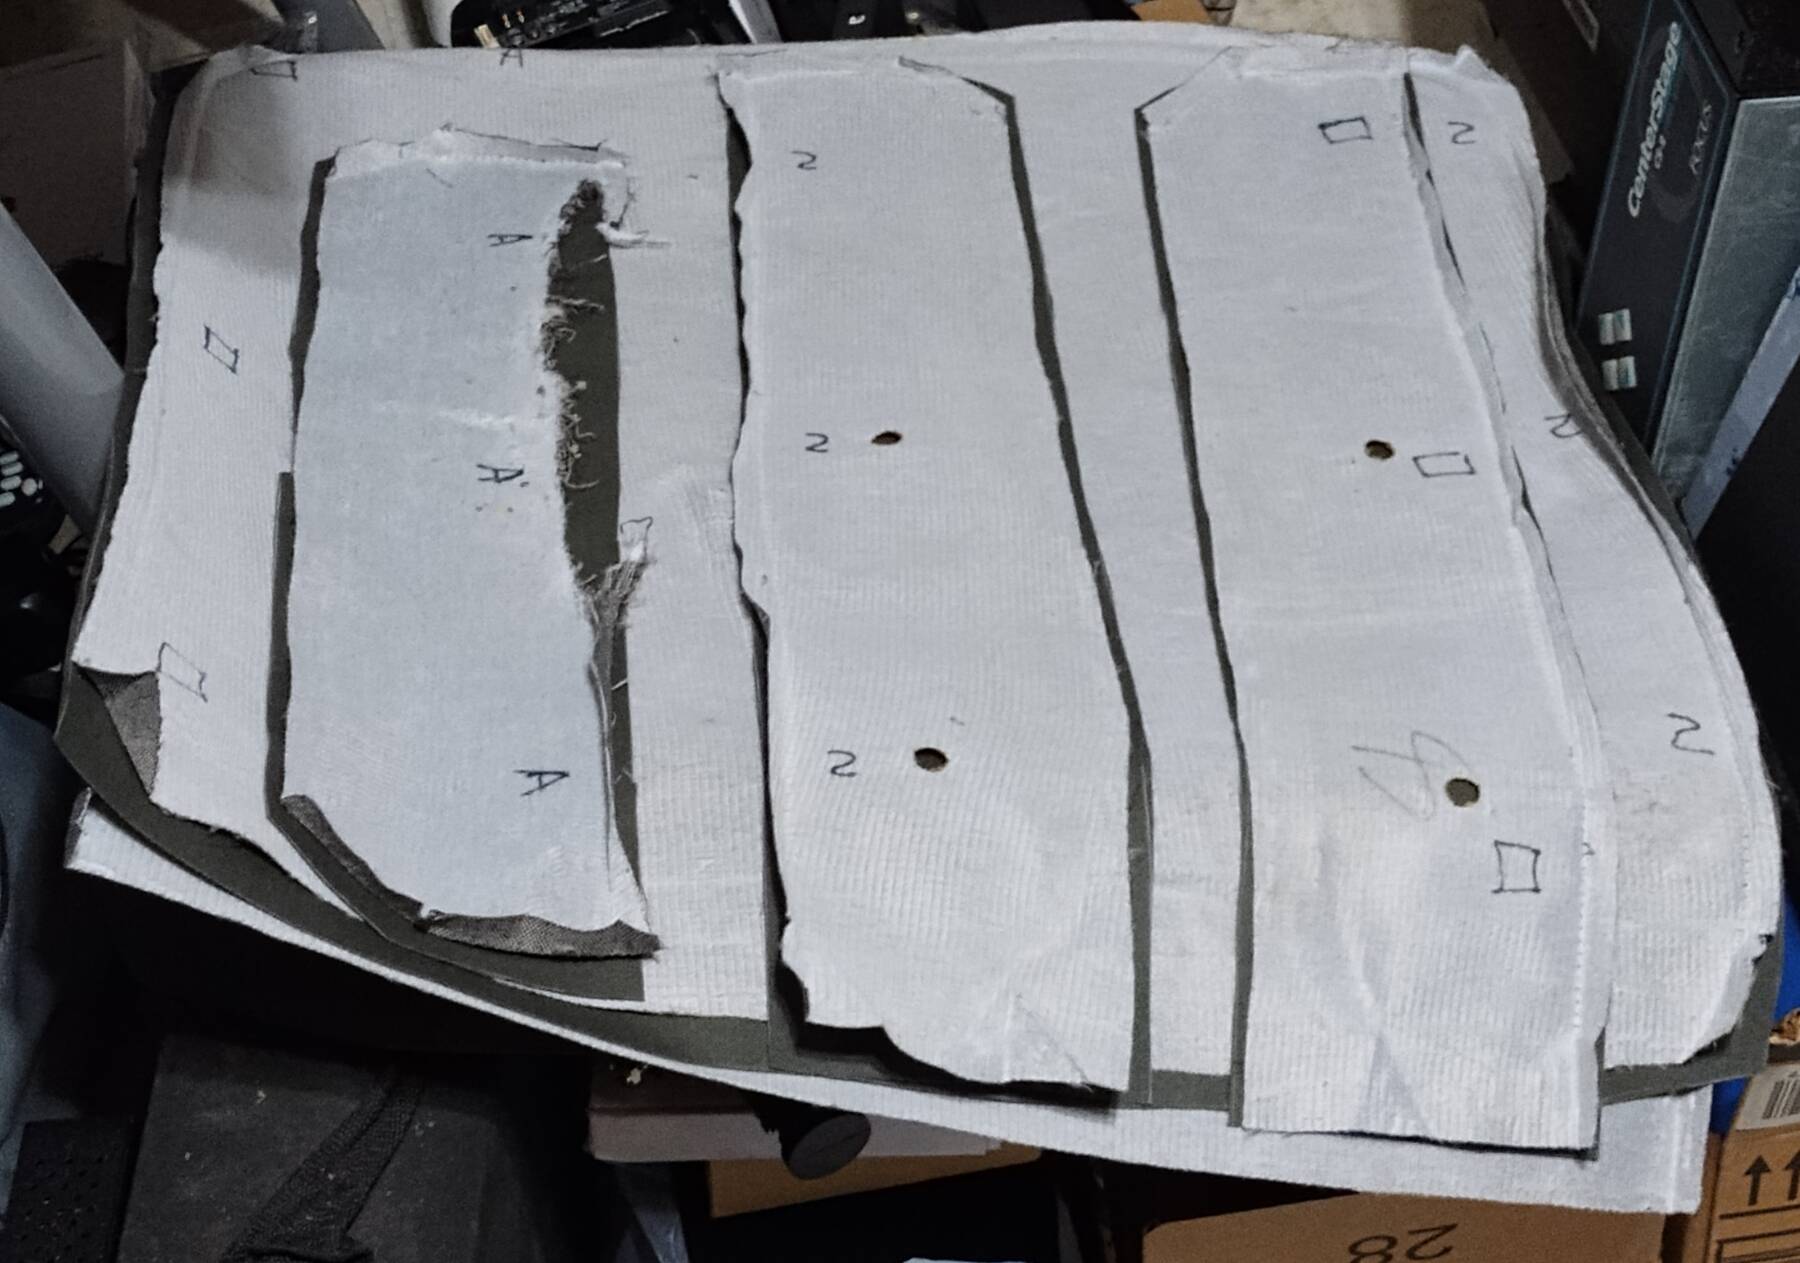
With the old cushions covers, I drew a some seam matching marks with a sharpie, and then ripped out all the seams
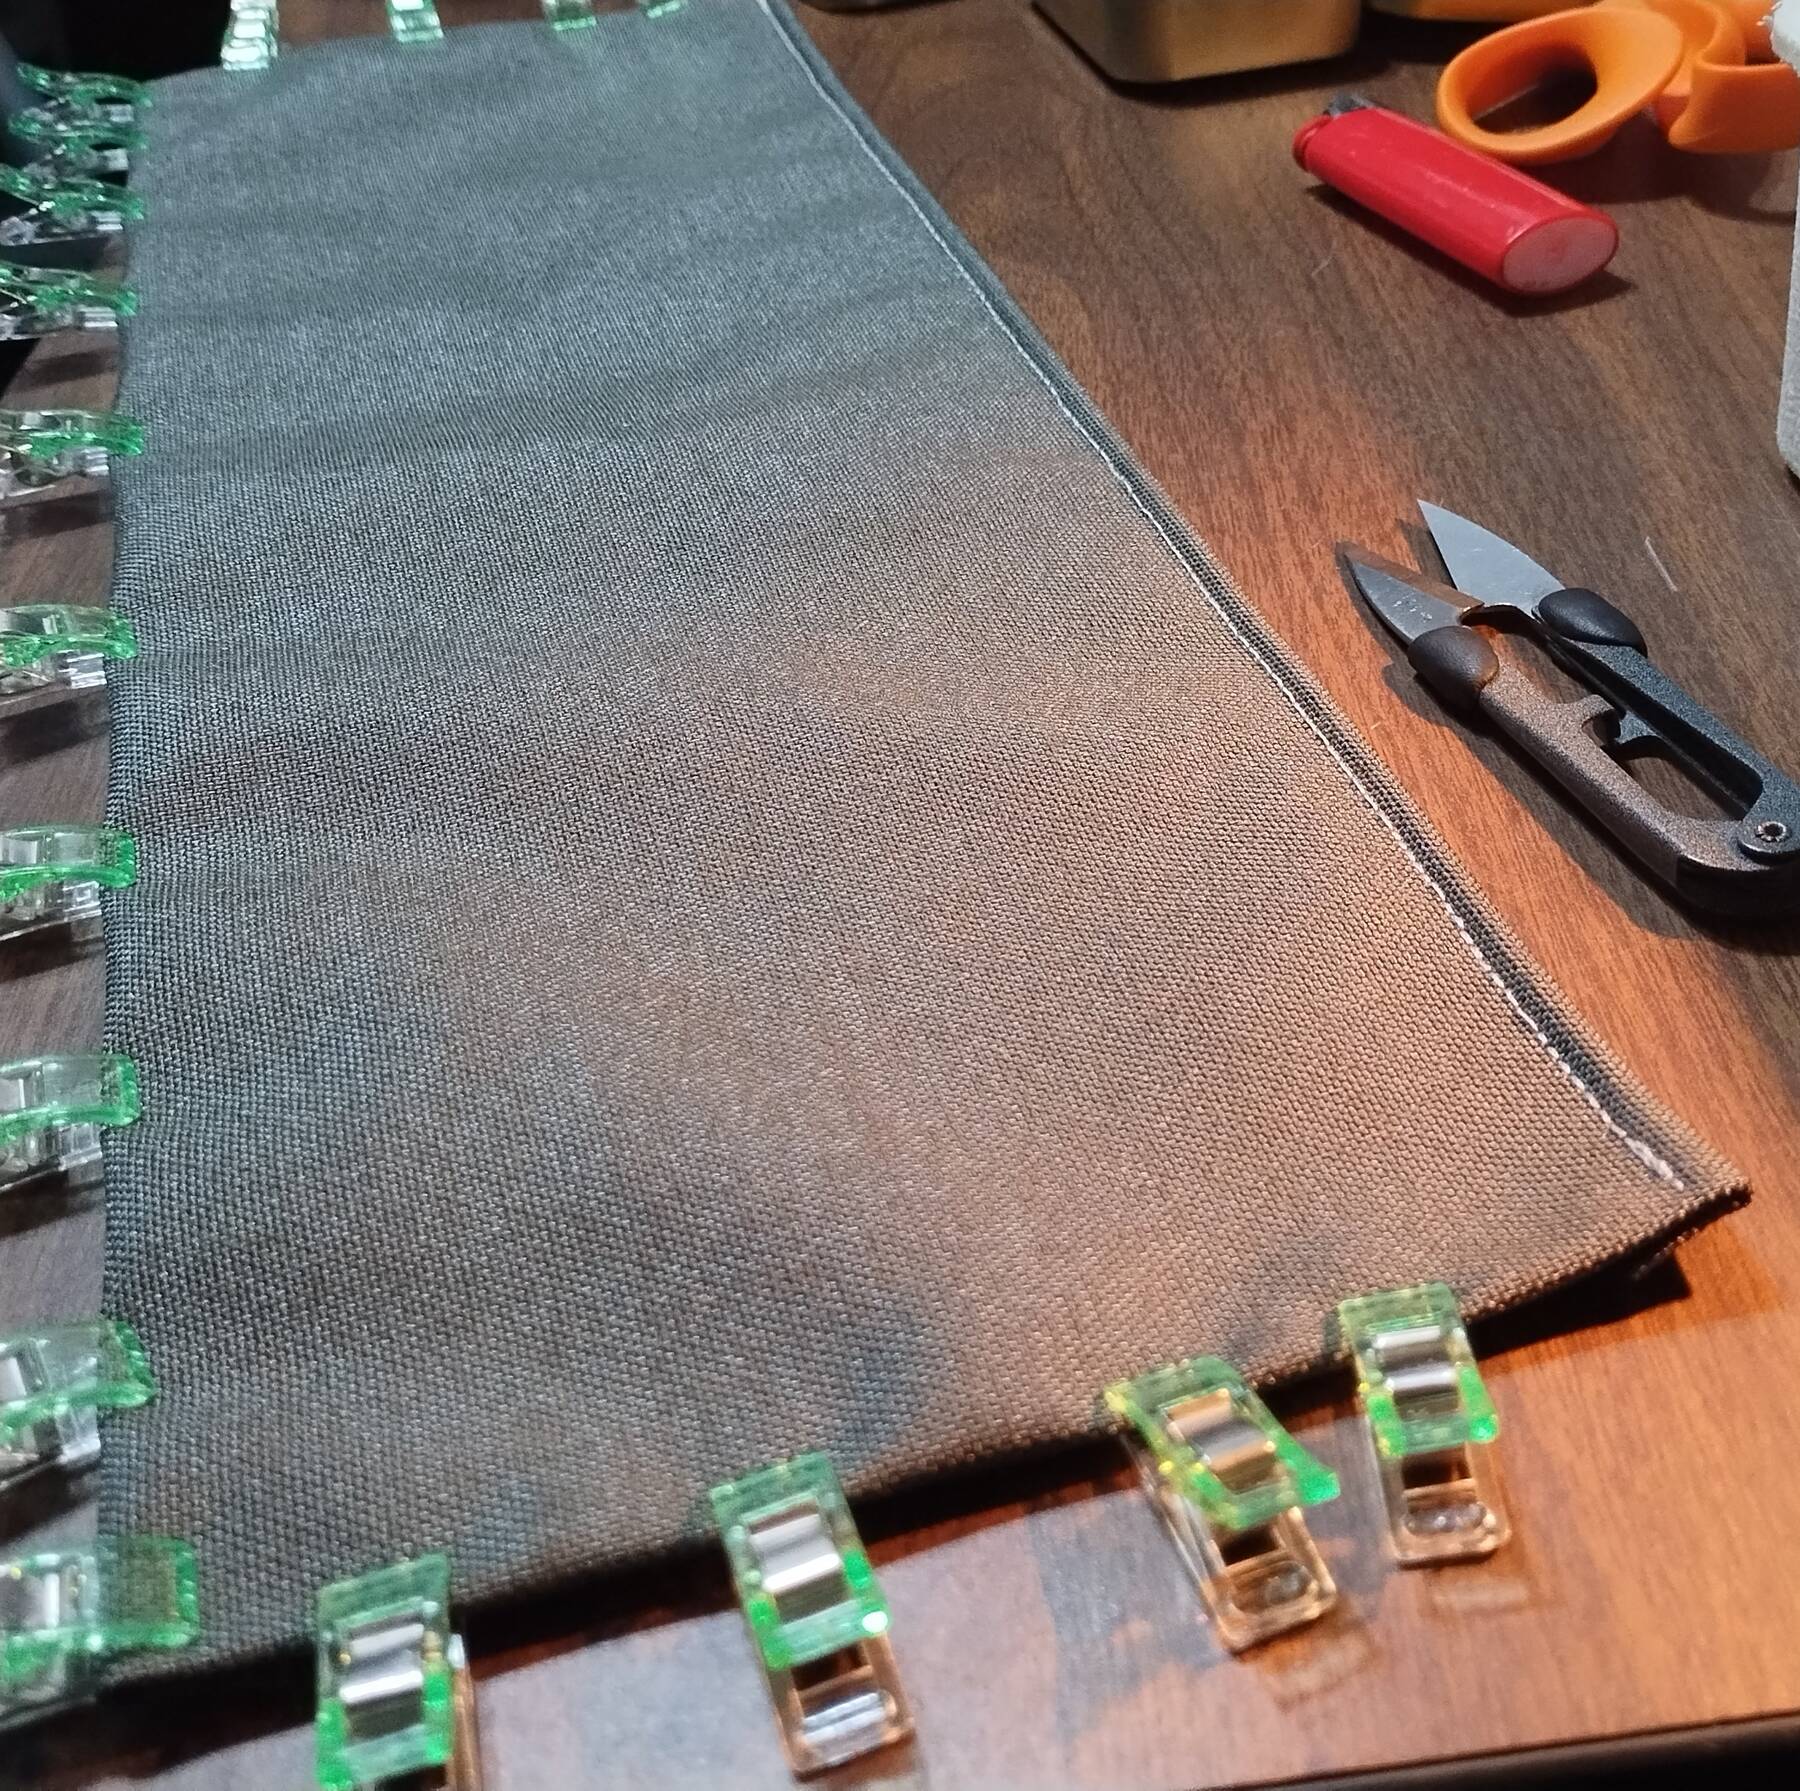
I didn't take many photos of the fabric cutting. It mostly involved laying the old fabric on top, using a large (24x6 inch) acrylic ruler to keep things flat, and tracing with a chalk wheel fabric marker.
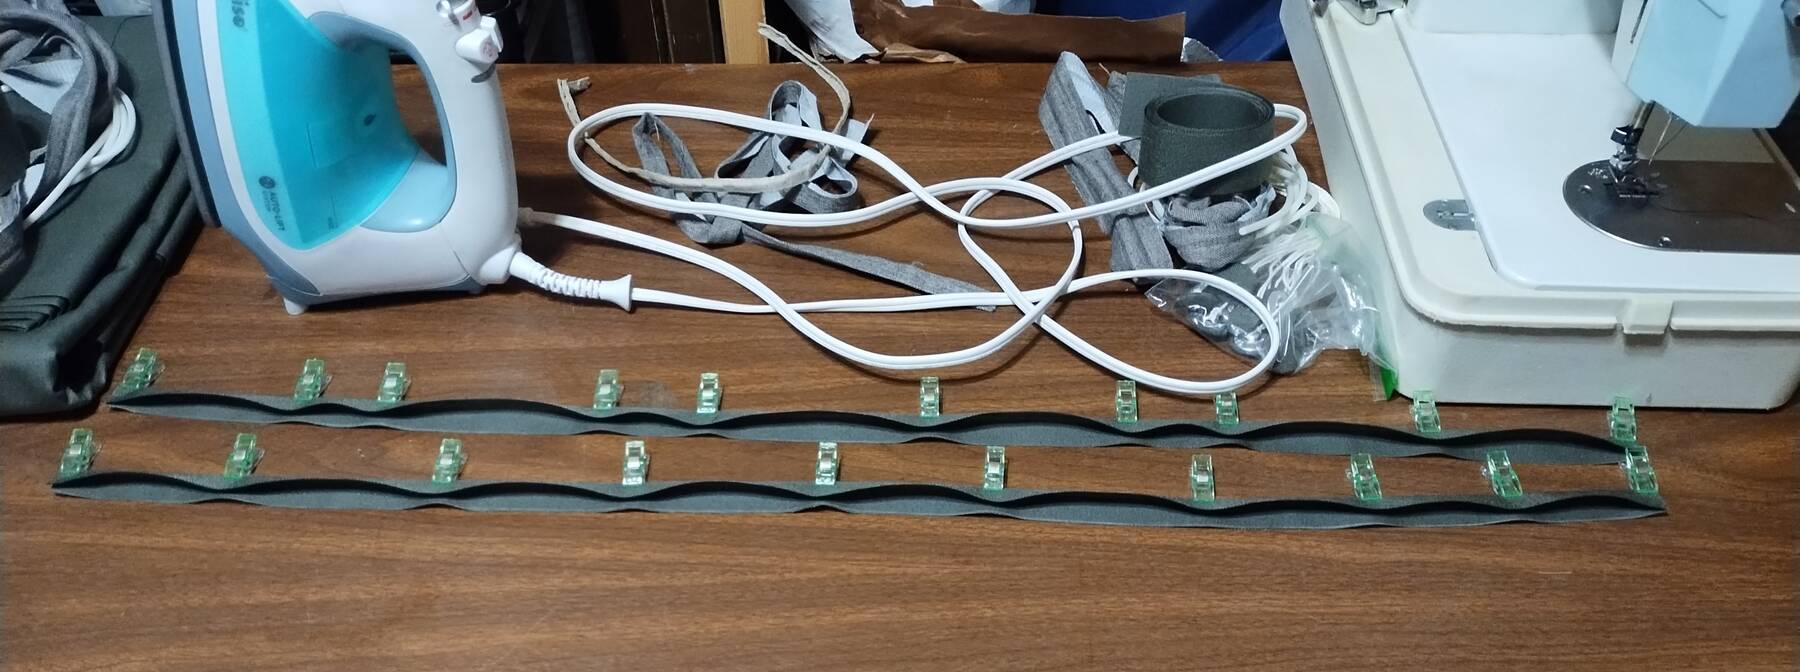
The piping strips were longer than my fabric width so I had to cut a along the length of my roll.
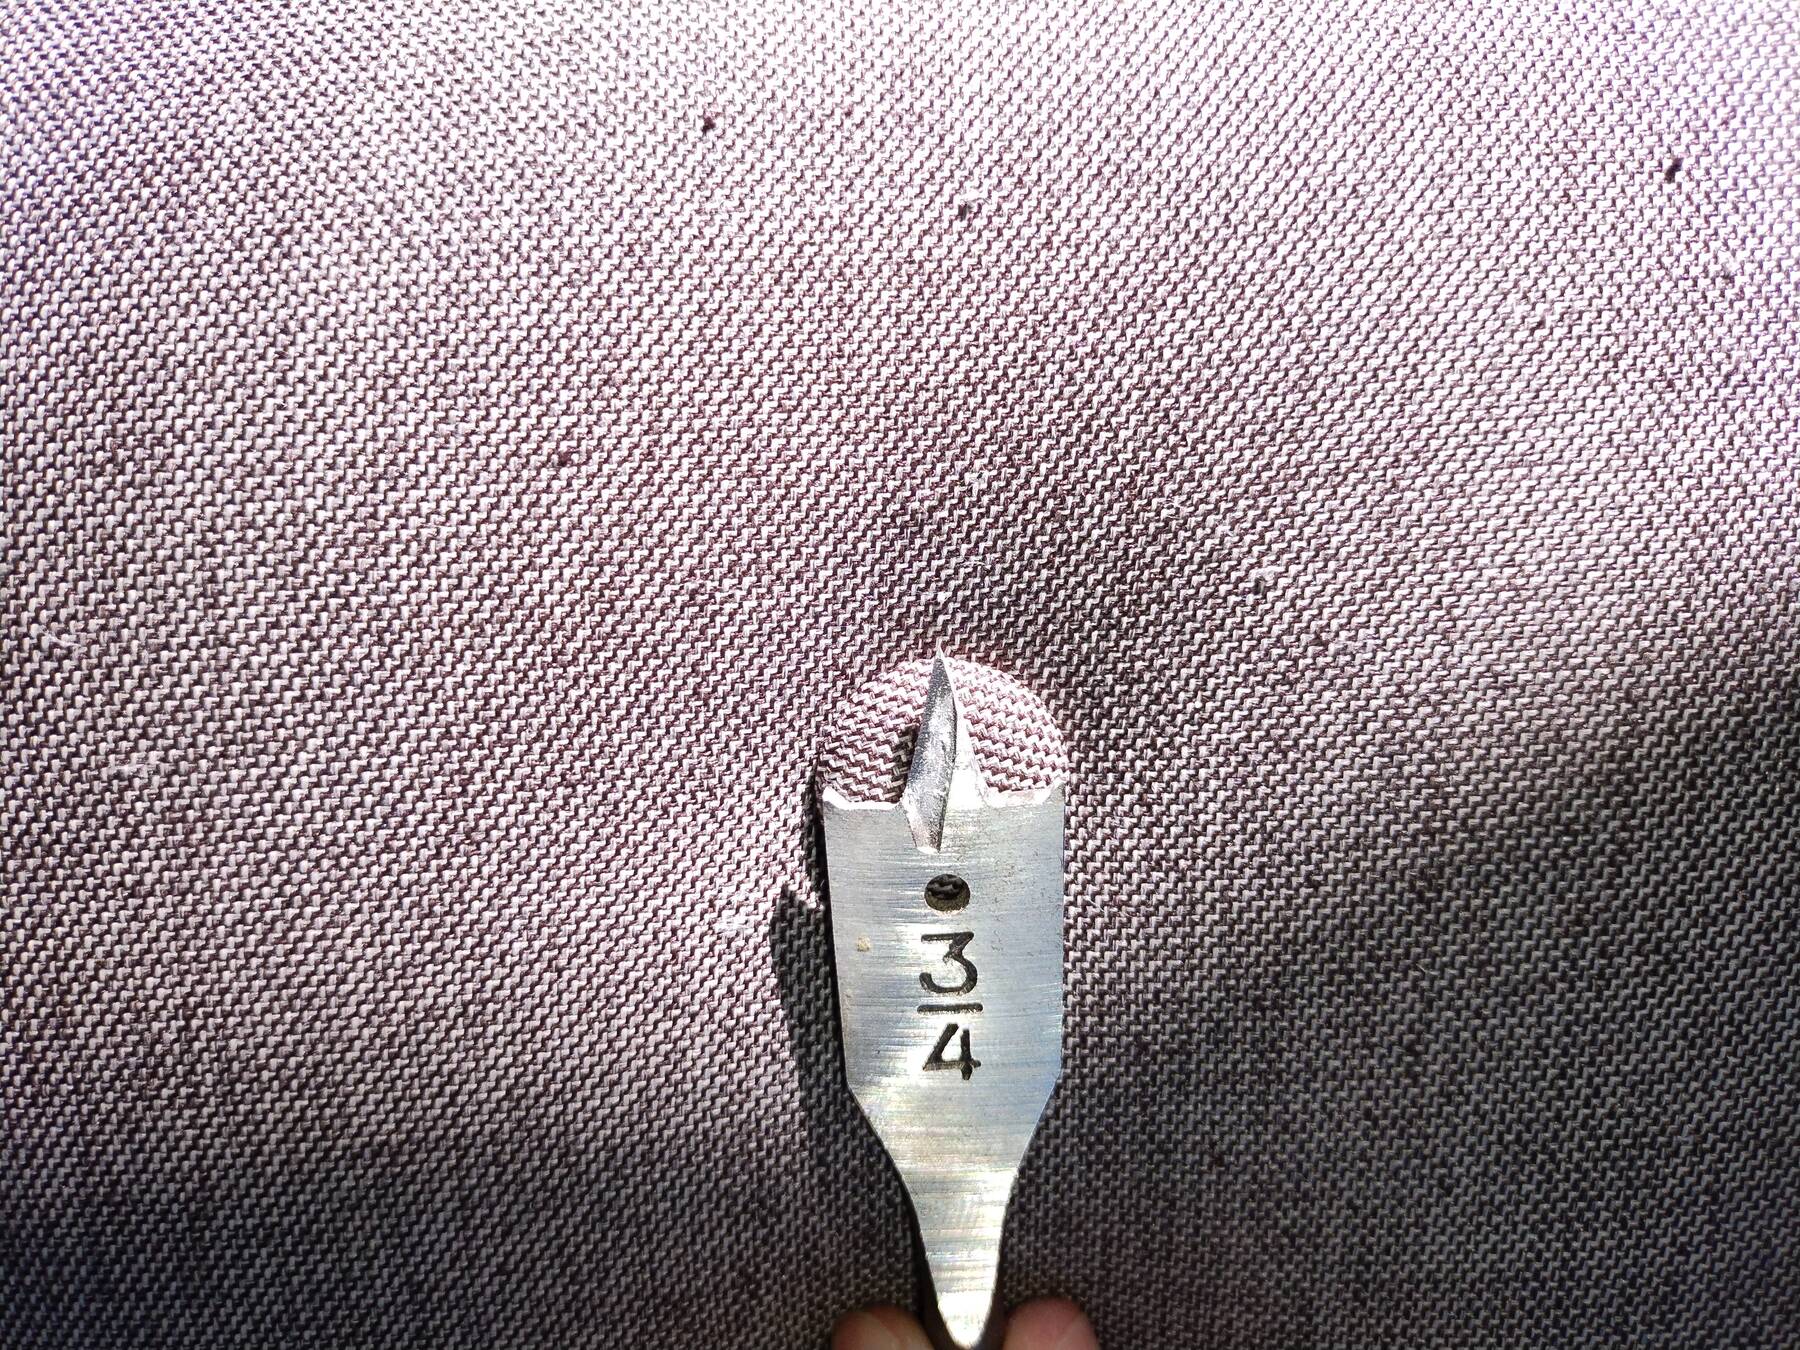
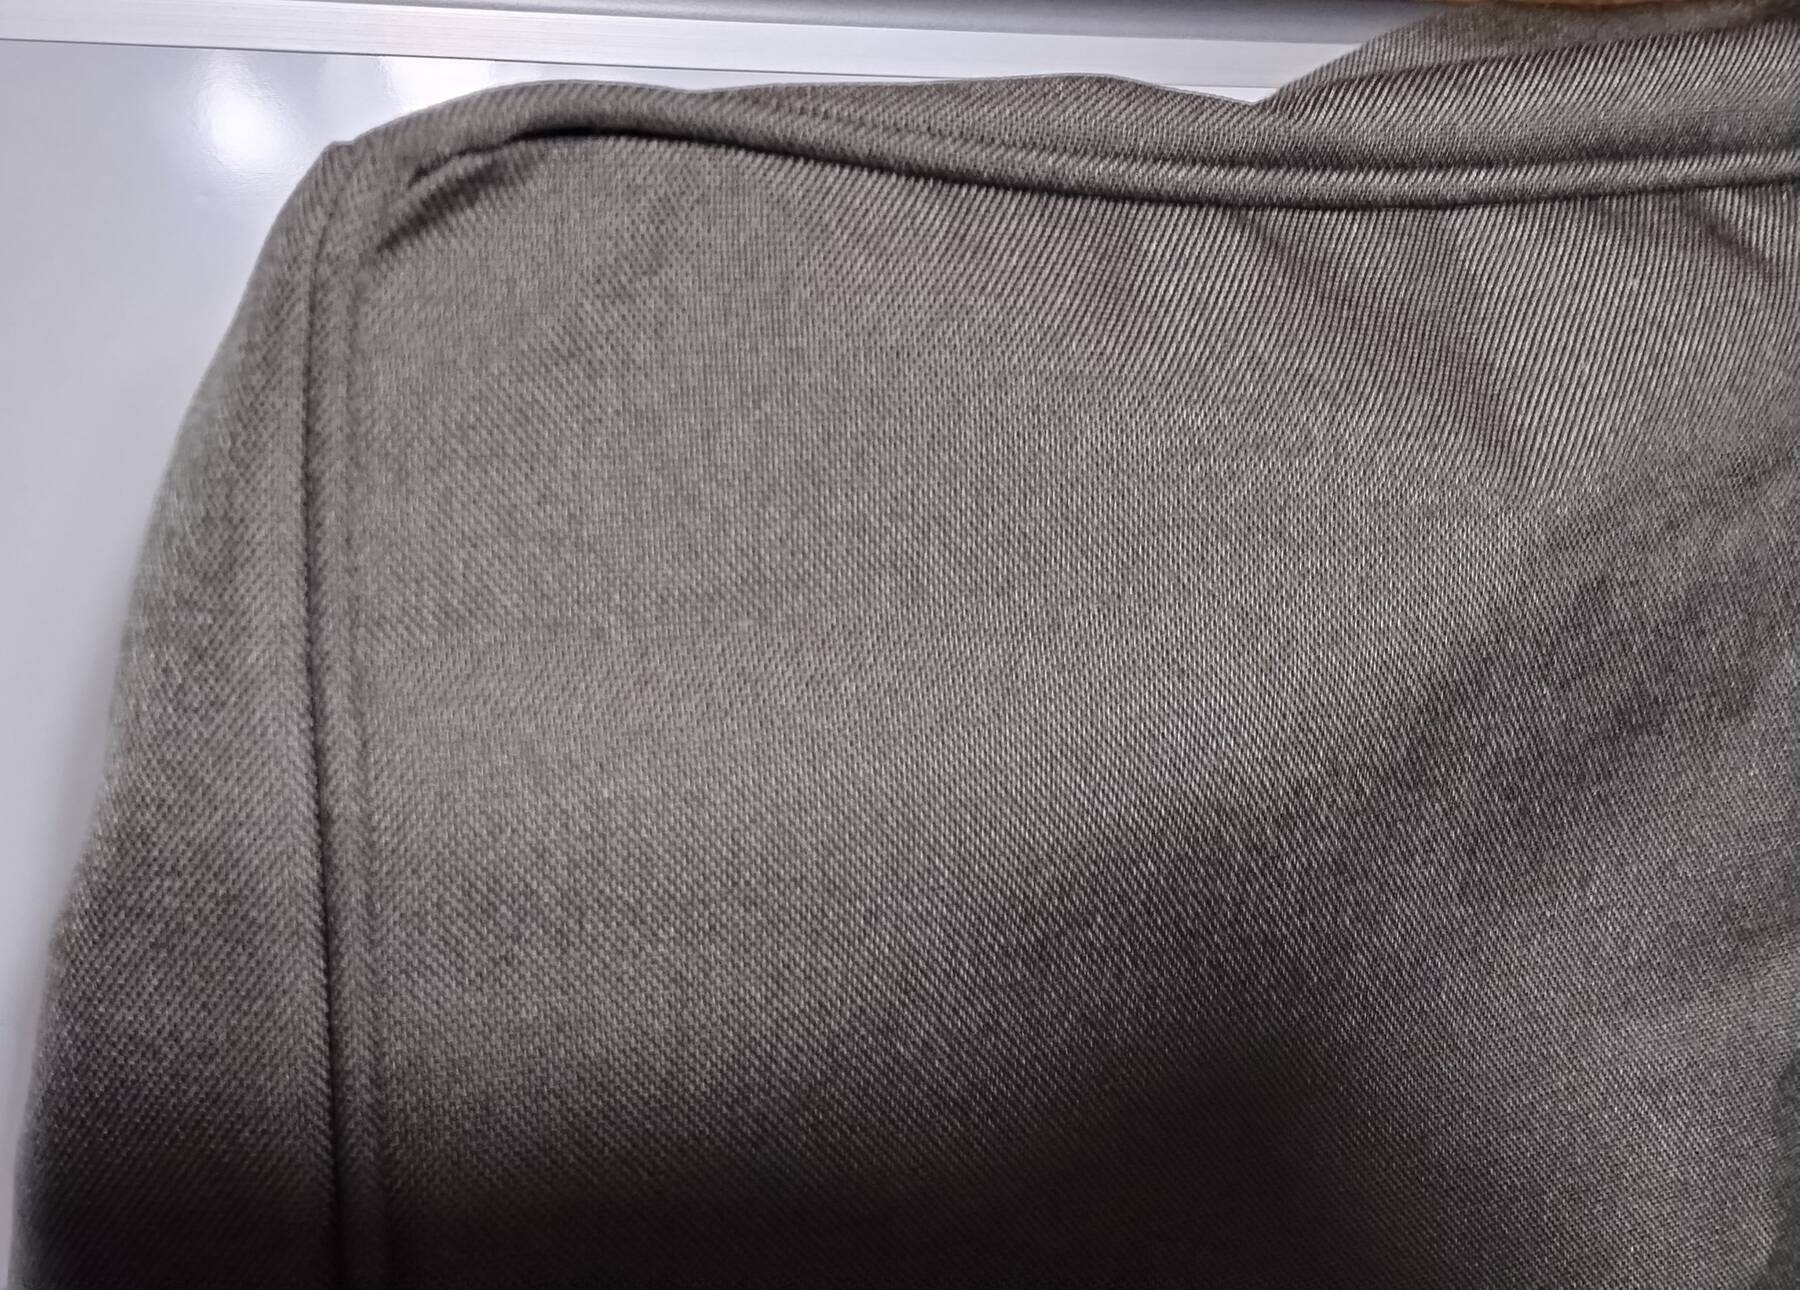
My fabric roll was folded so I ironed all the pieces. The cordura is thick and tough so I had to iron both sides slowly, and use my iron at the hotter polyester setting.
Day 2 - A little sewing, A lot of sewing machine fixing
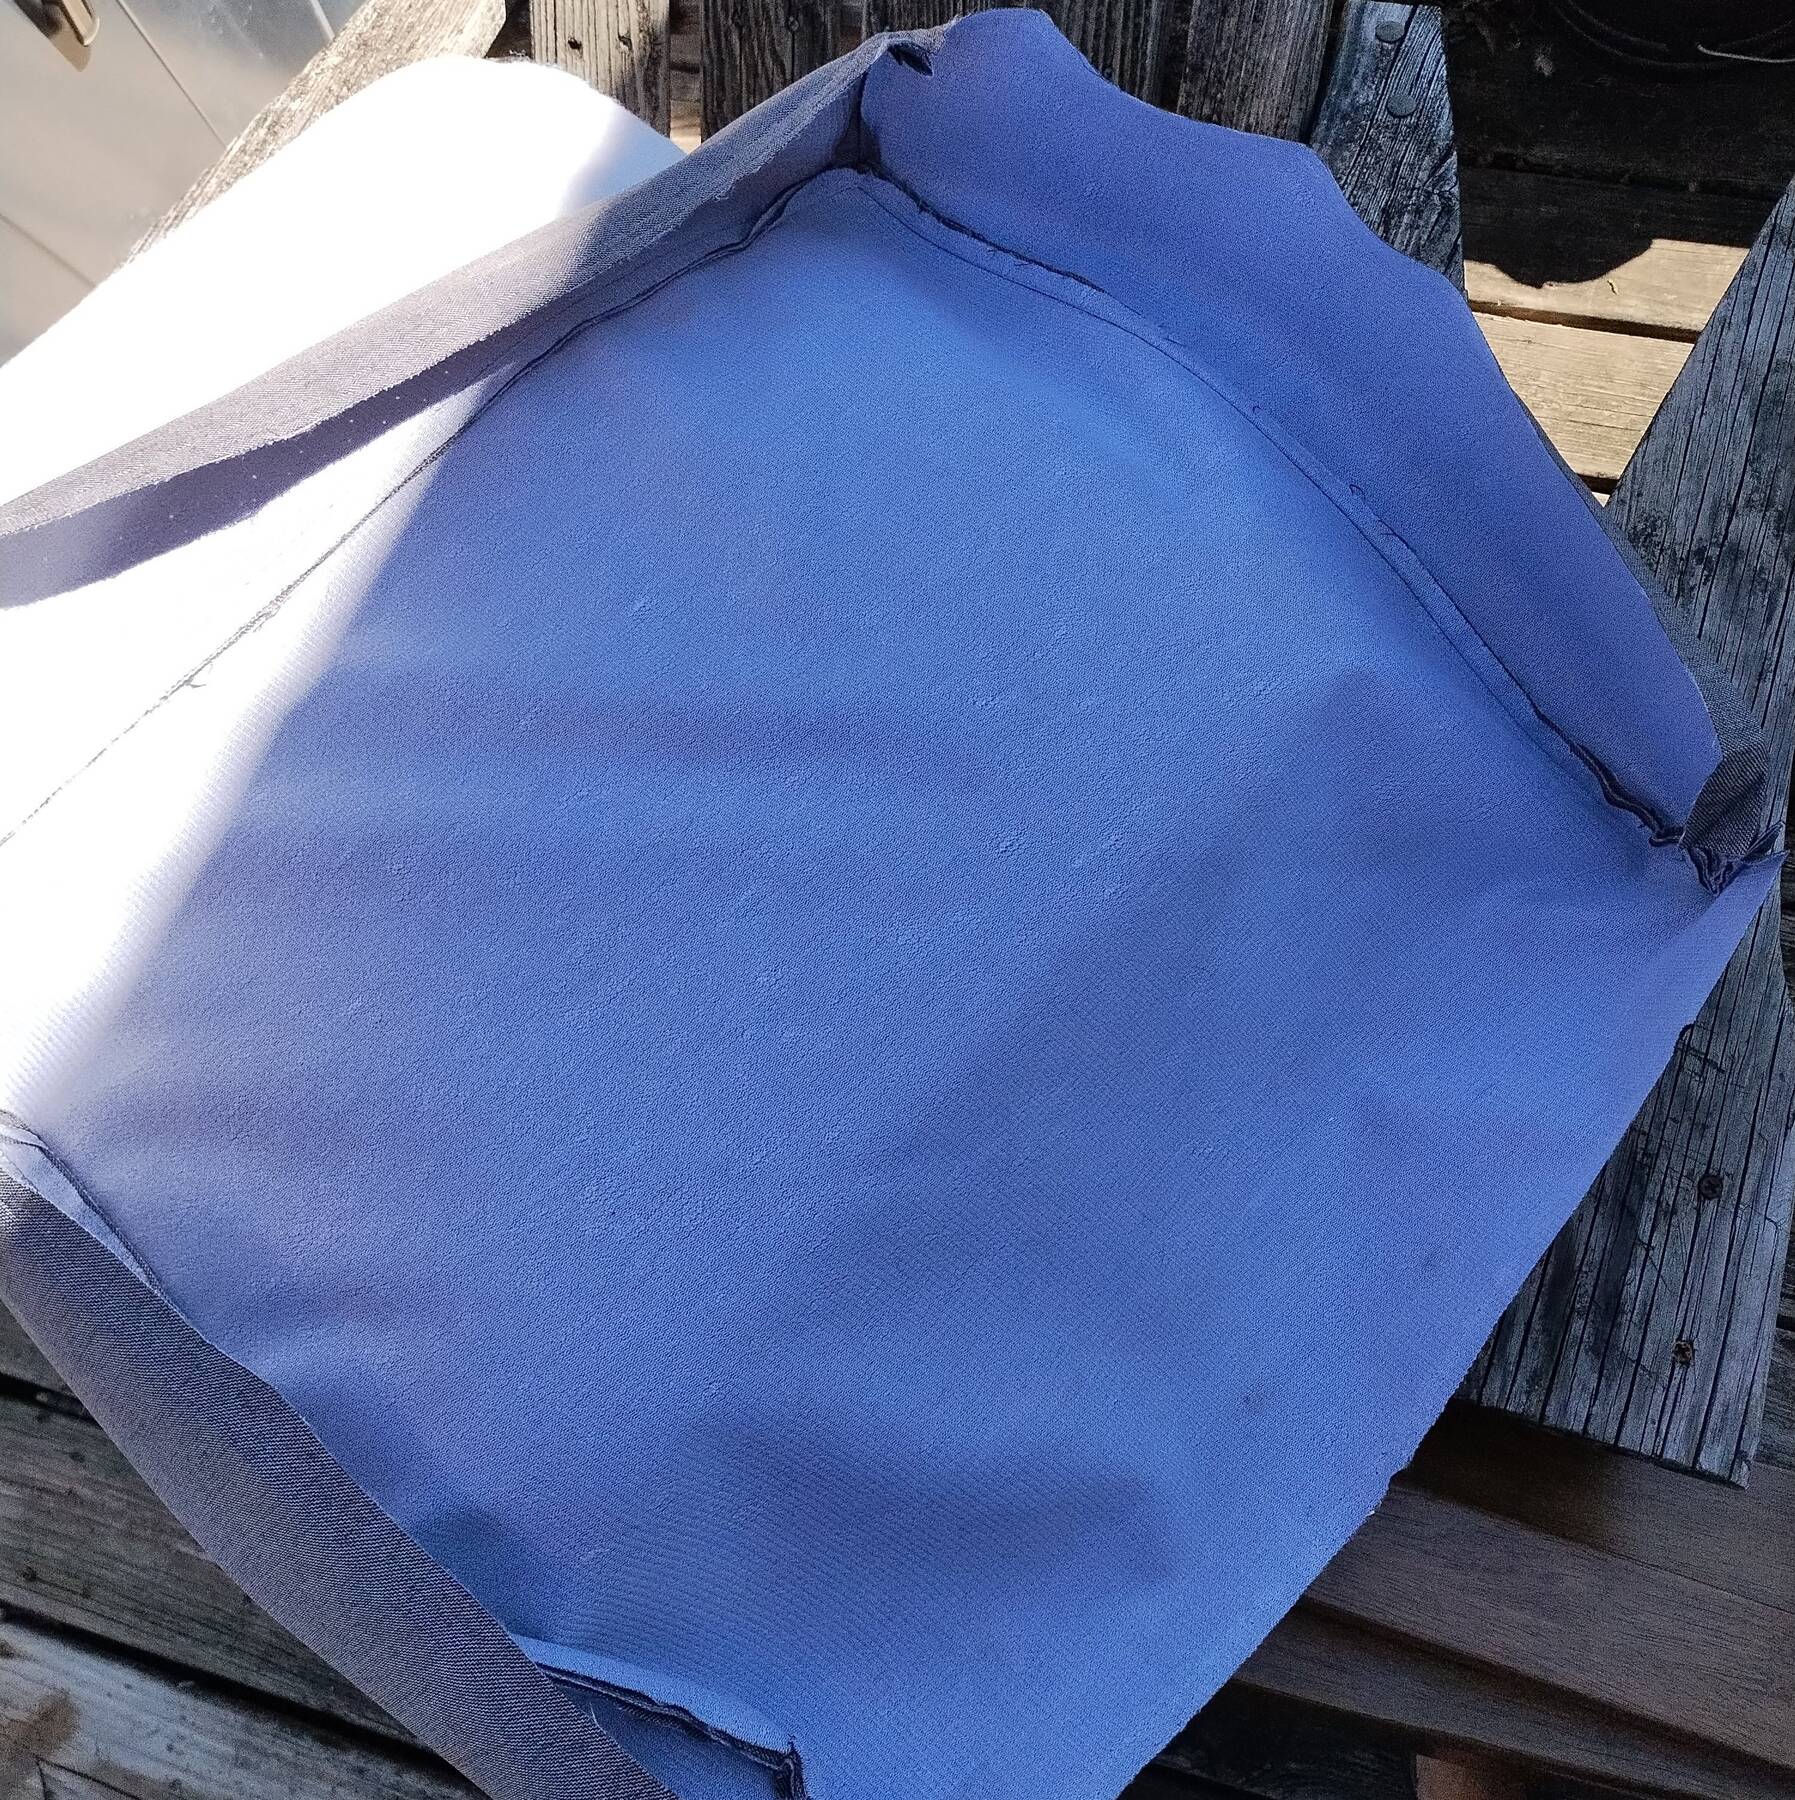
I sewed the side pieces of the top cushion together.
I got all setup to sew the piping, and join the side pieces with the back cover.
Didn't know what piping foot to use, but eventually I found this reference: Sailrite: Selecting the Right Cording Foot. I went with the 1/4" foot to match the original 3/16" plastic cord. Since most seams were 4 layers of fabric it filled the foot pretty well.
I went to wind a bobbin. Then I got sidetracked on a couple missions to fix my sewing machine.
First the hand wheel was loose so it wouldn't spin the bobbin when the clutch was disengaged. Turns out I had the clutch plate reversed, and the drive screw was removed for some reason. I spent too long looking for a suitable screw. Then, when I went to install the screw, I found the original.
I went to adjust the thread tension, and I got fed up with it. I realized the upper tension assembly has some issues. I'm pretty sure I reassembled it improperly in the past. I spent far too long taking it to bits, and figuring out how it was meant to go together. I think I have managed to reproduce the original setup. I'm still struggling to get good tension, but I ran out of day time to be running a machine so I will hopefully get it dialed in tomorrow.
If it doesn't work out, I'll just get it good enough, and it will have to do.
Day 3 - Sewing, piping is hard
The sewing machine sort of worked. I still ended up with the original tension dial removed. It is designed to stop engaging at the top tension setting, but I still needed more tension. Probably still something wrong, but it is assembled more properly than before.
I'm reusing the original plastic piping filler.
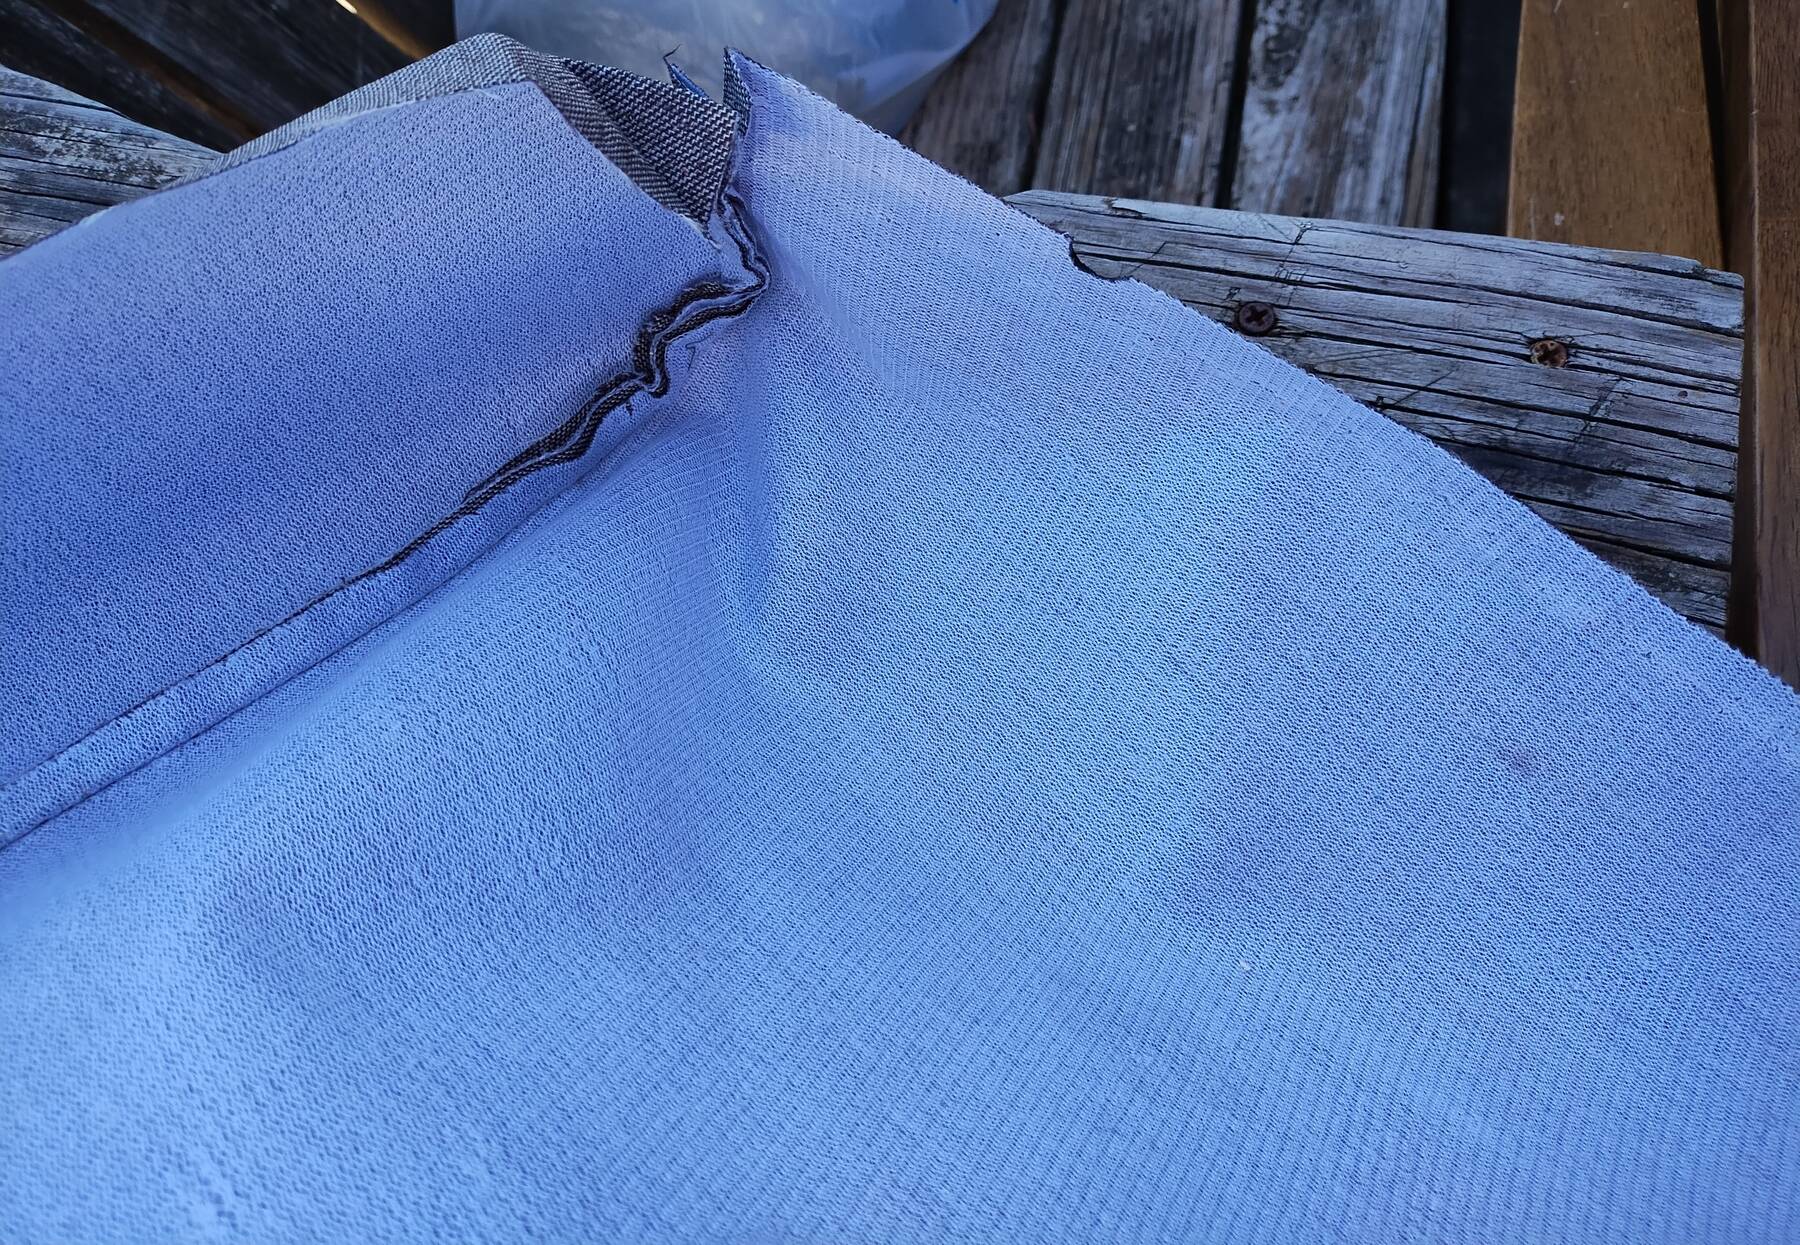
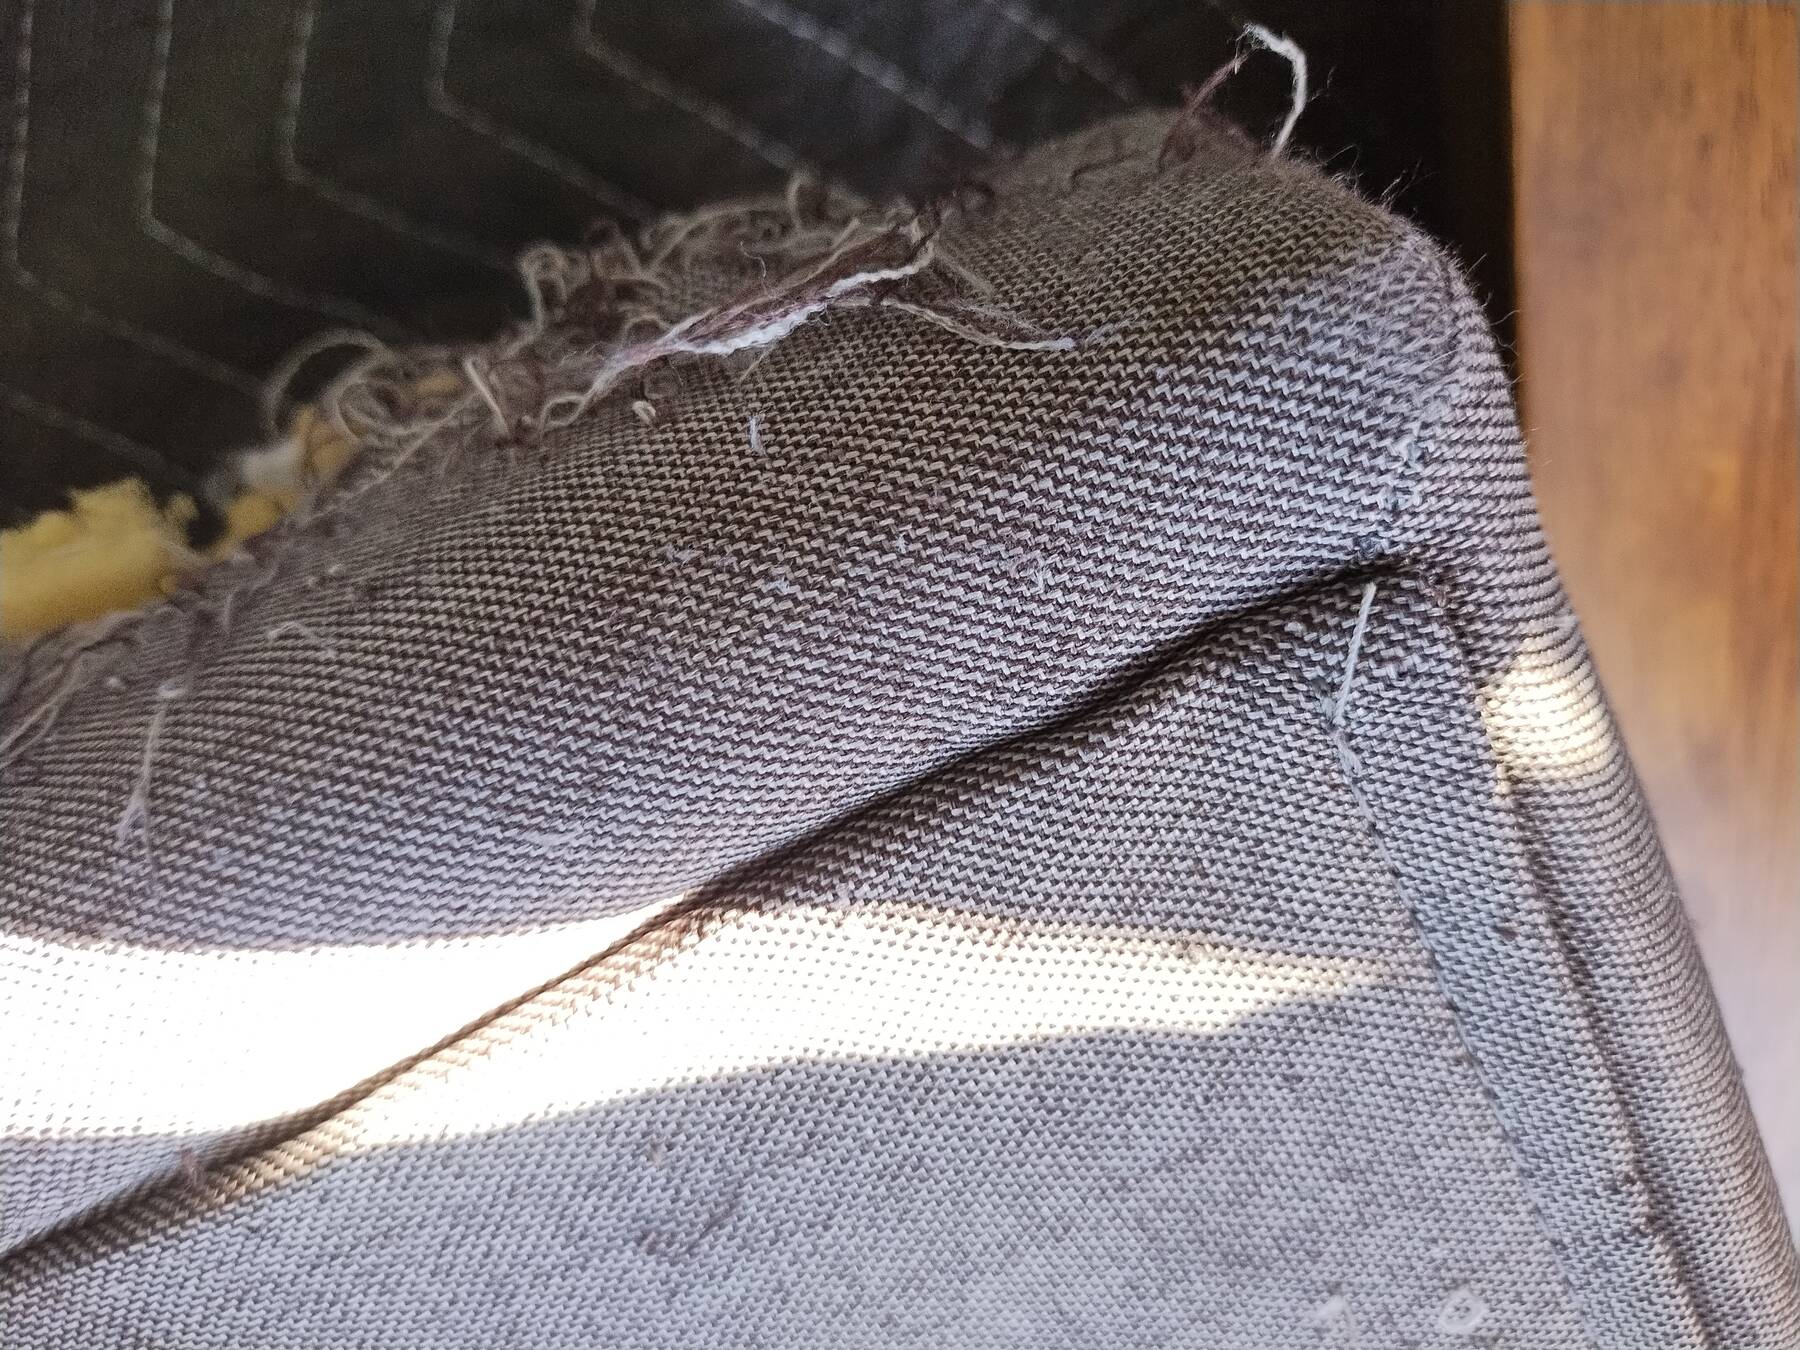
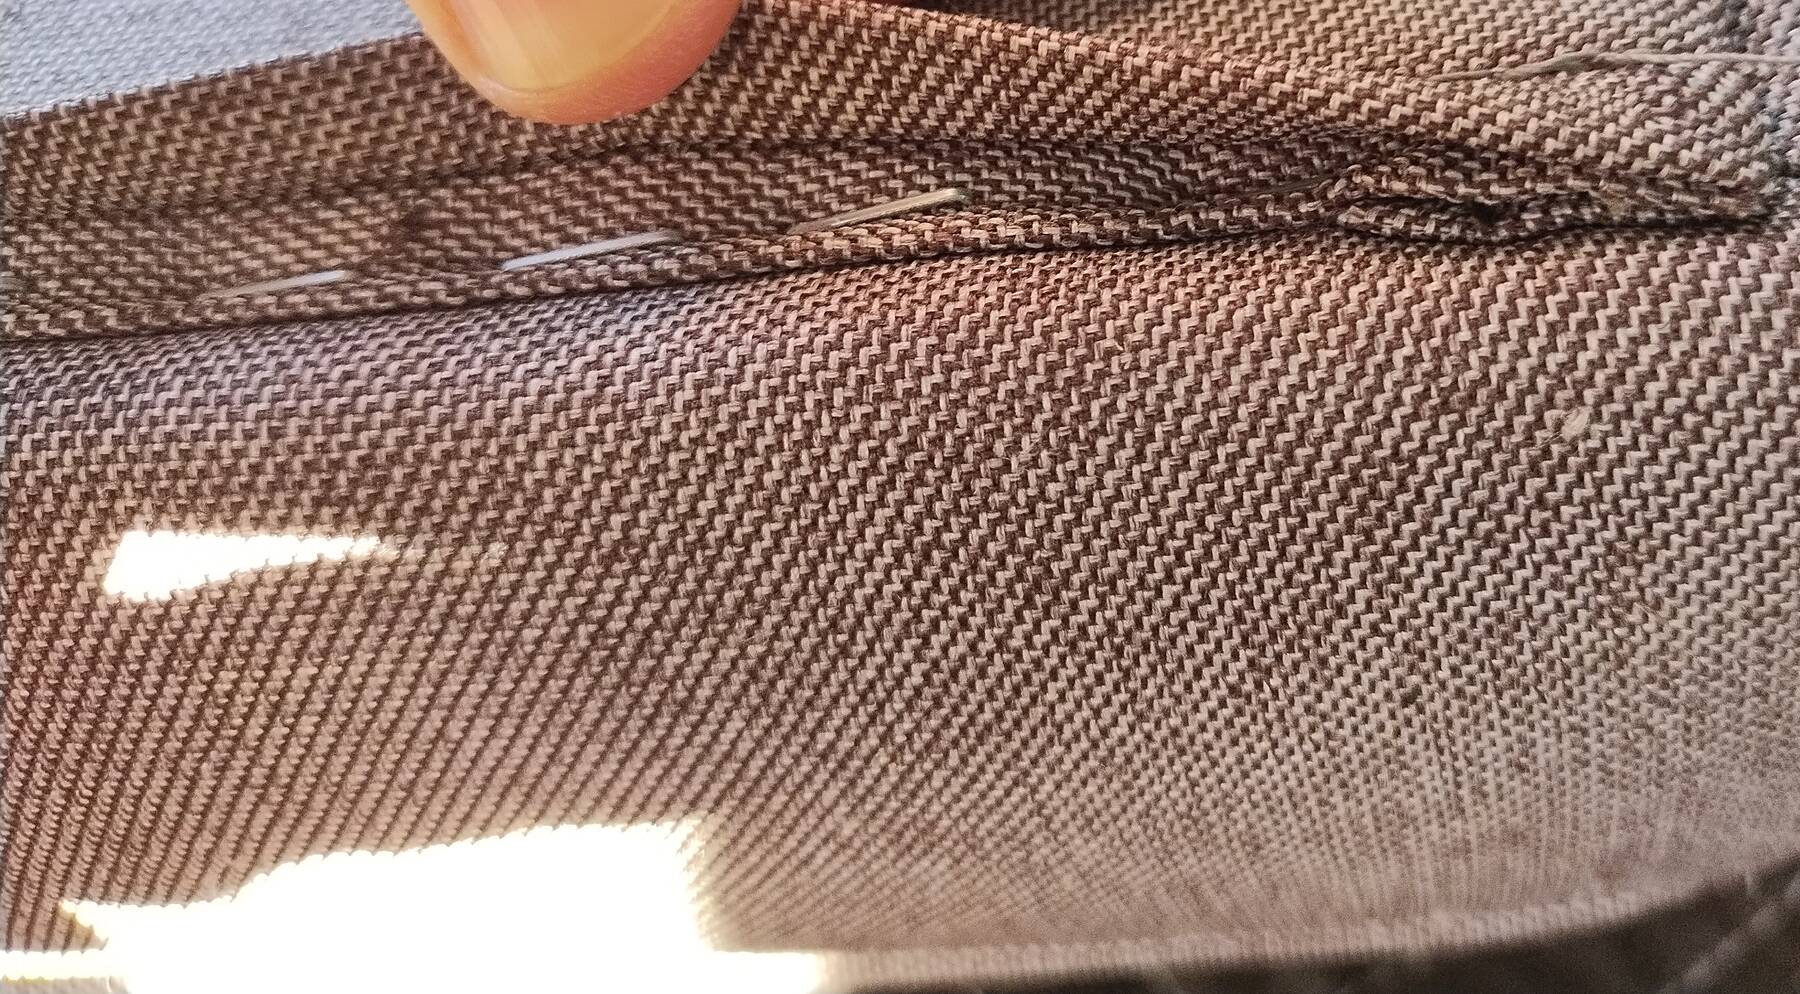
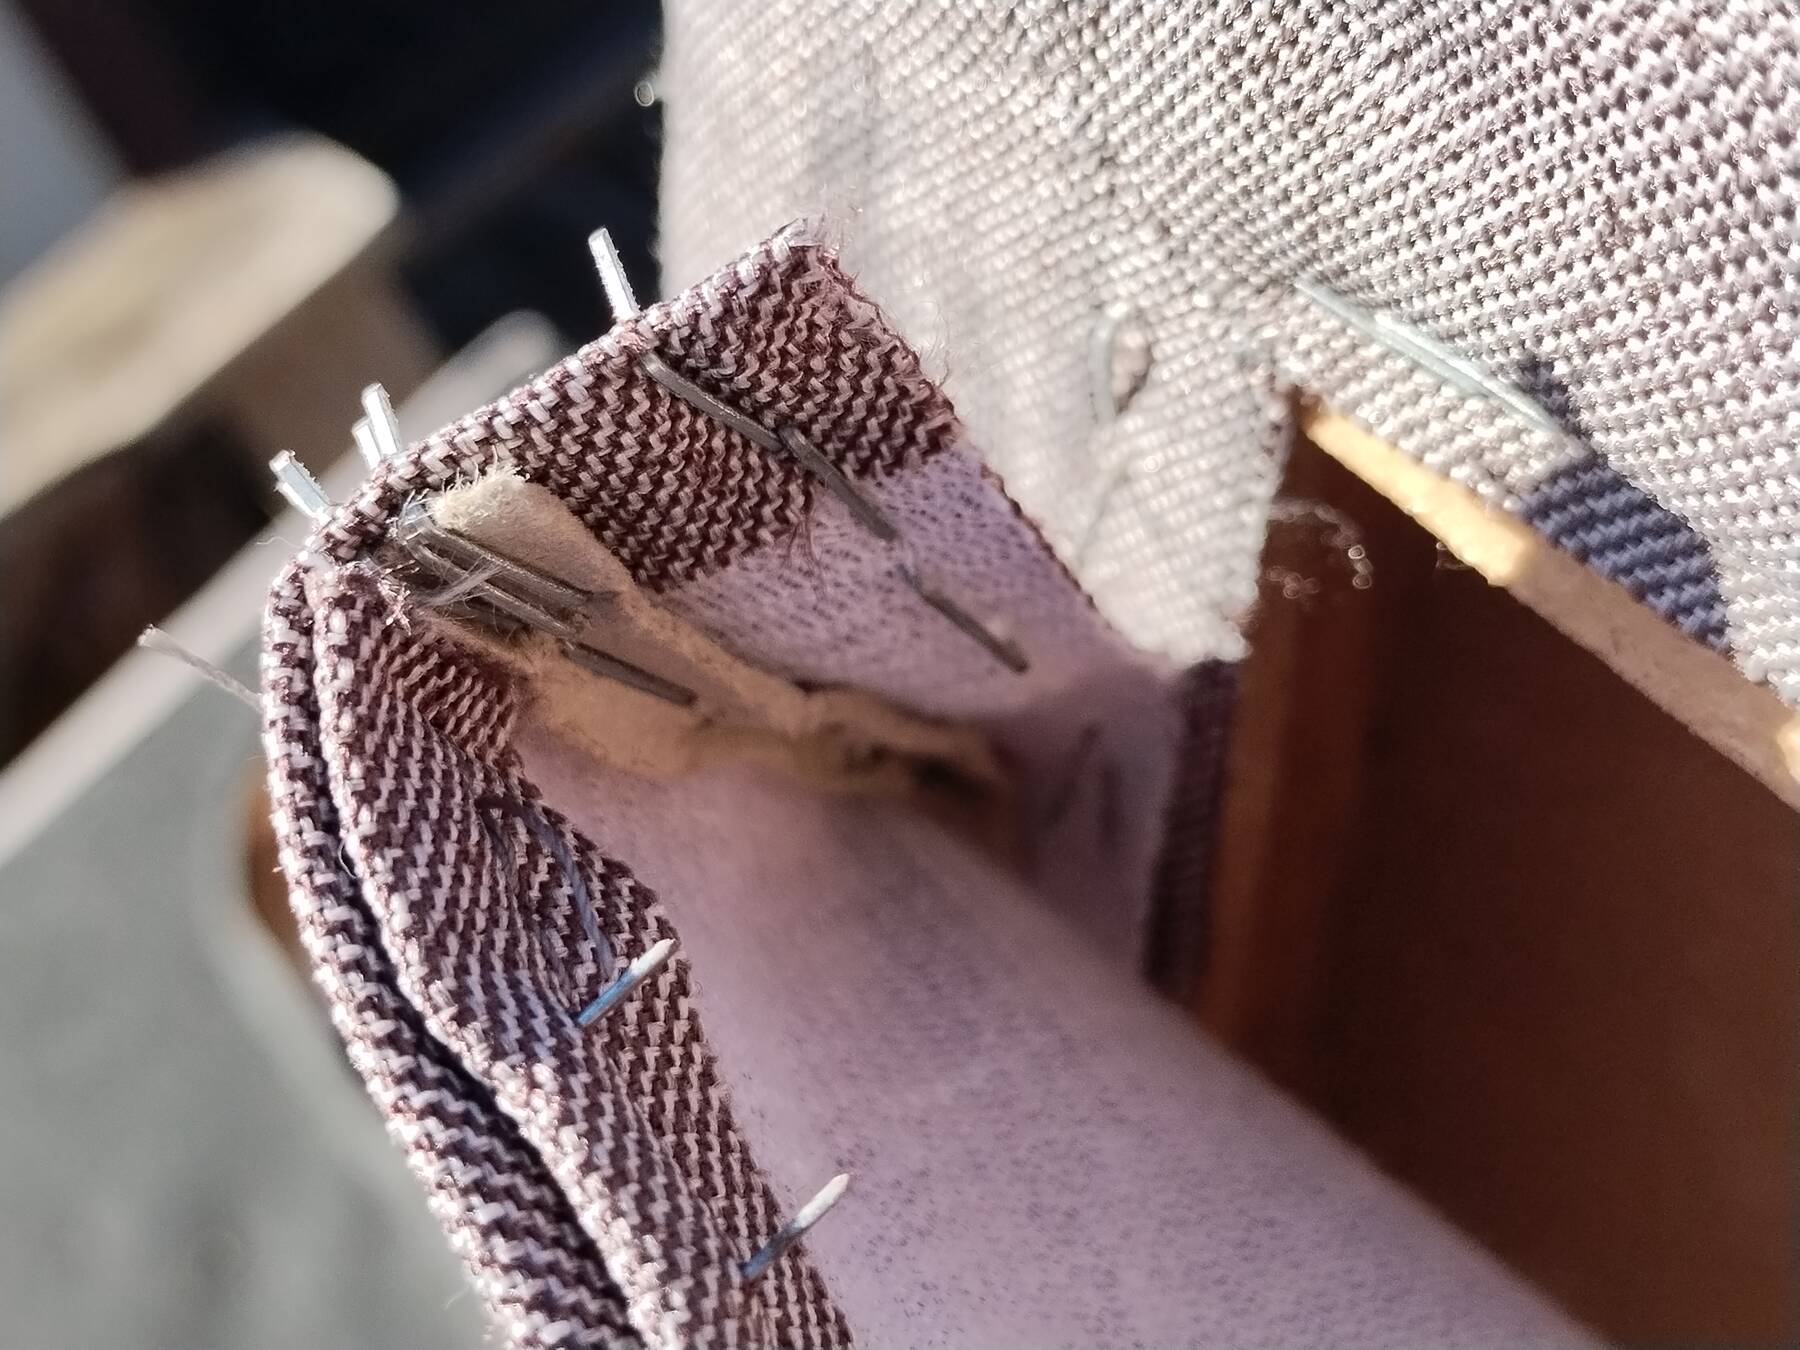
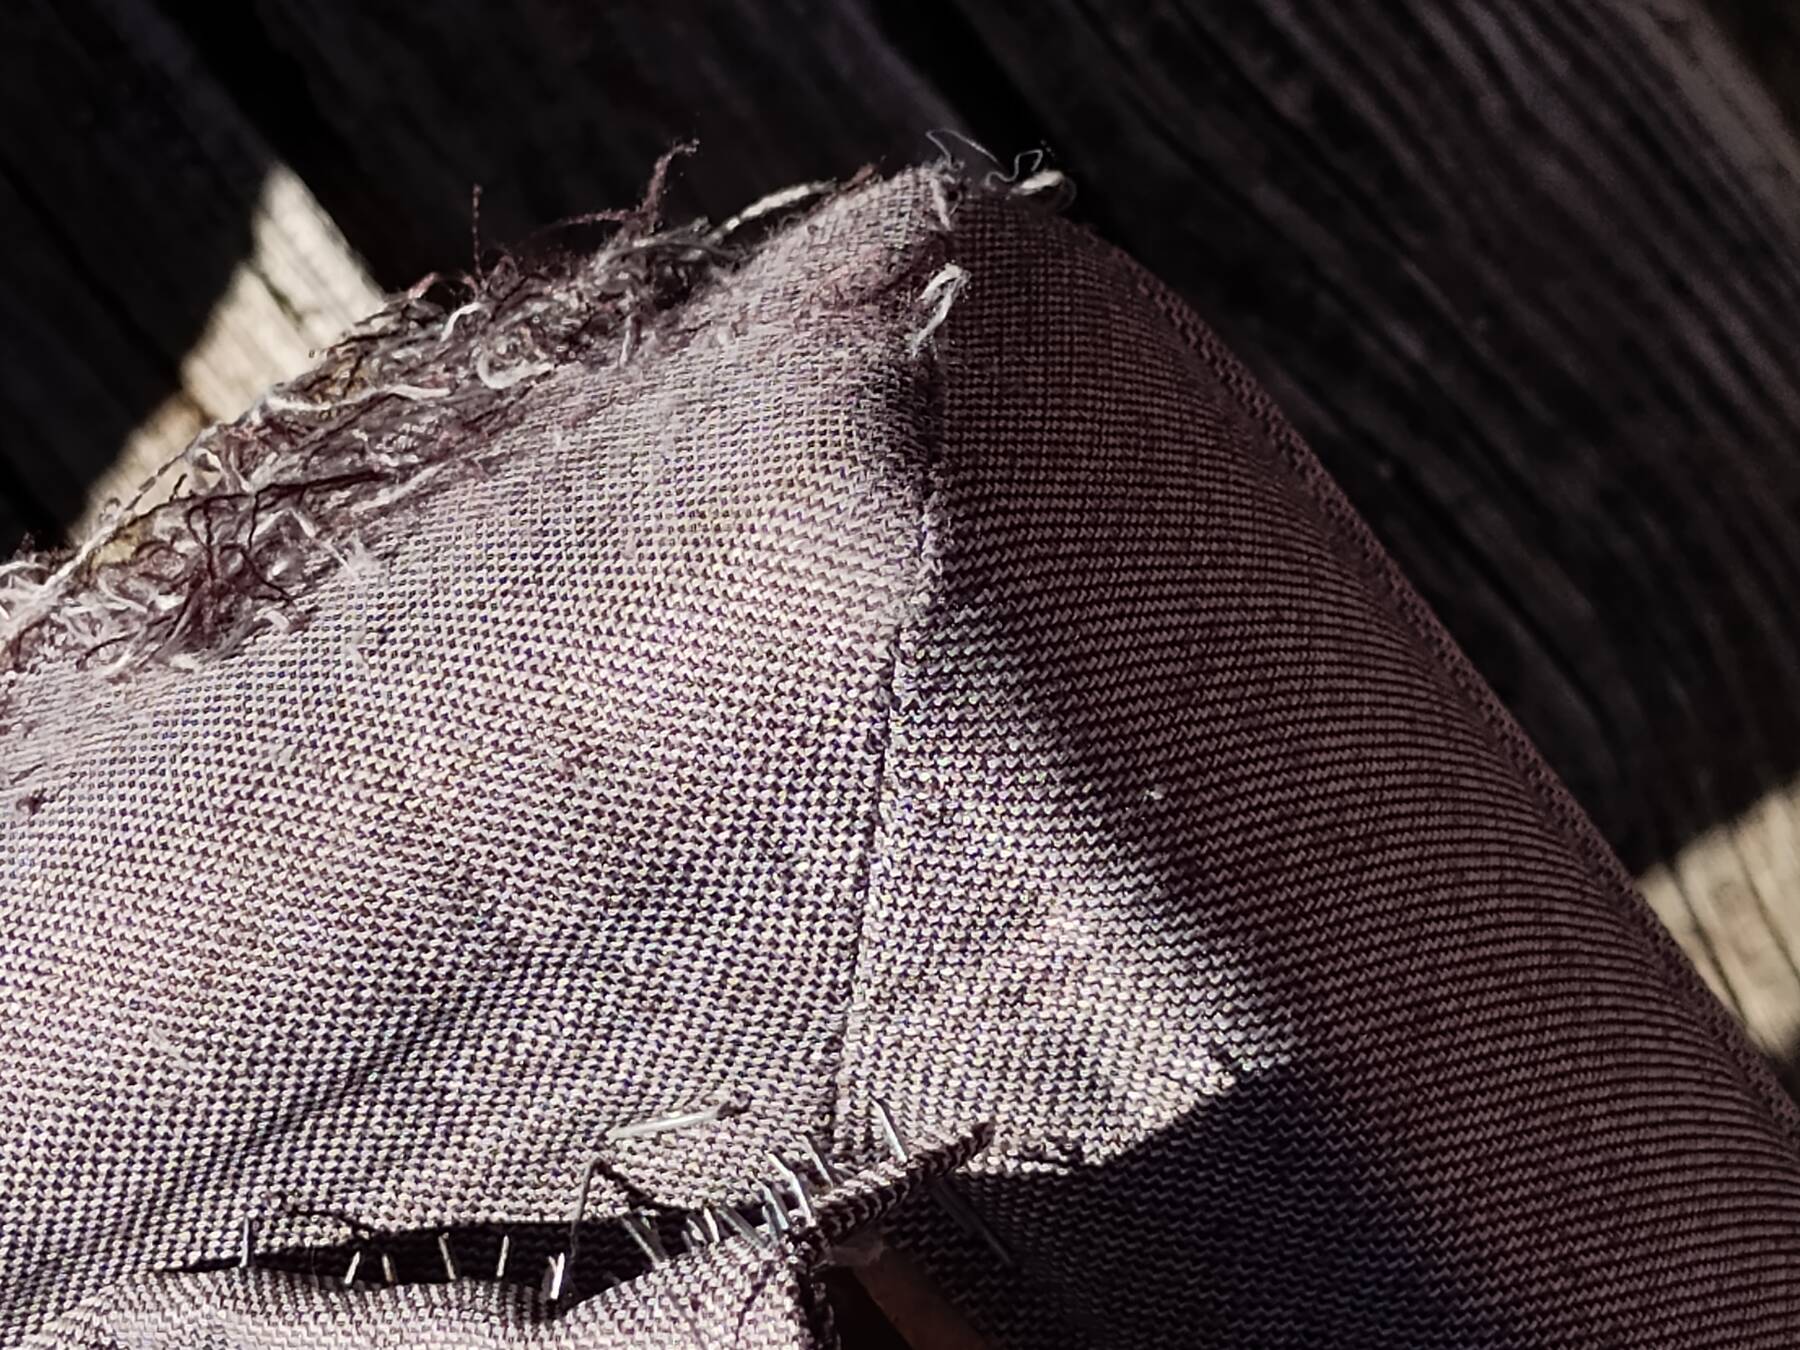
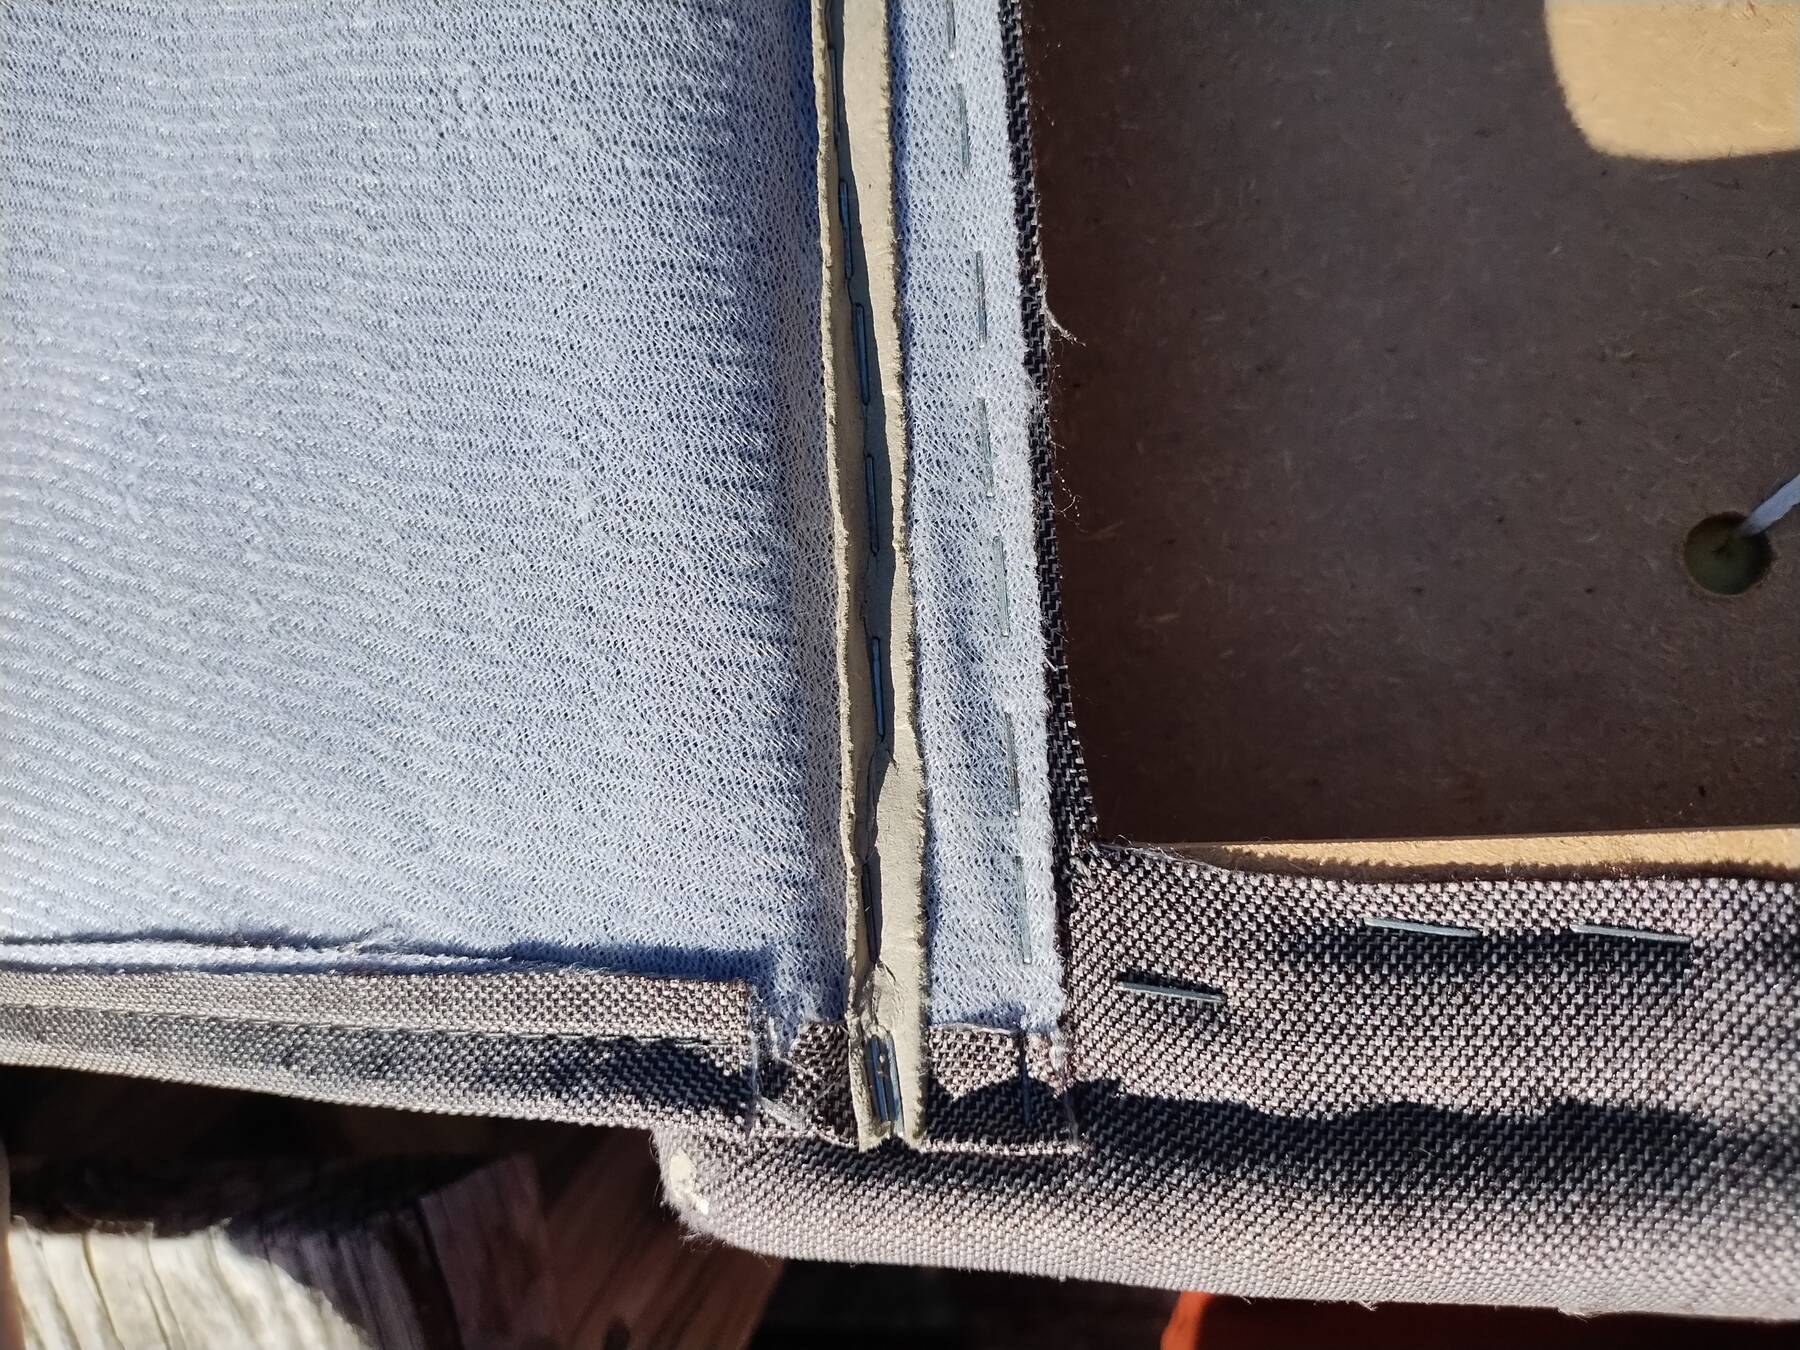
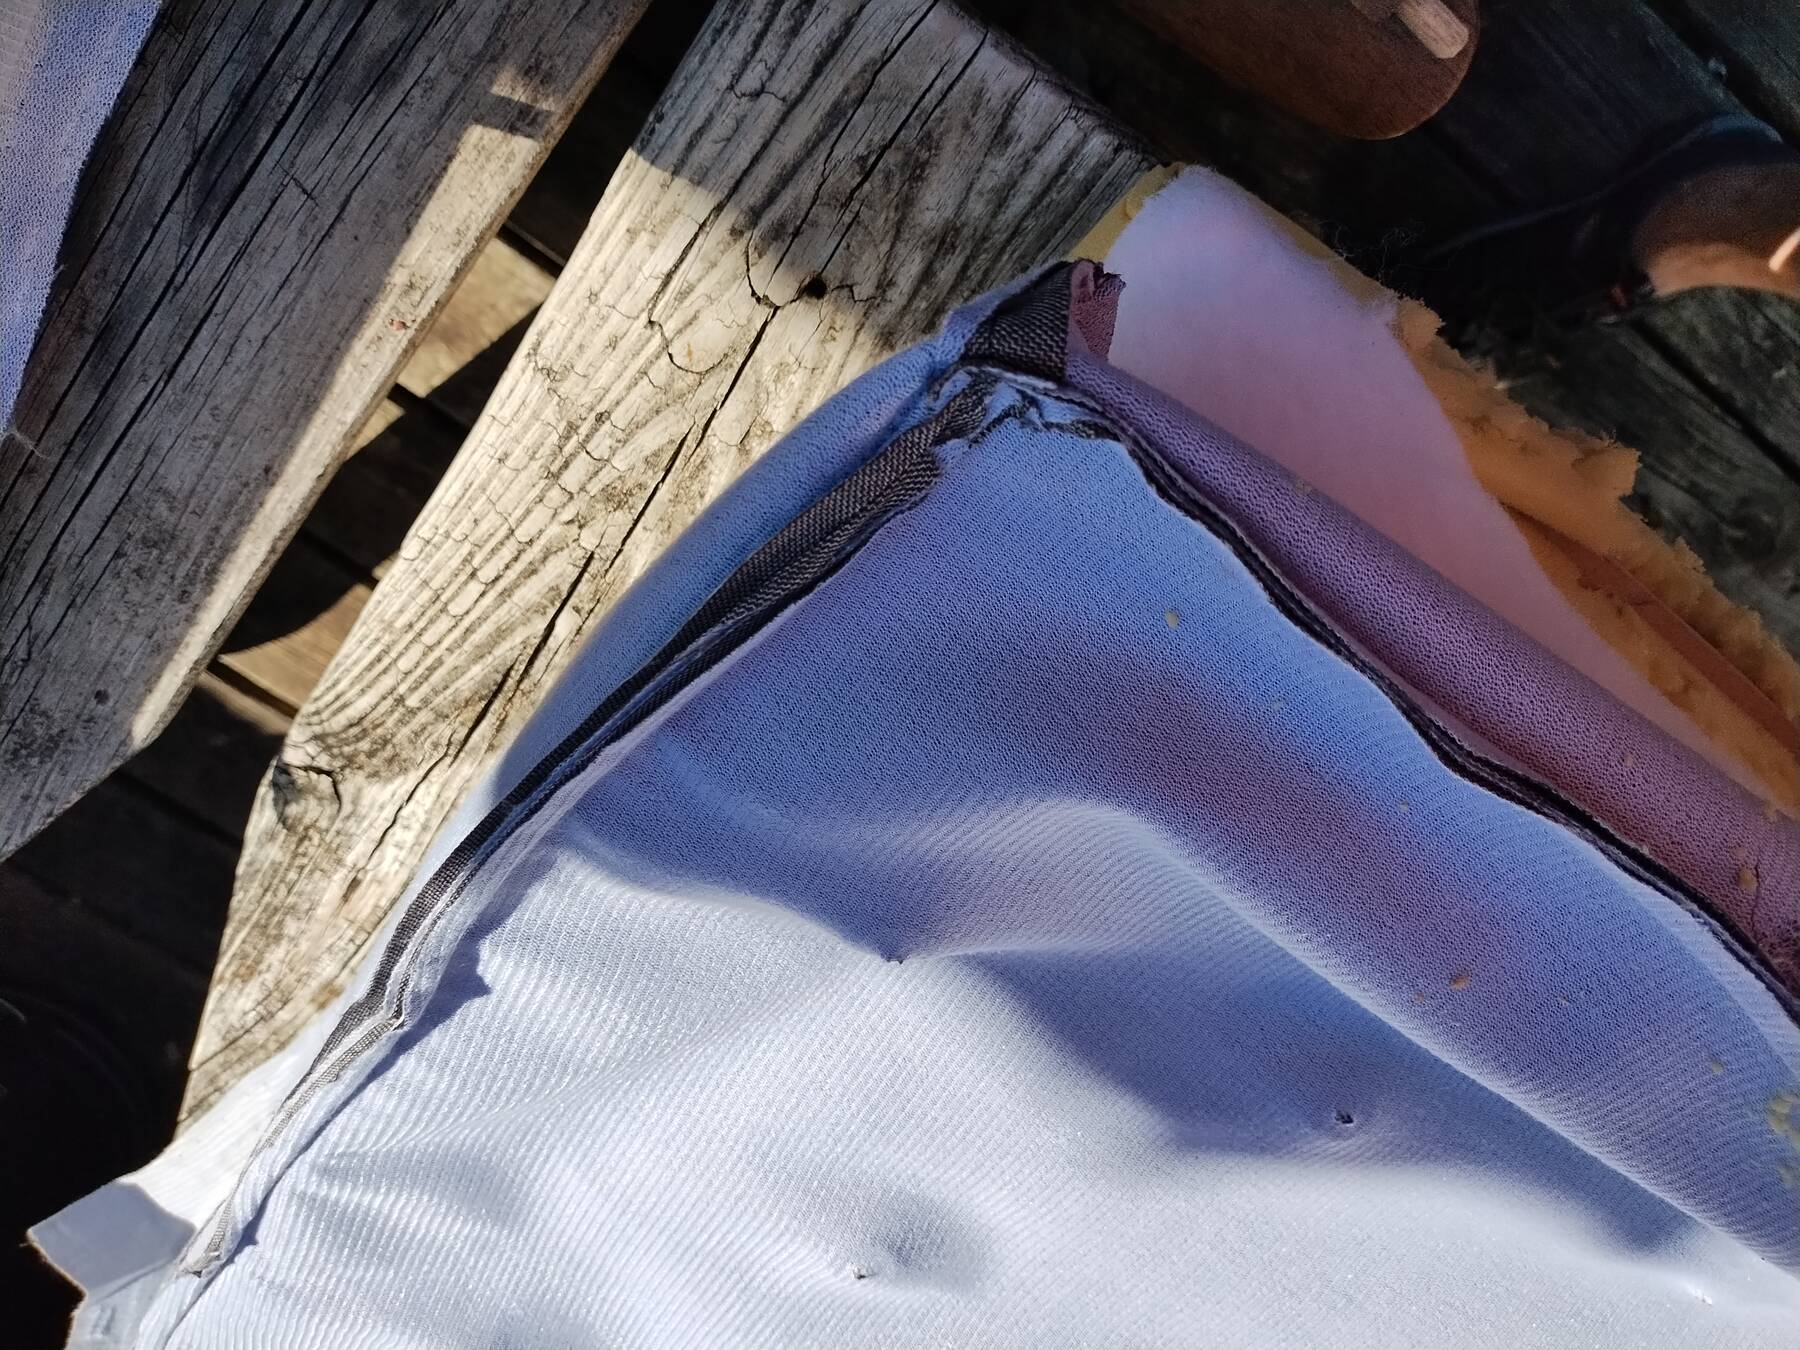
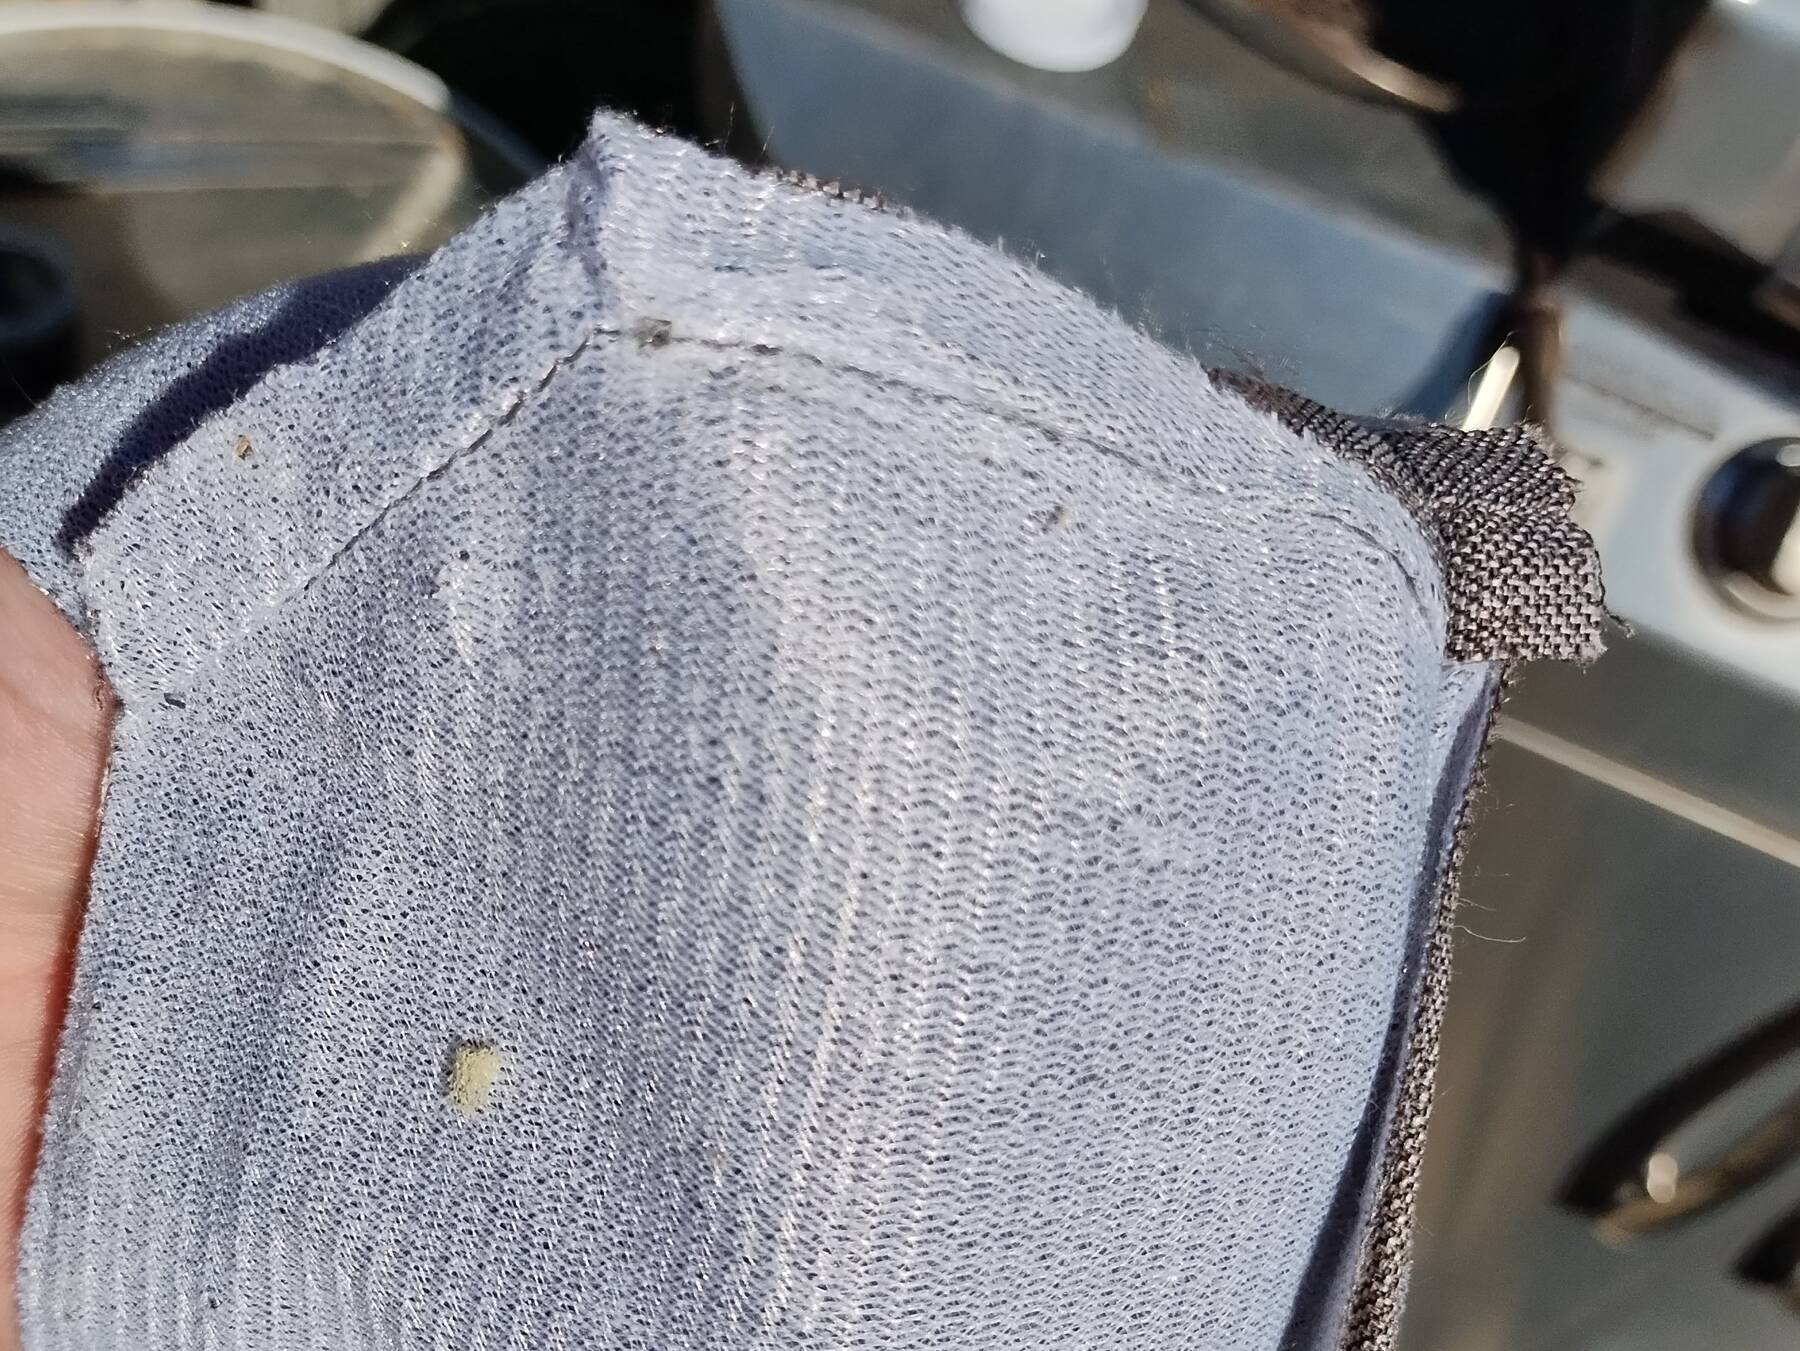
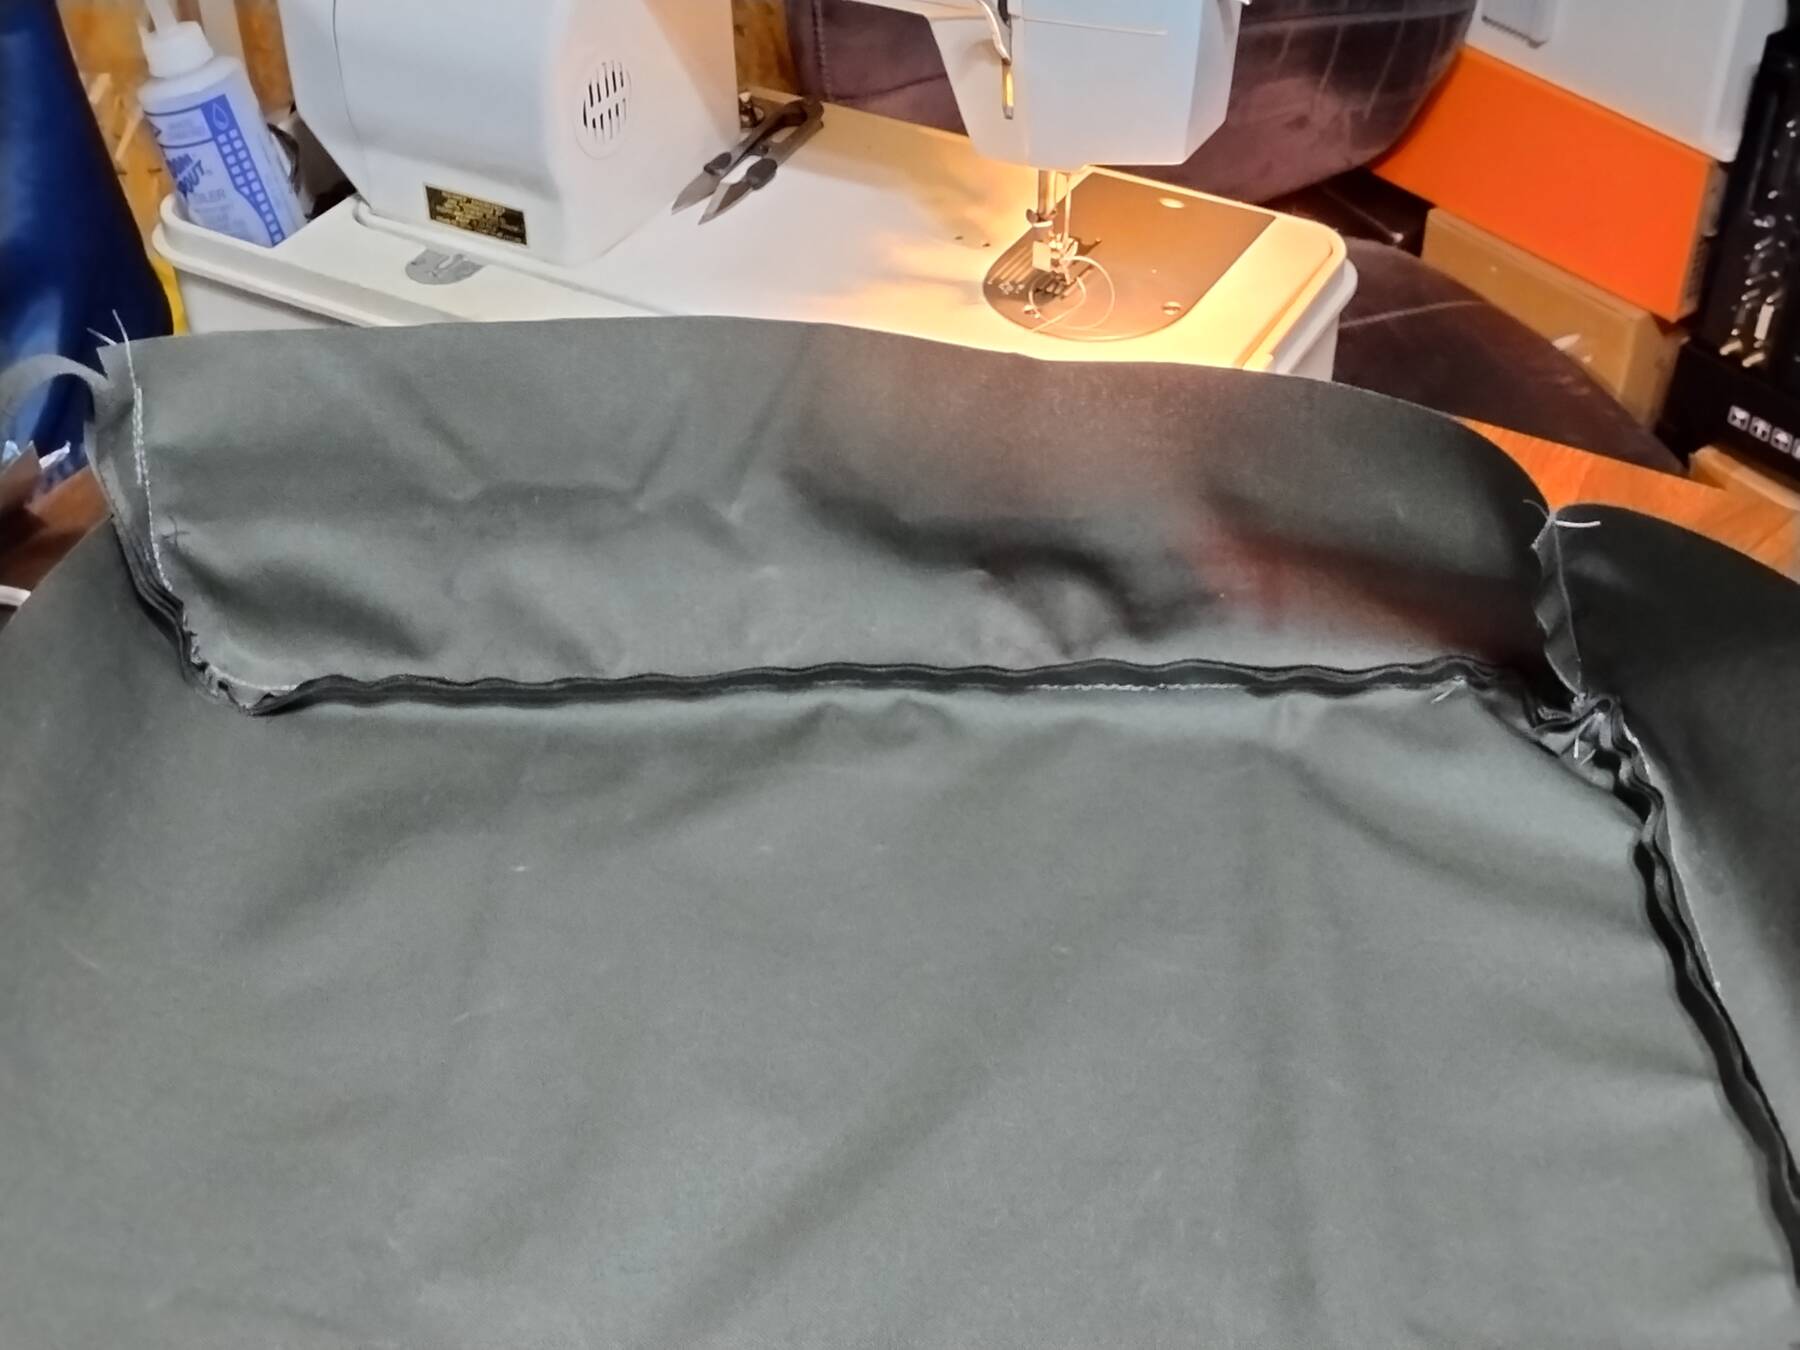
I started assembling the back cushion to the side bits with piping. Piping is frustrating. Lots of setup getting all the pieces lined up. Then you can stitch one side with the piping foot, but you can't make the corner turns. I re-setup with a narrow zipper foot to work around the corners, then go back to the piping foot again. Lots of fighting the machine along the way, but it got there. End result was a little bit of puckering around the corner bends, but overall acceptable.
I sewed the seat back cover. Should have been simple, just two straight stitches joining some backing strips to hide the staples. Did the first stitch wrong, had to rip it all out. I think my machine's timing is off, but I don't know how to set timing without a proper service manual. I just help it along when it binds.
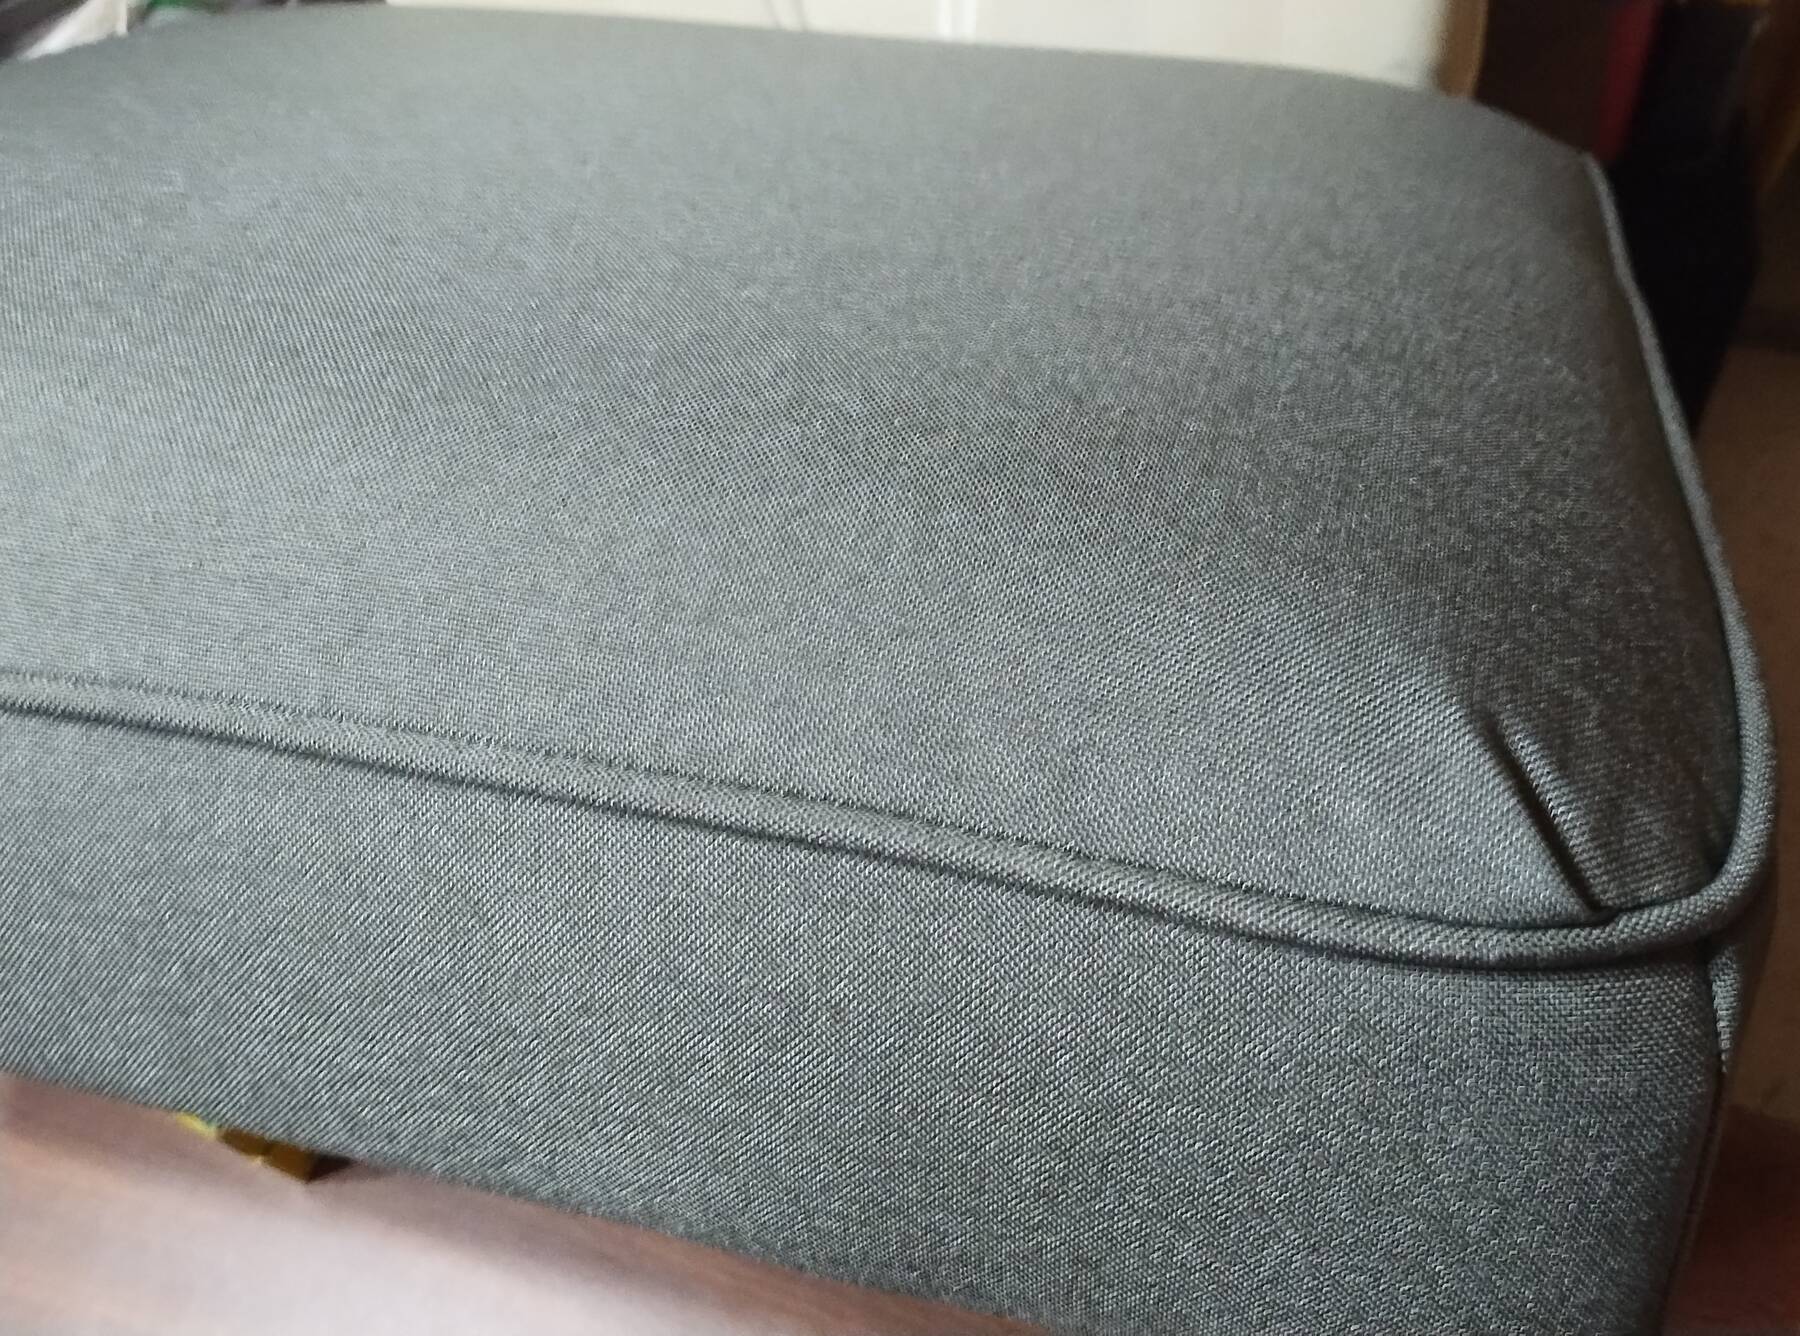
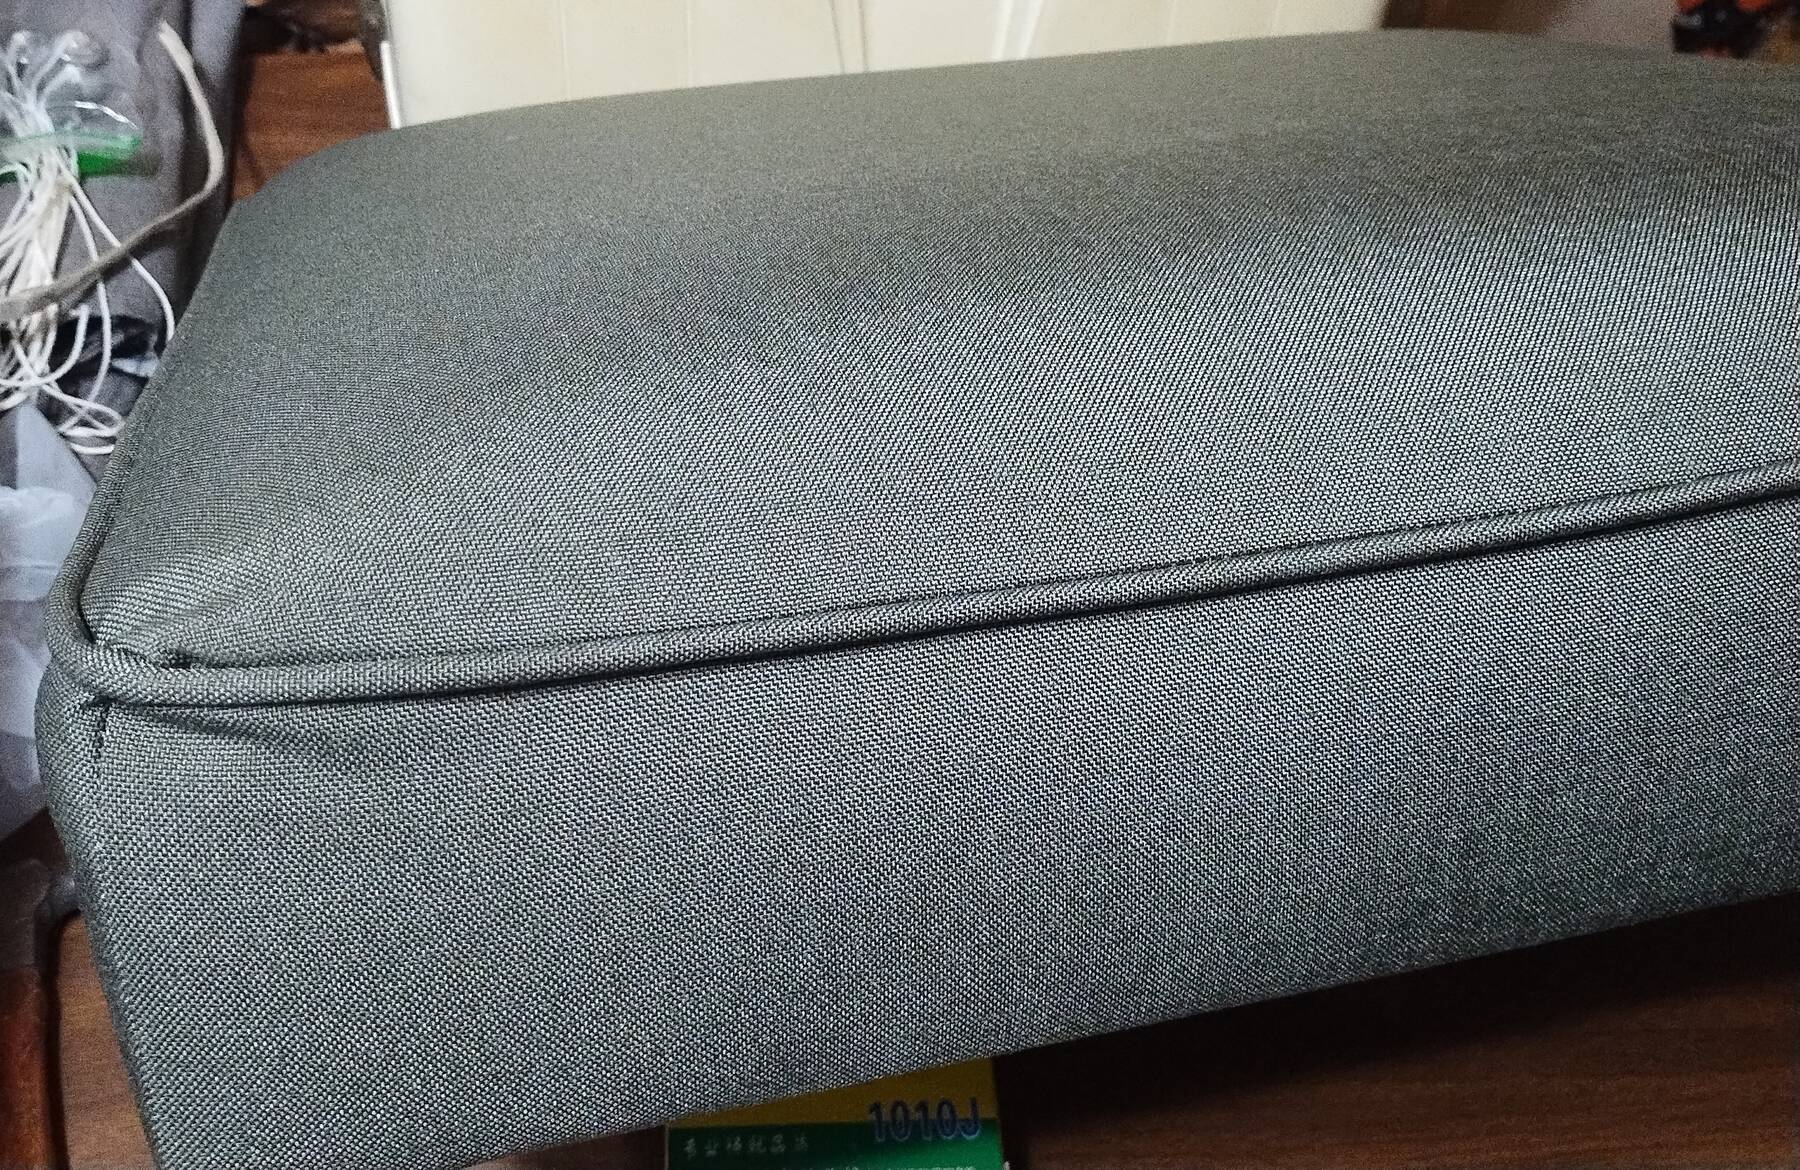
The cushion went a bit smoother. Getting the piping around the curved corners seemed fine, but I ended up with the top fabric puckering which will be pretty obvious is the final object.
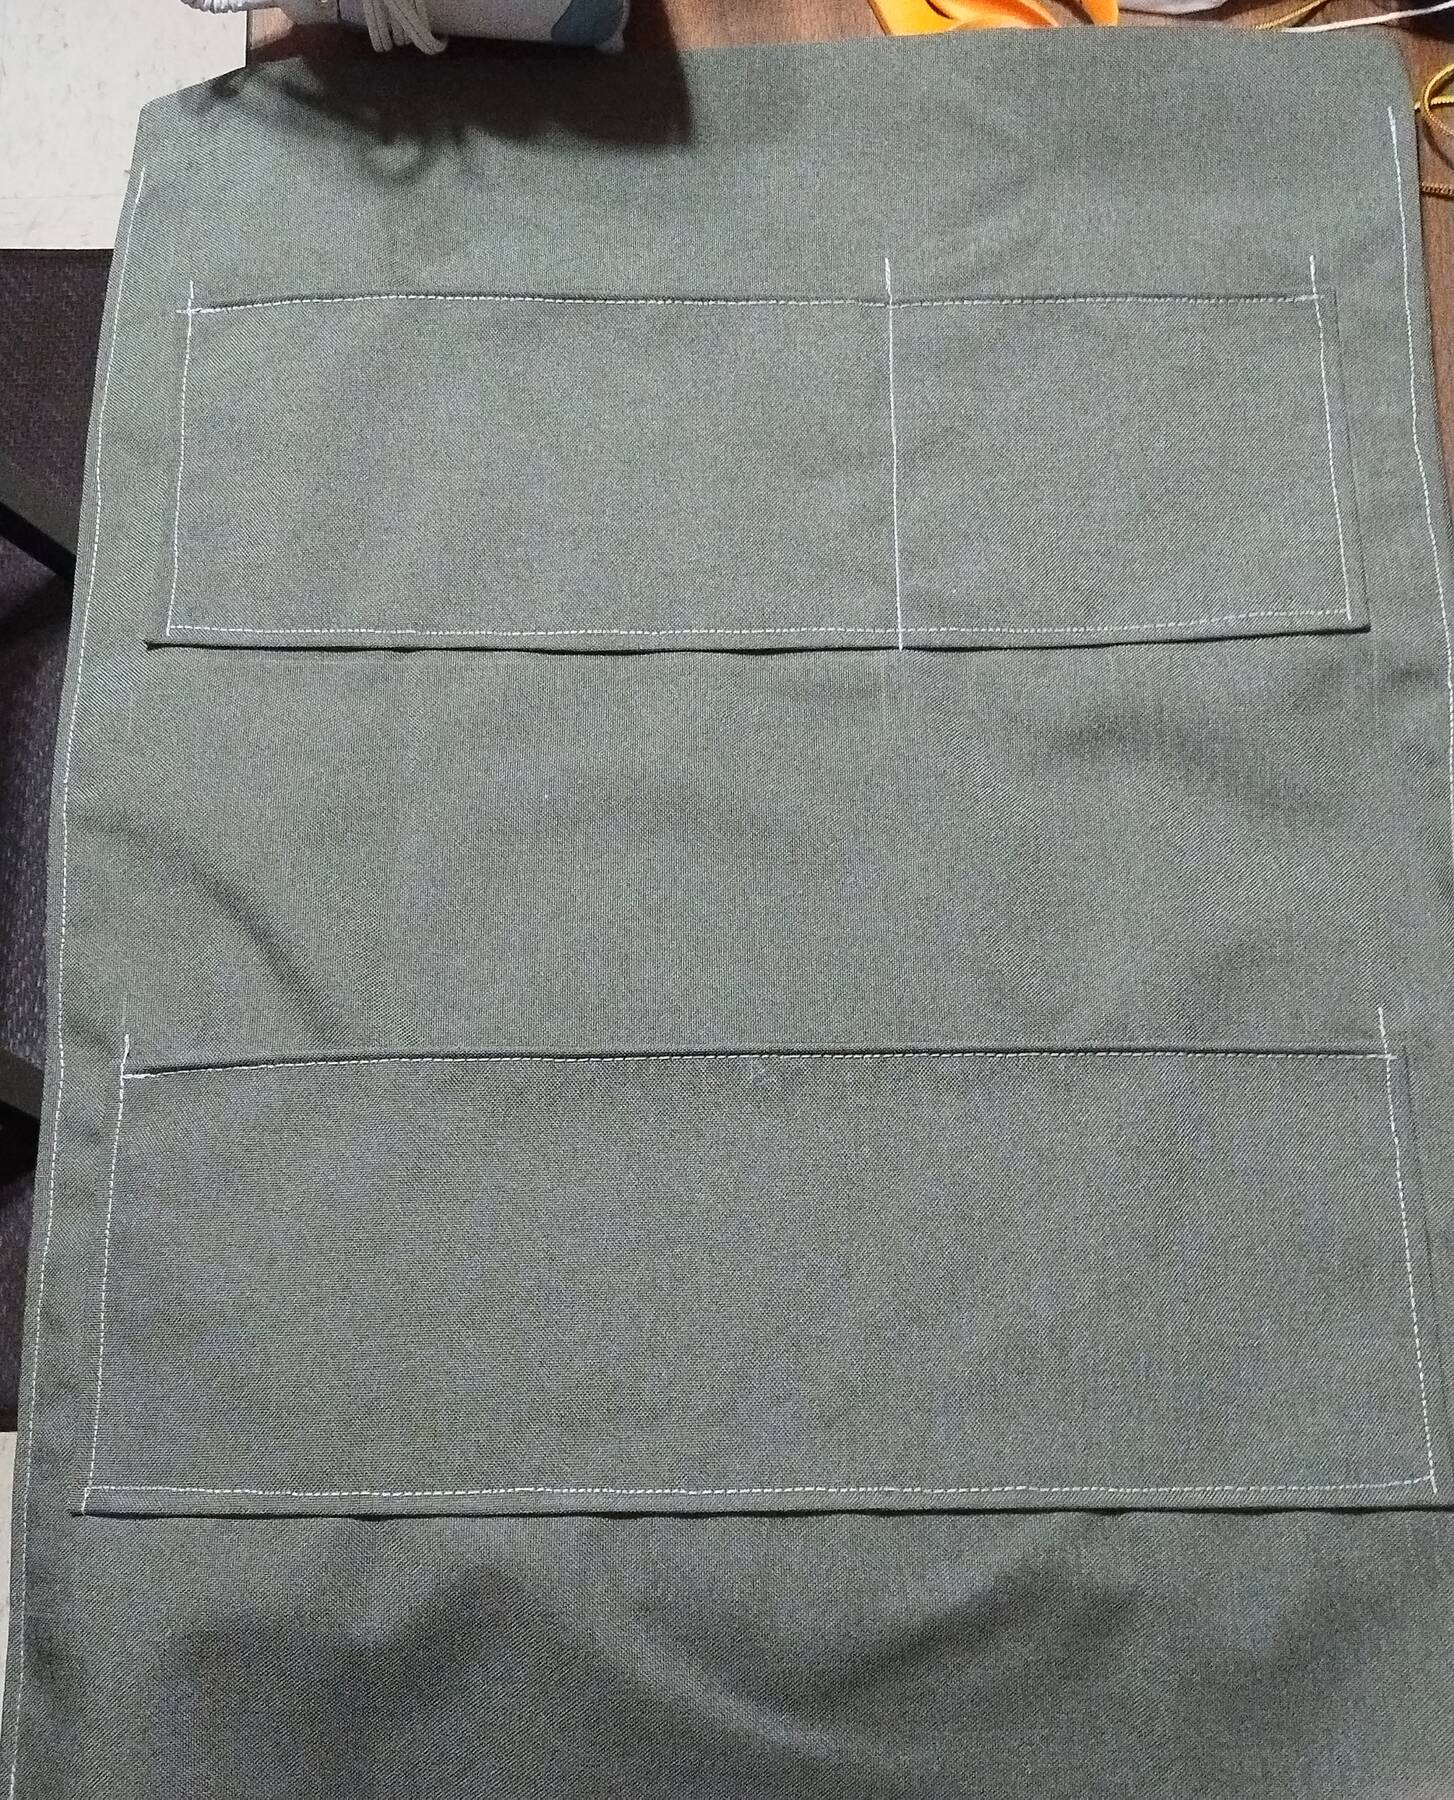
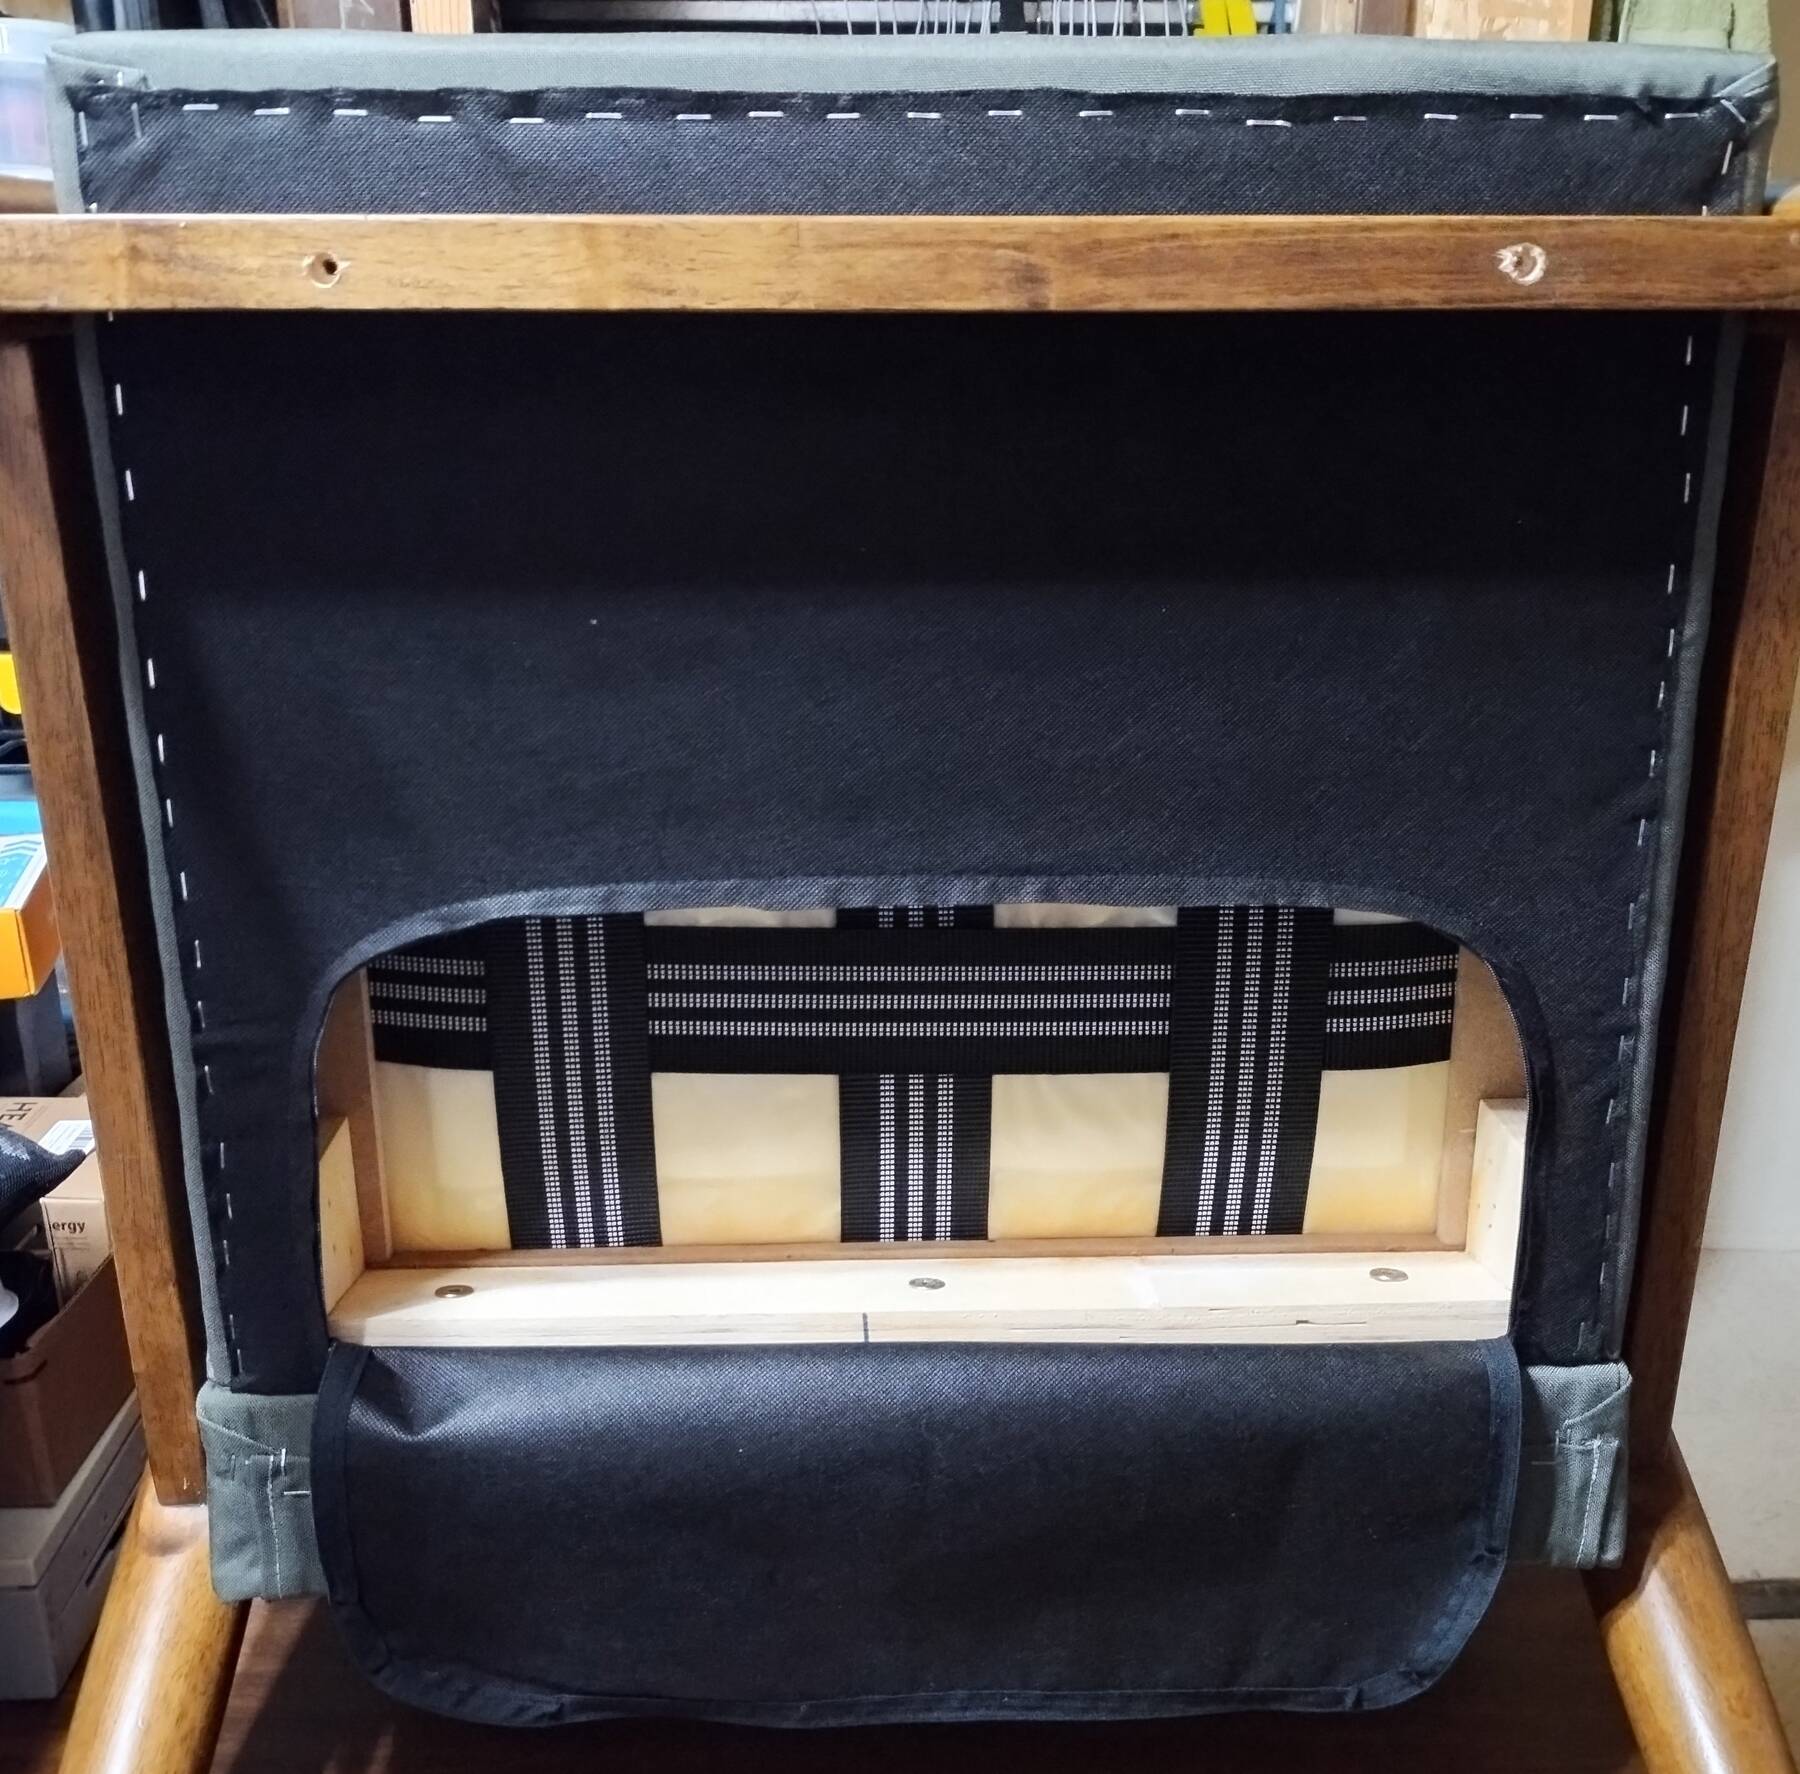
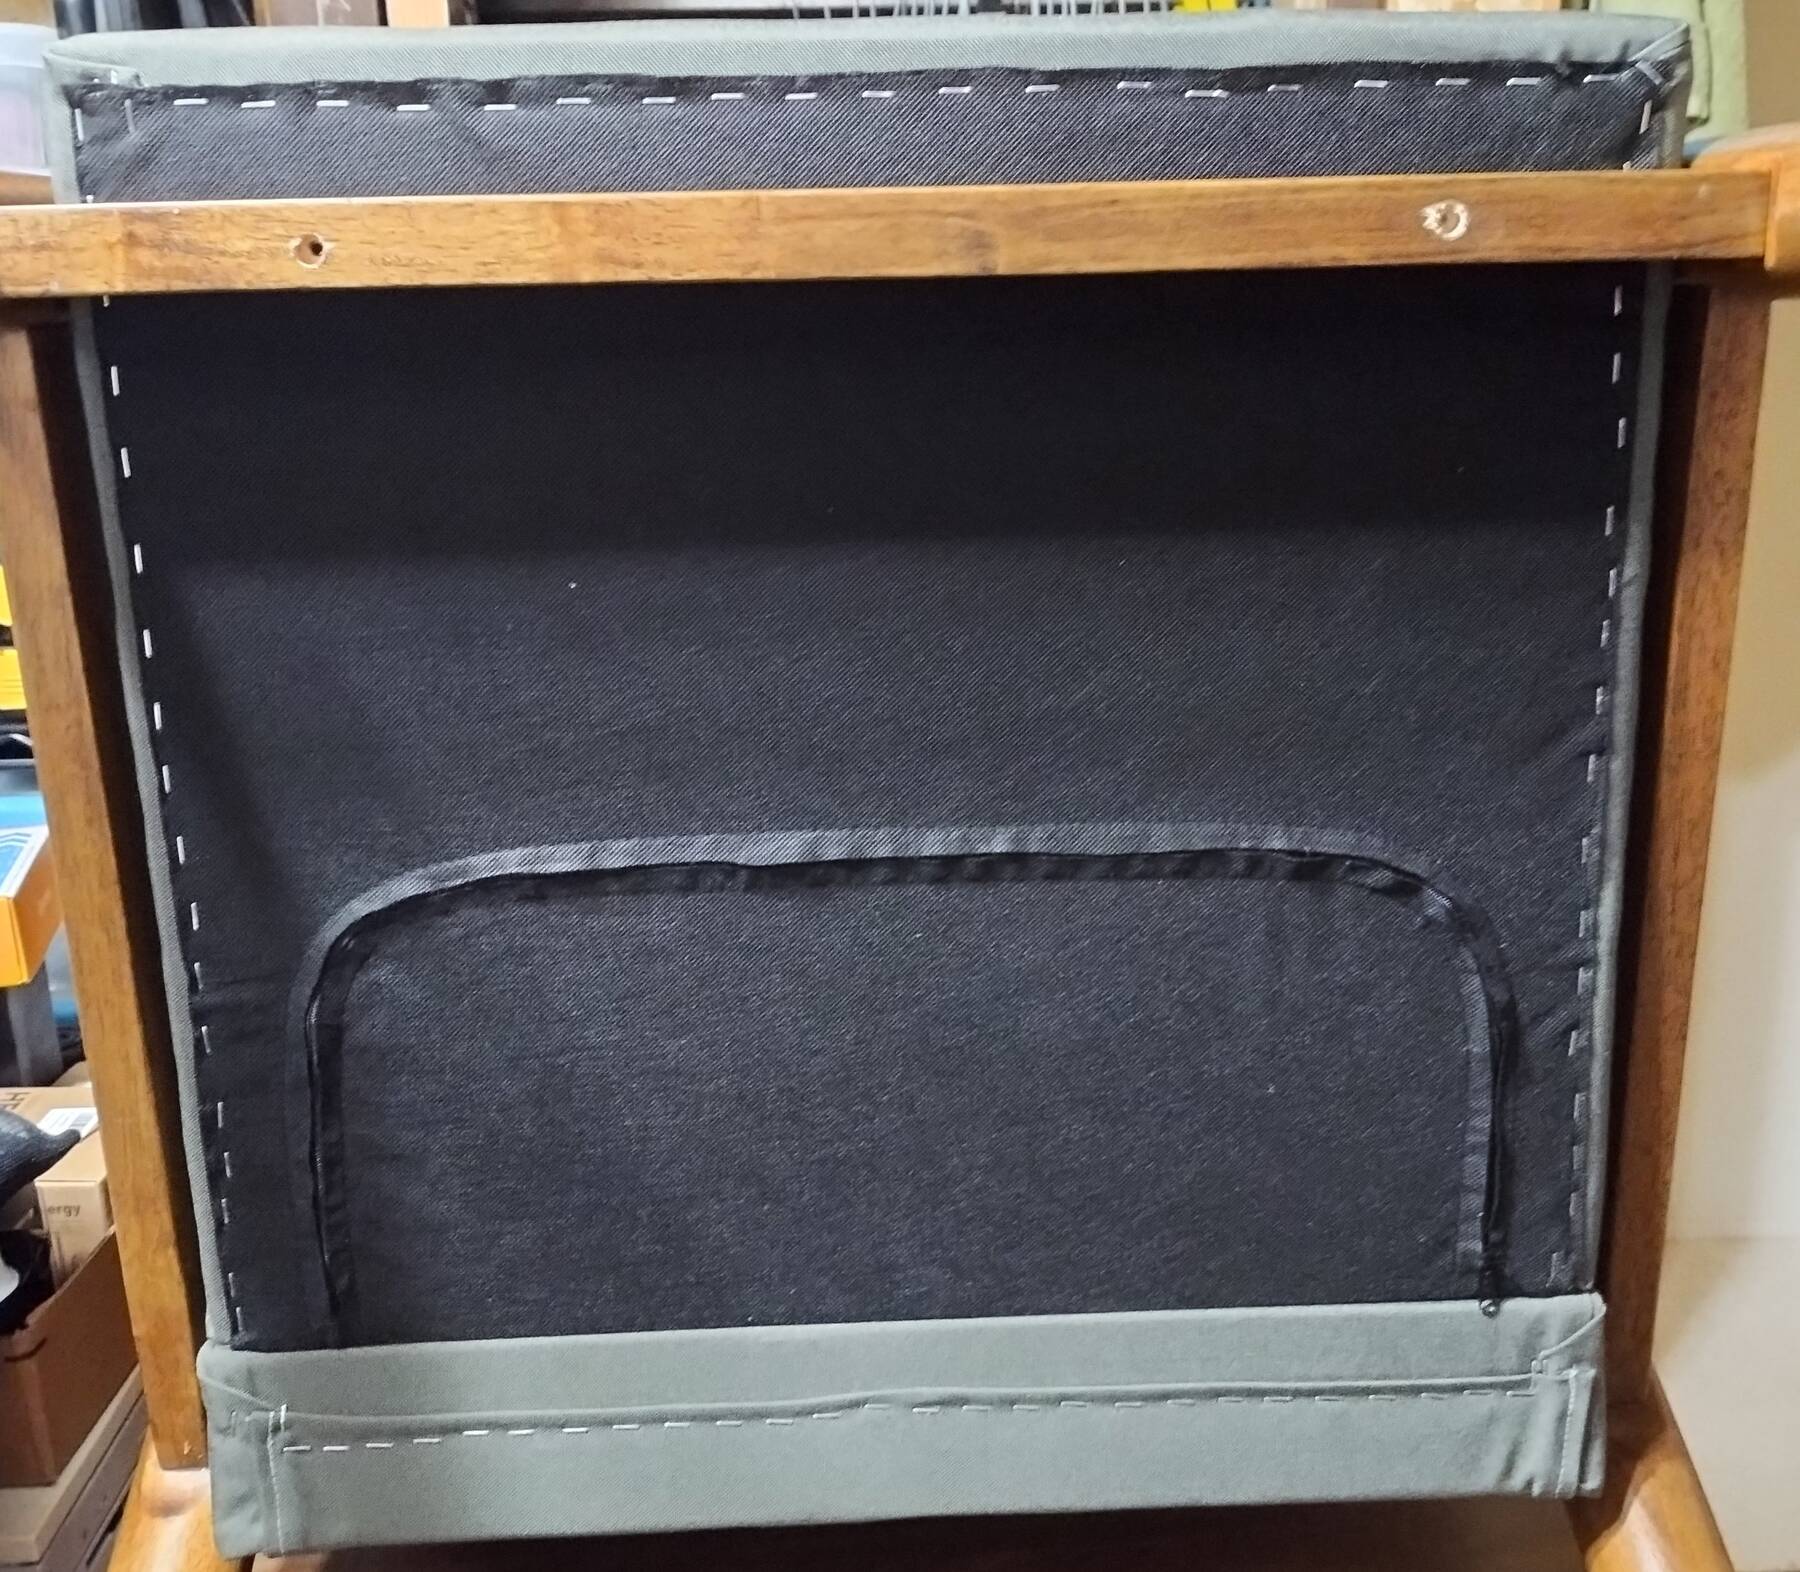
Pockets Idea
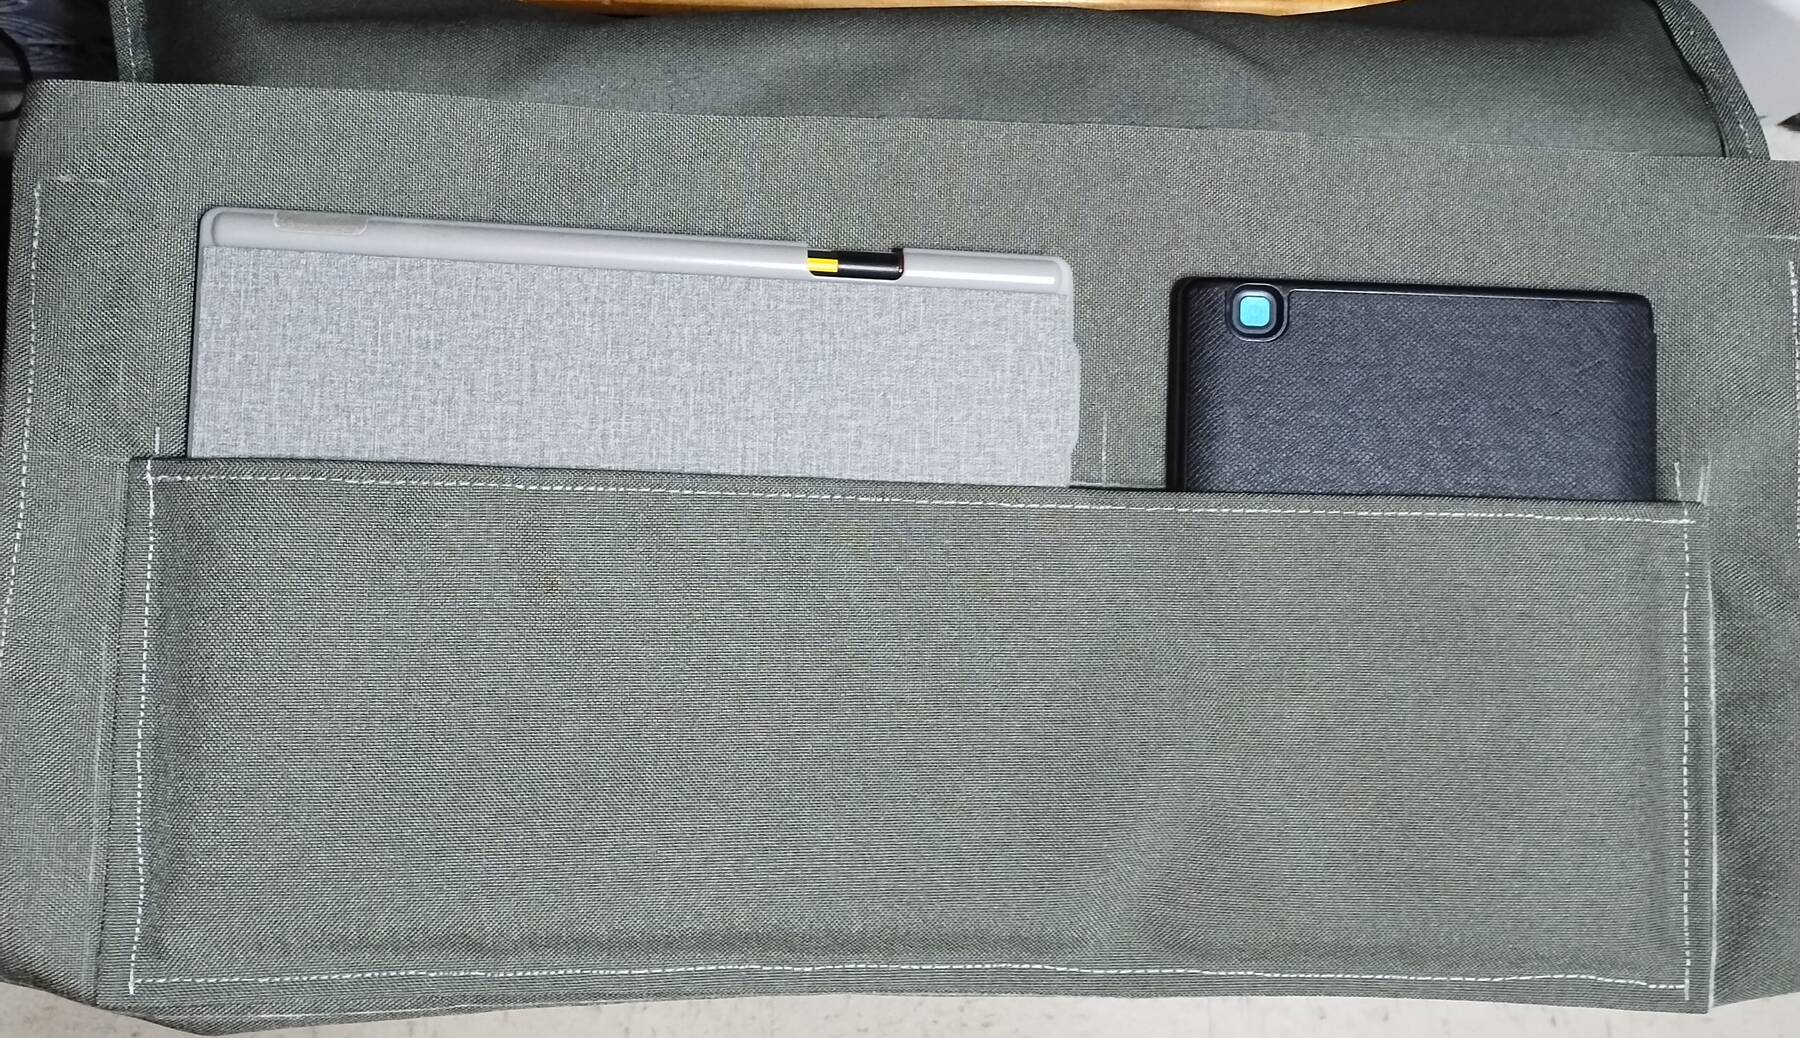
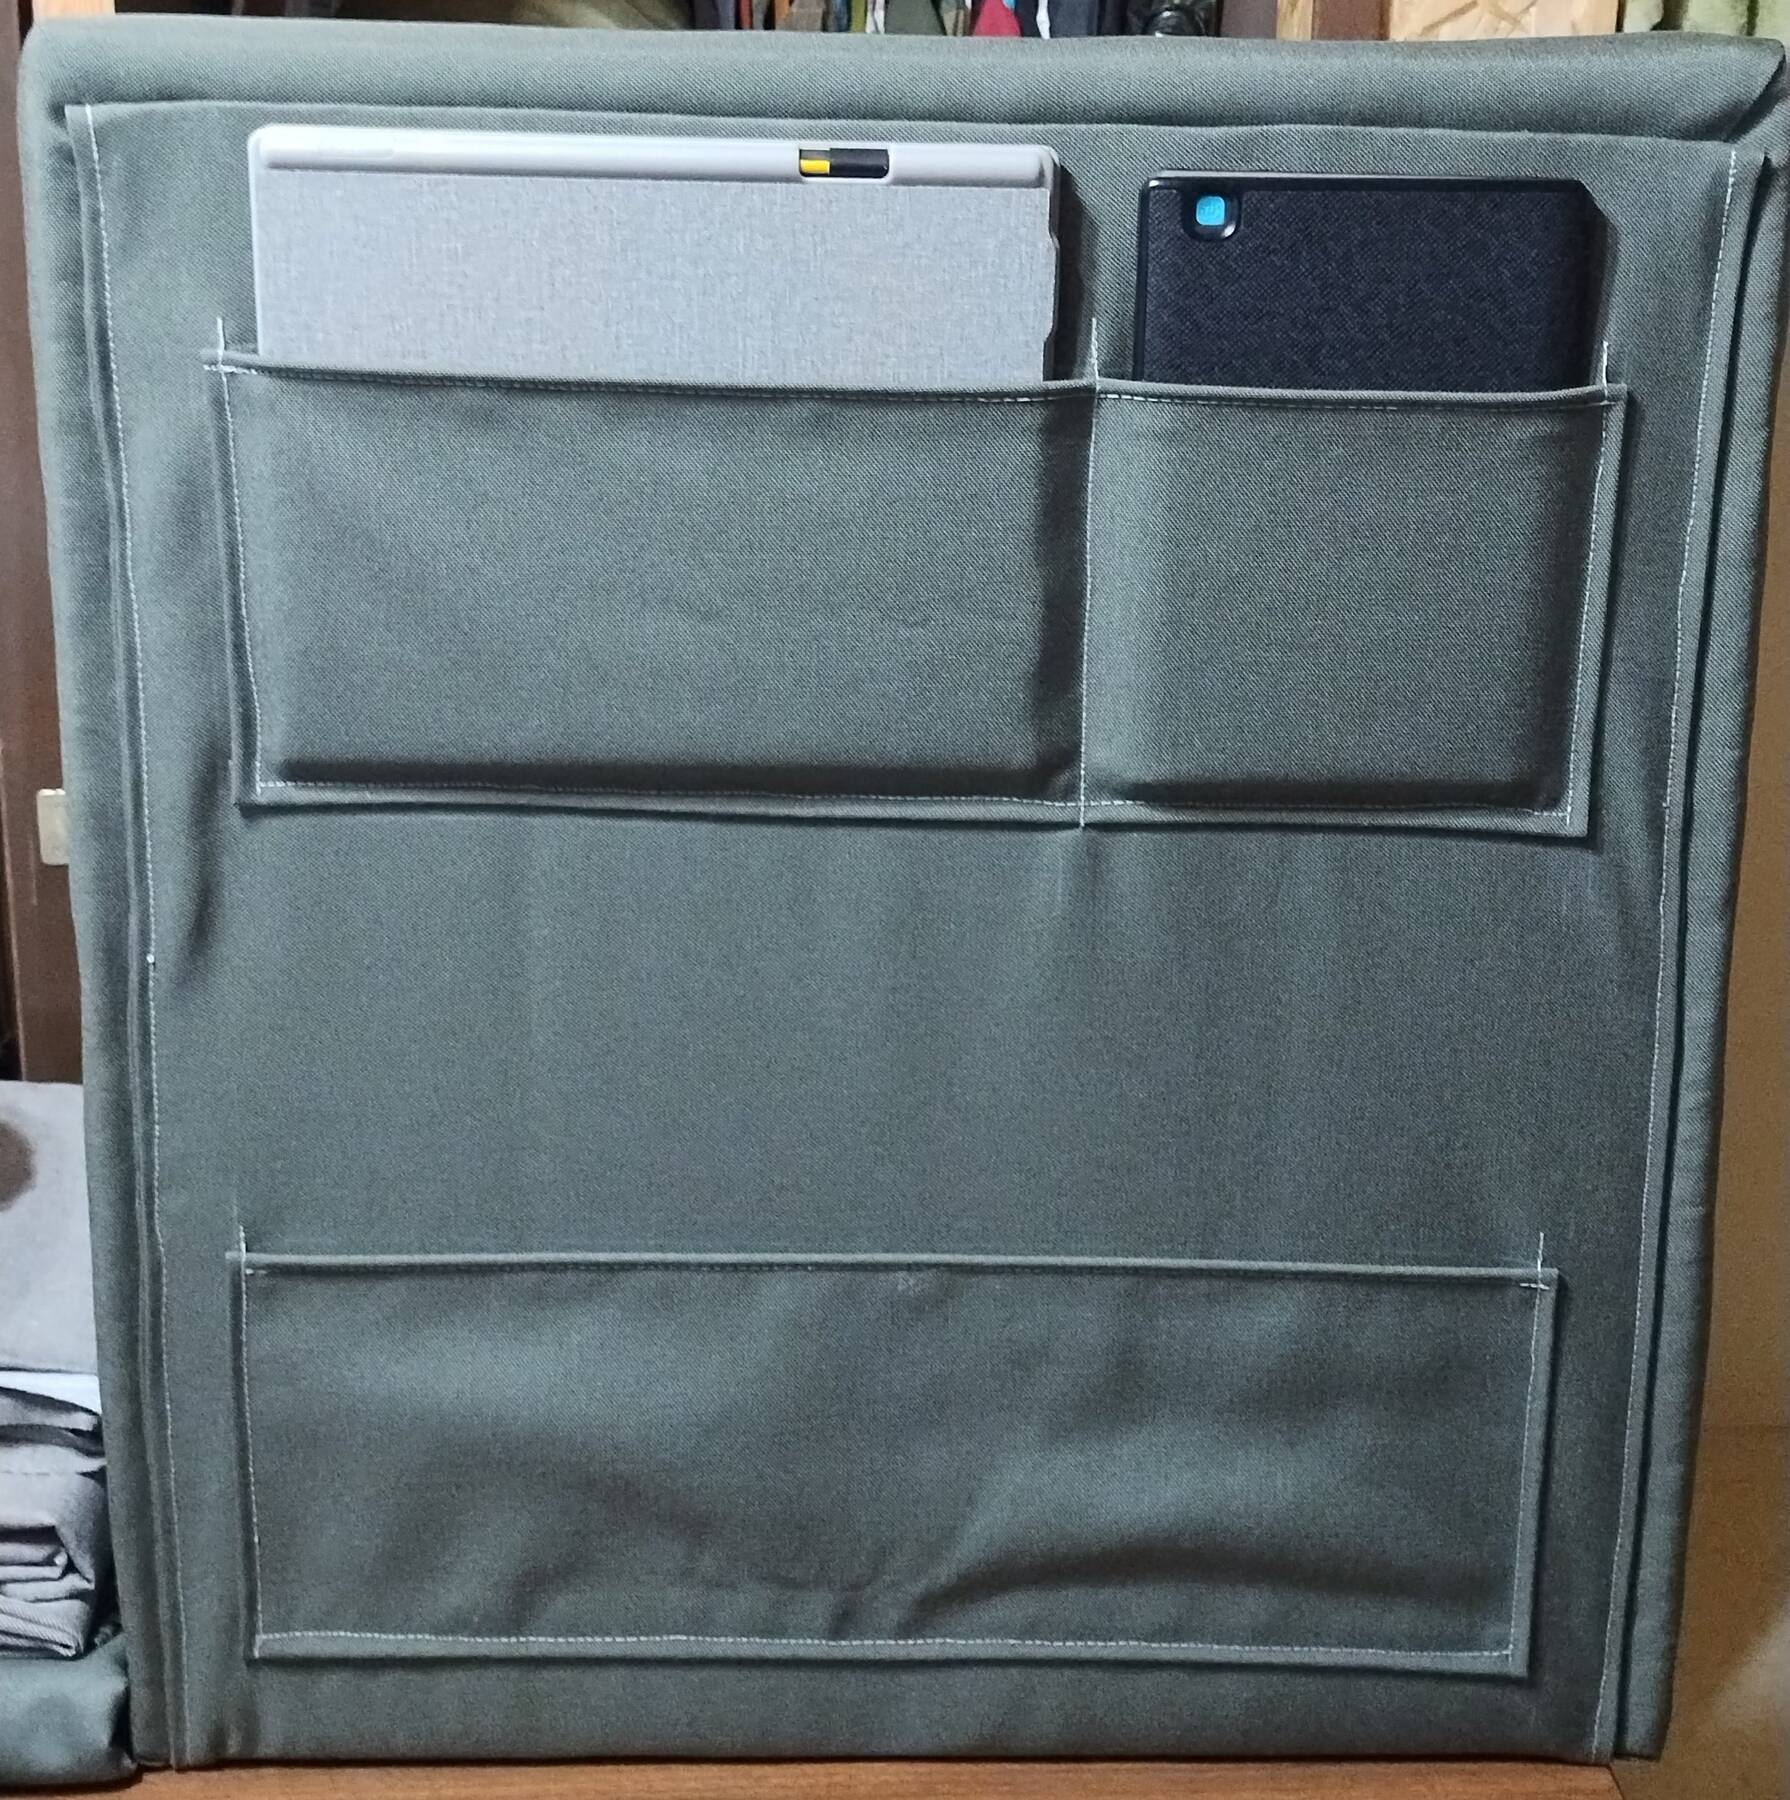
I thought all the sewing was done, but that night I came up with the idea to put pockets on the back of the chair.
Something like 2 upper pockets, suitable for holding a tablet and e-reader. Then a lower pocket, full width. It could hold books, or a laptop.
Day 4 - Stapling the covers to the seat cushion, and pockets
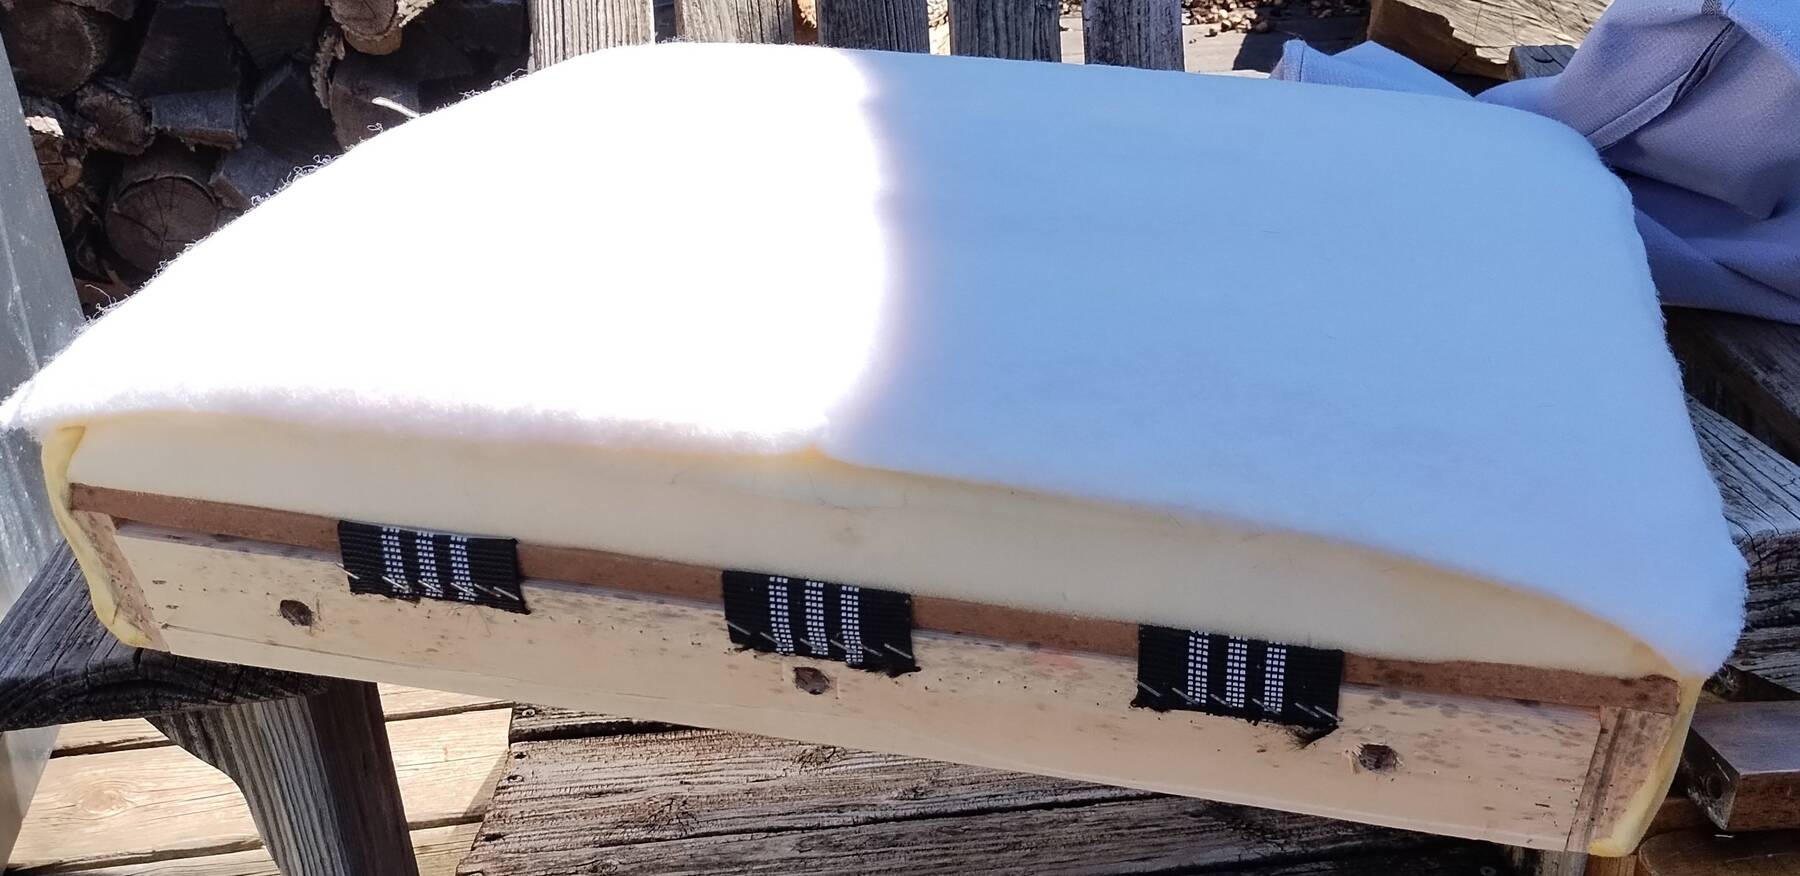
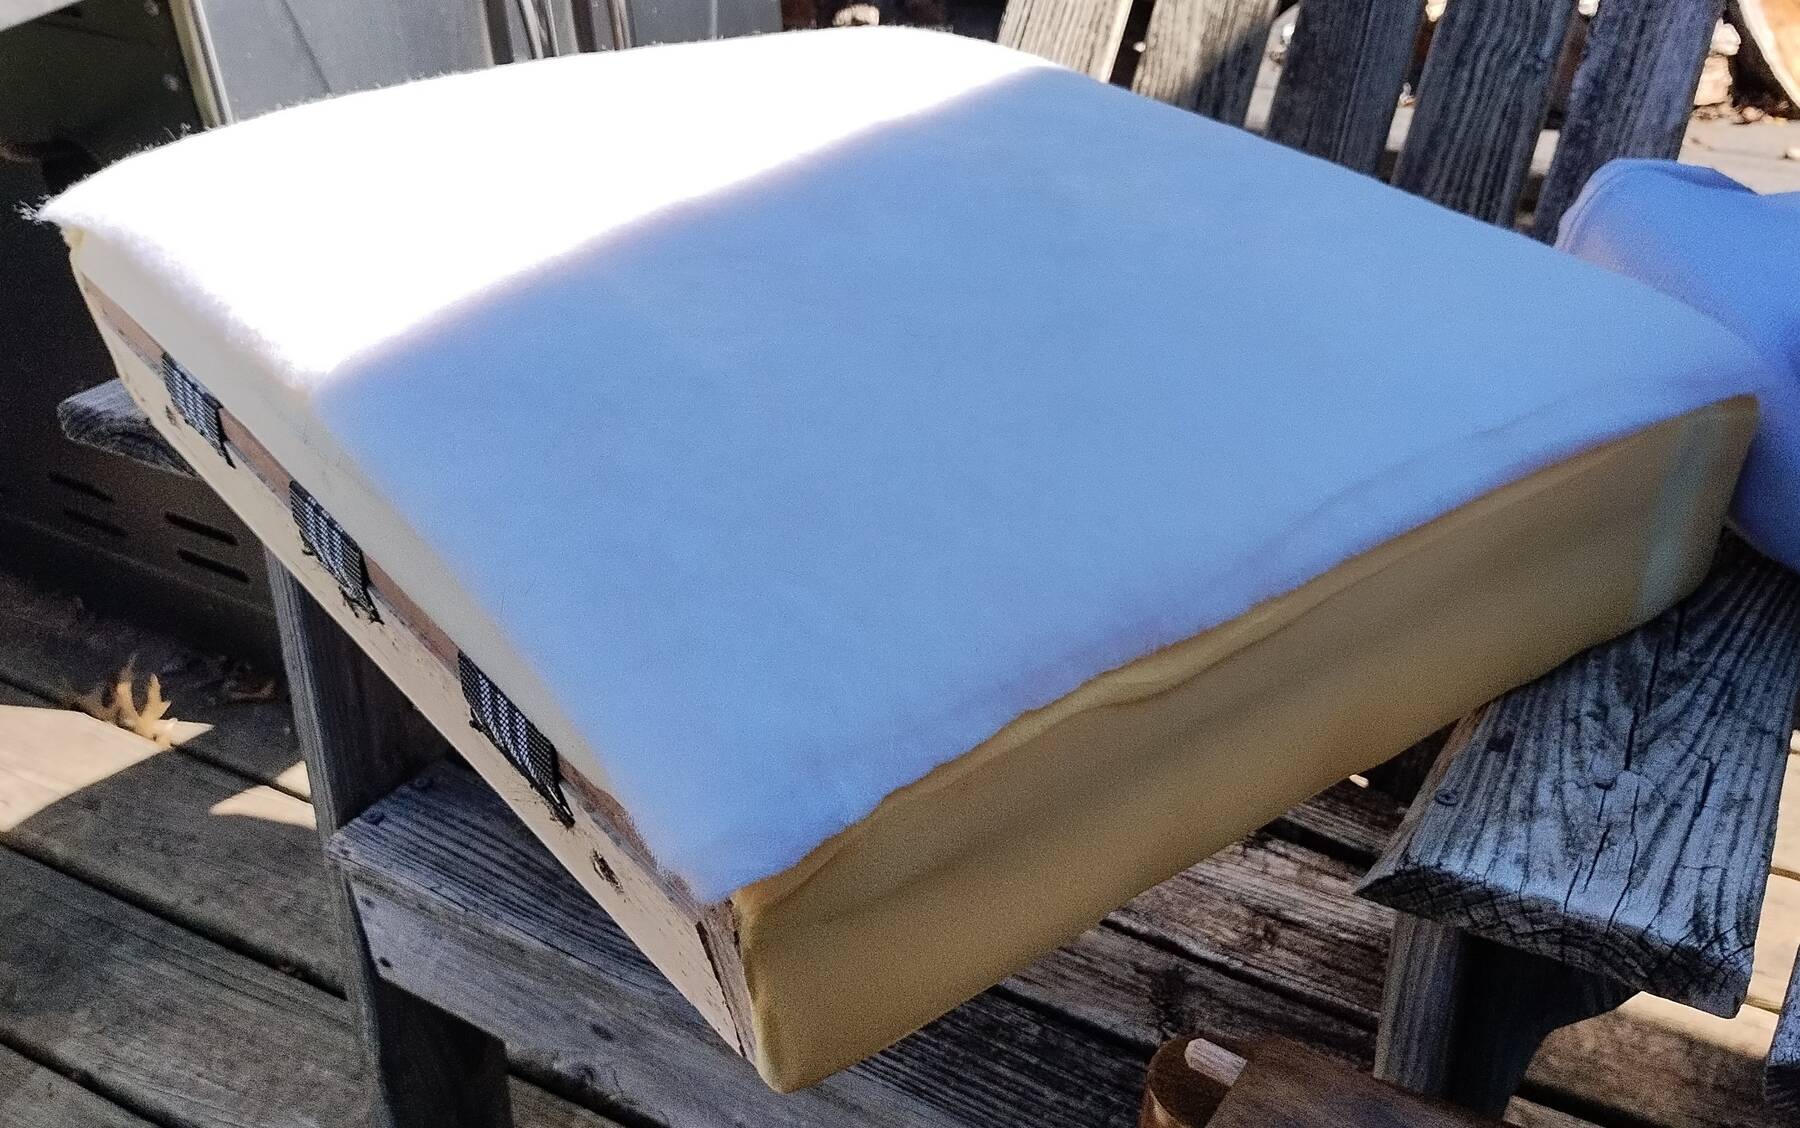
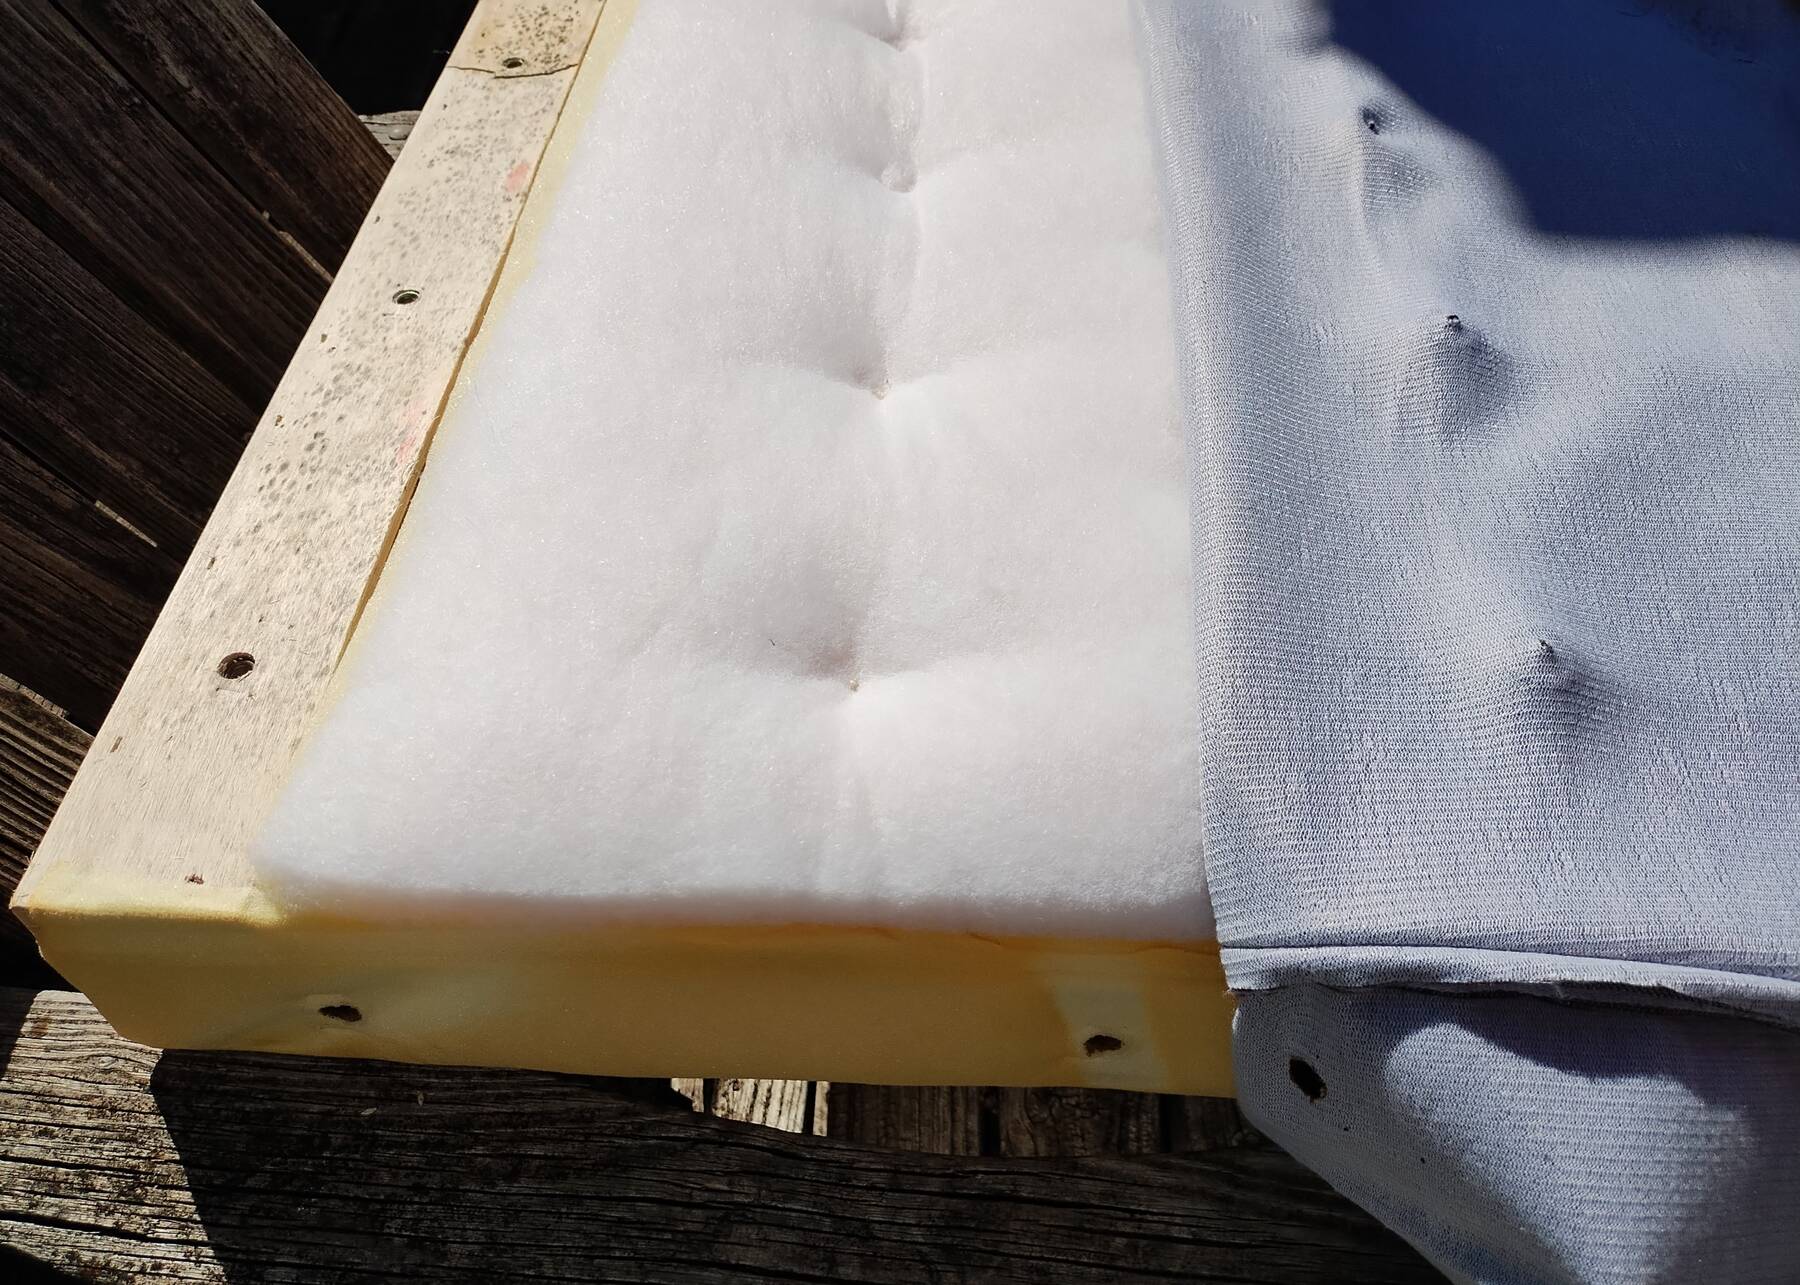
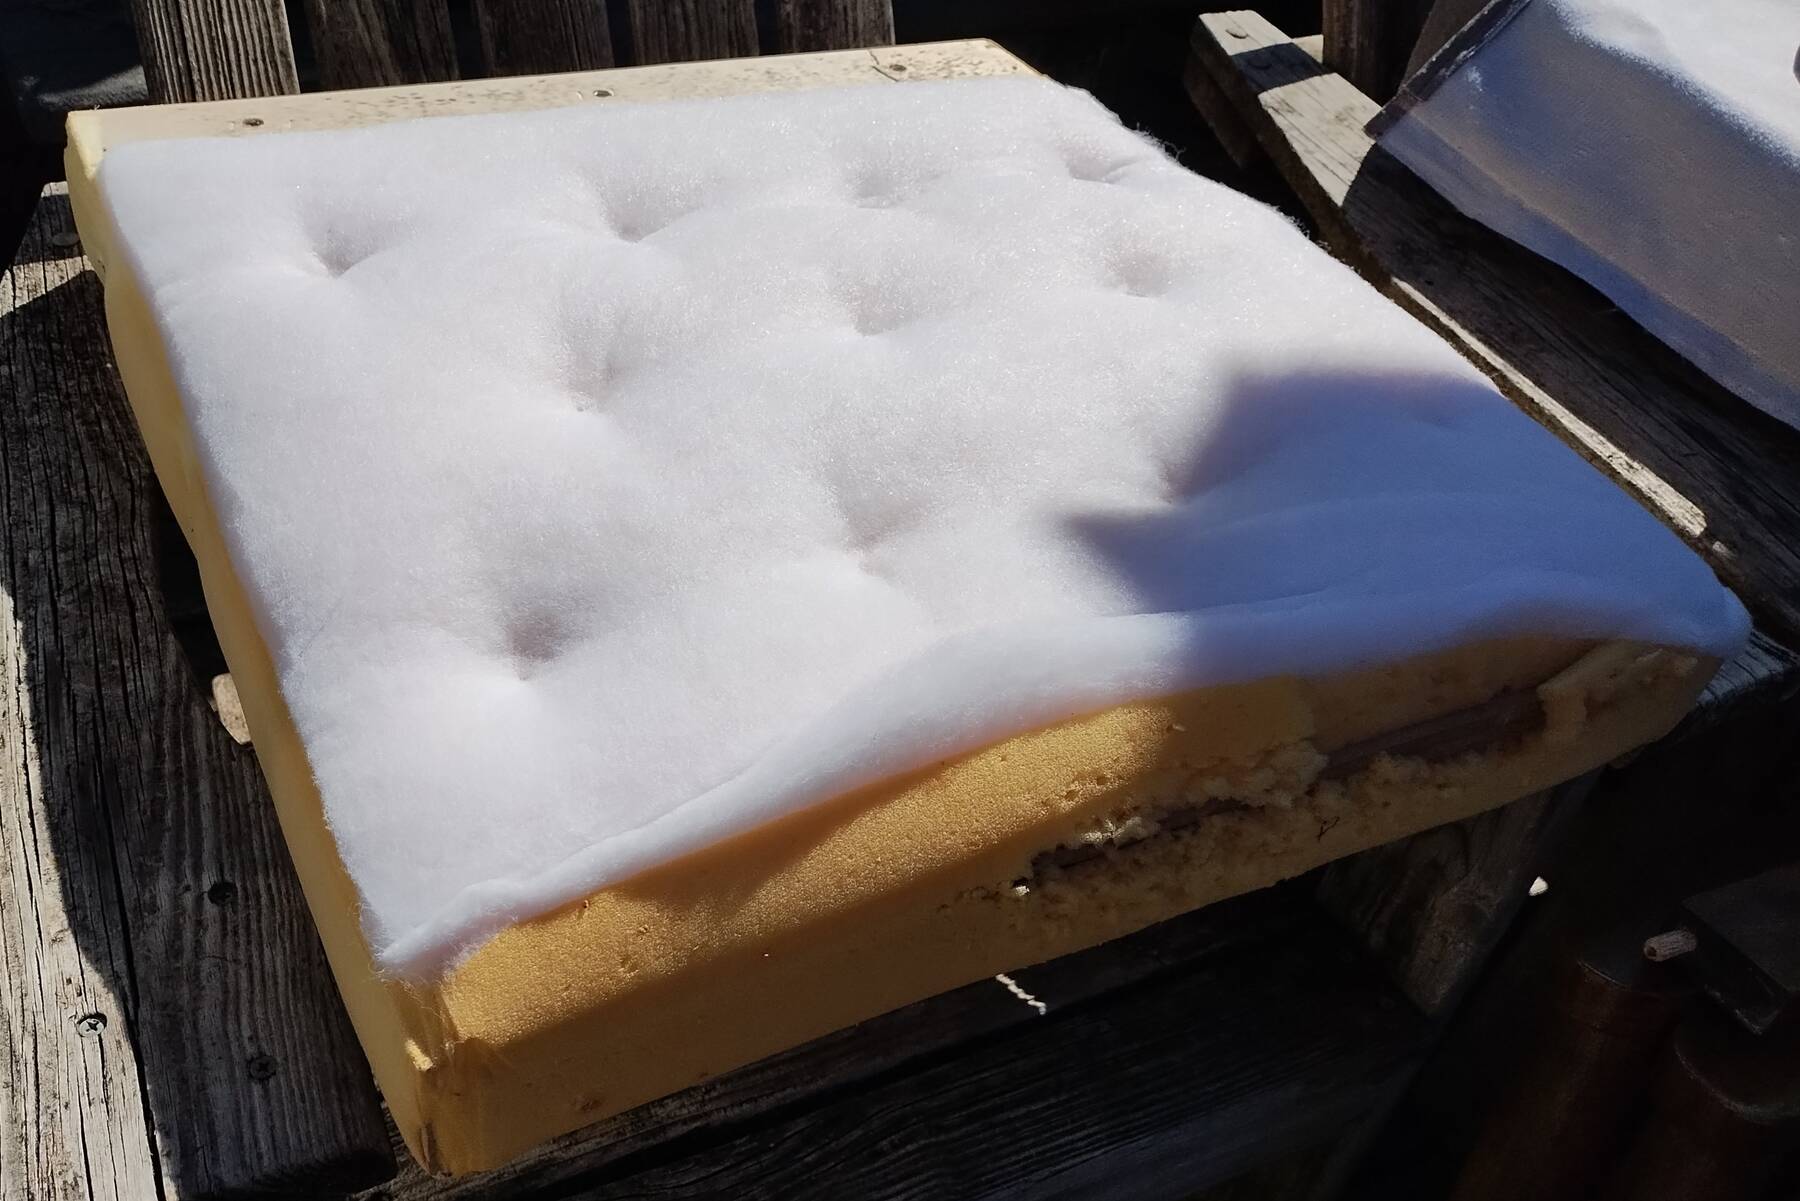
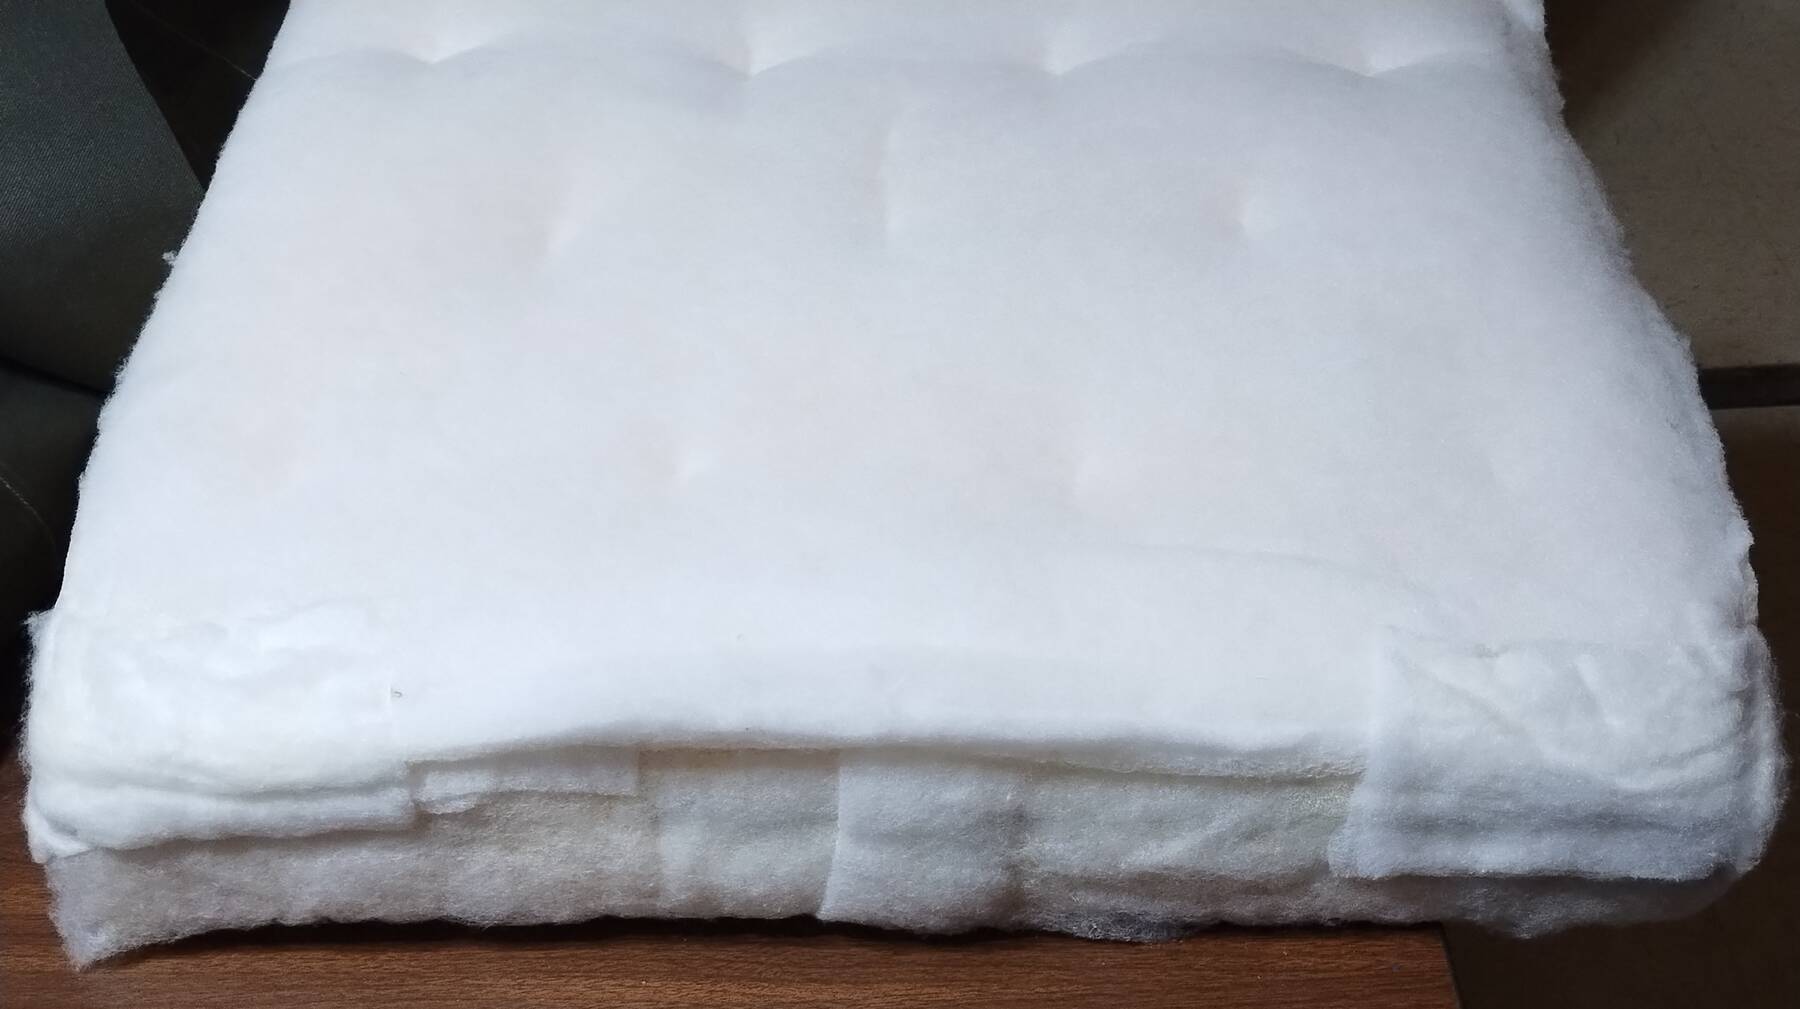
I didn't like the way the seat cushion top was fitting at the front. I pulled up the front edge of the batting glued to the foam. I used some spray adhesive to stick down some more under it. Then glued the original batting back down for a smooth top.
I stapled the seat cushion. I hate my amazon basics stapler. It jams without jamming. It breaks the staple packs apart, then they fall into the internal space because there is a gap behind the staple chute.
Getting the fabric stretched is a bit of a chore. Glad to have tough fabric, but also think maybe I should have left a couple inches of fabric that I could pull on, then trimmed it after. There's probably a suitable tool in the industry. Most of my method was placing the cushion against a table, and squishing it down while simultaneously pulling the fabric edge into place. Later I grabbed some flat nylon jaw pliers for better grip.
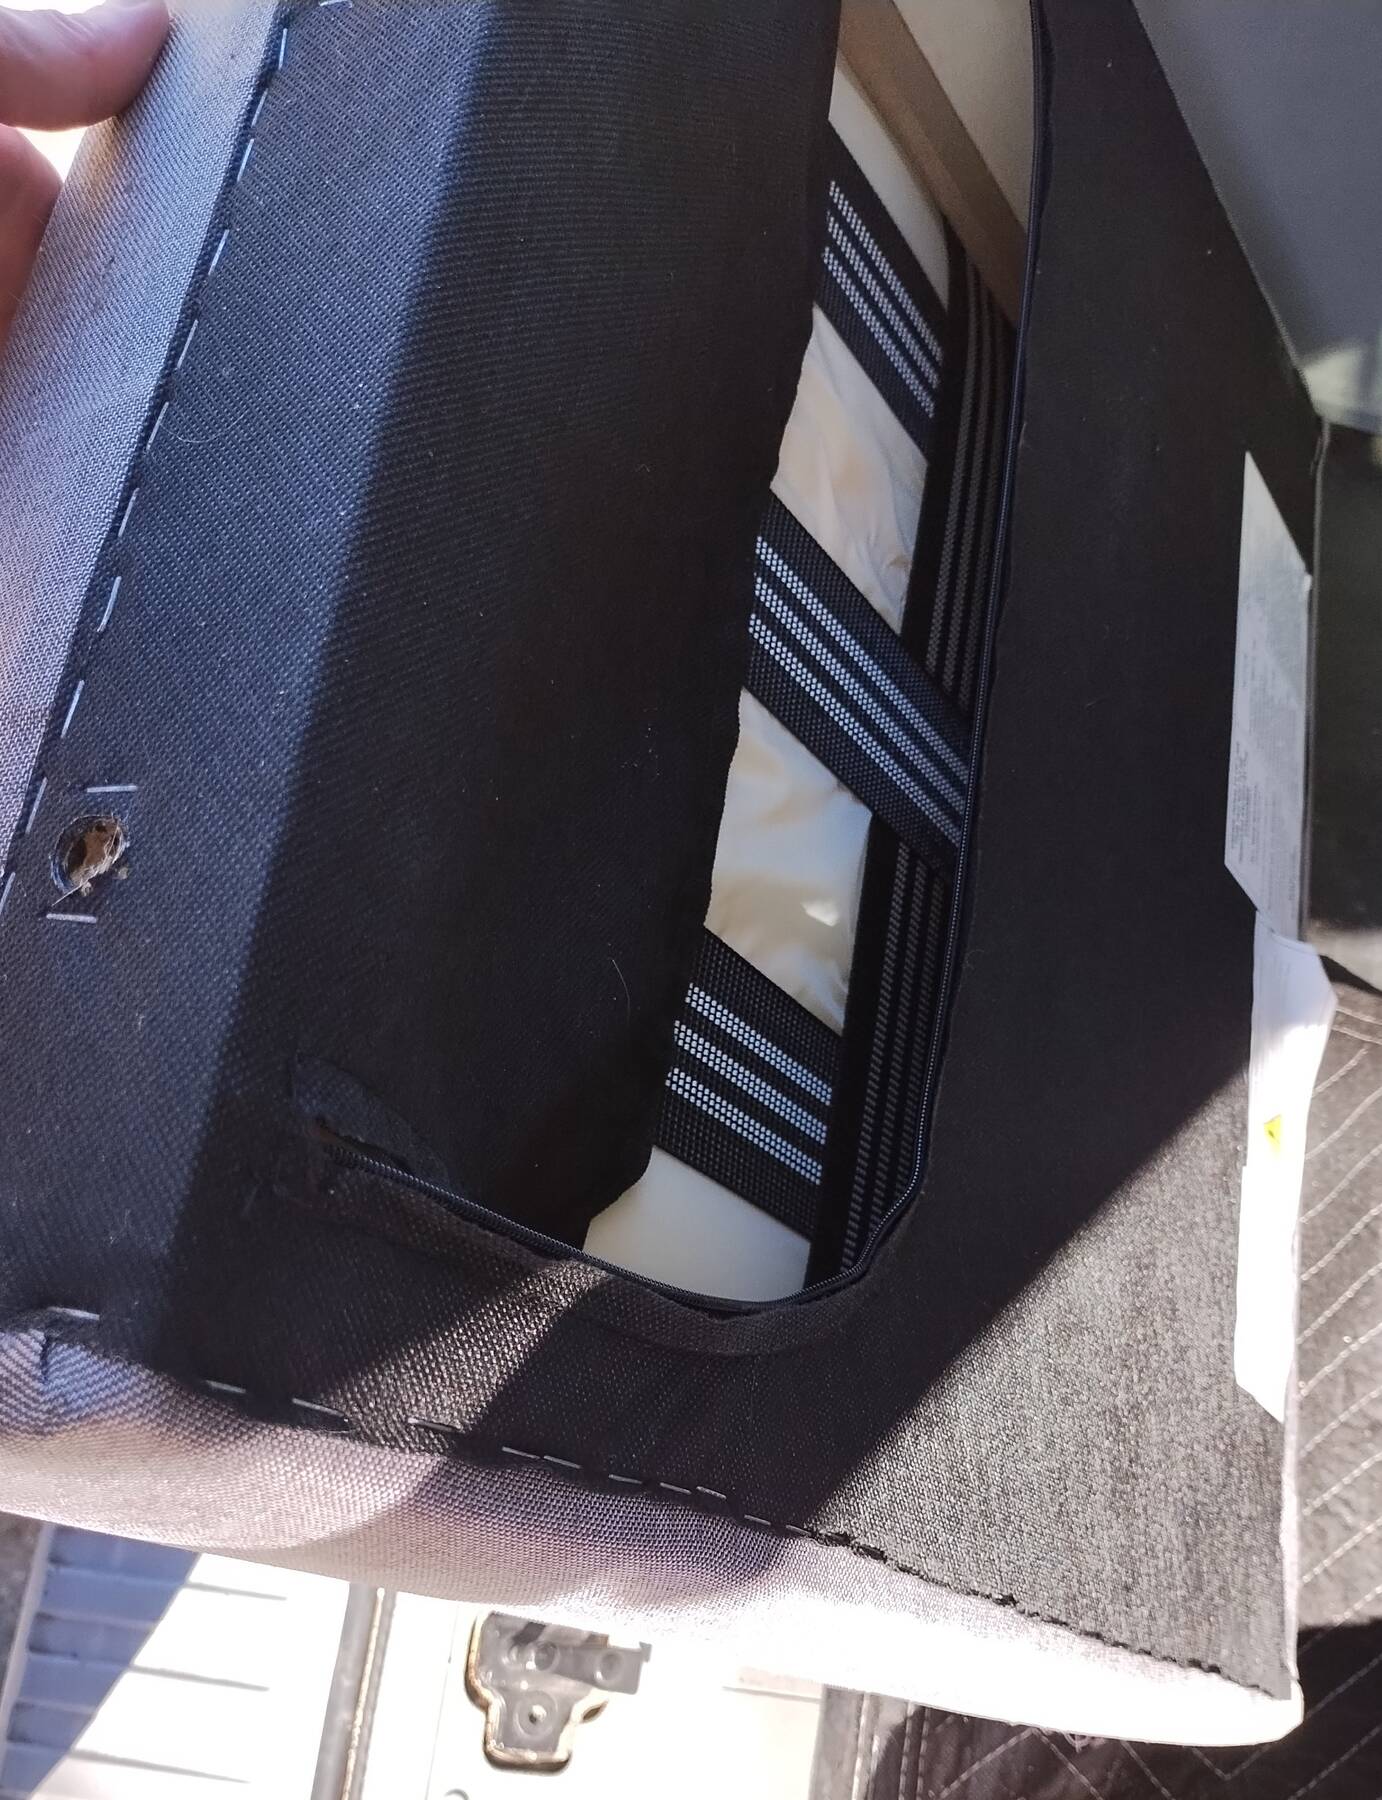
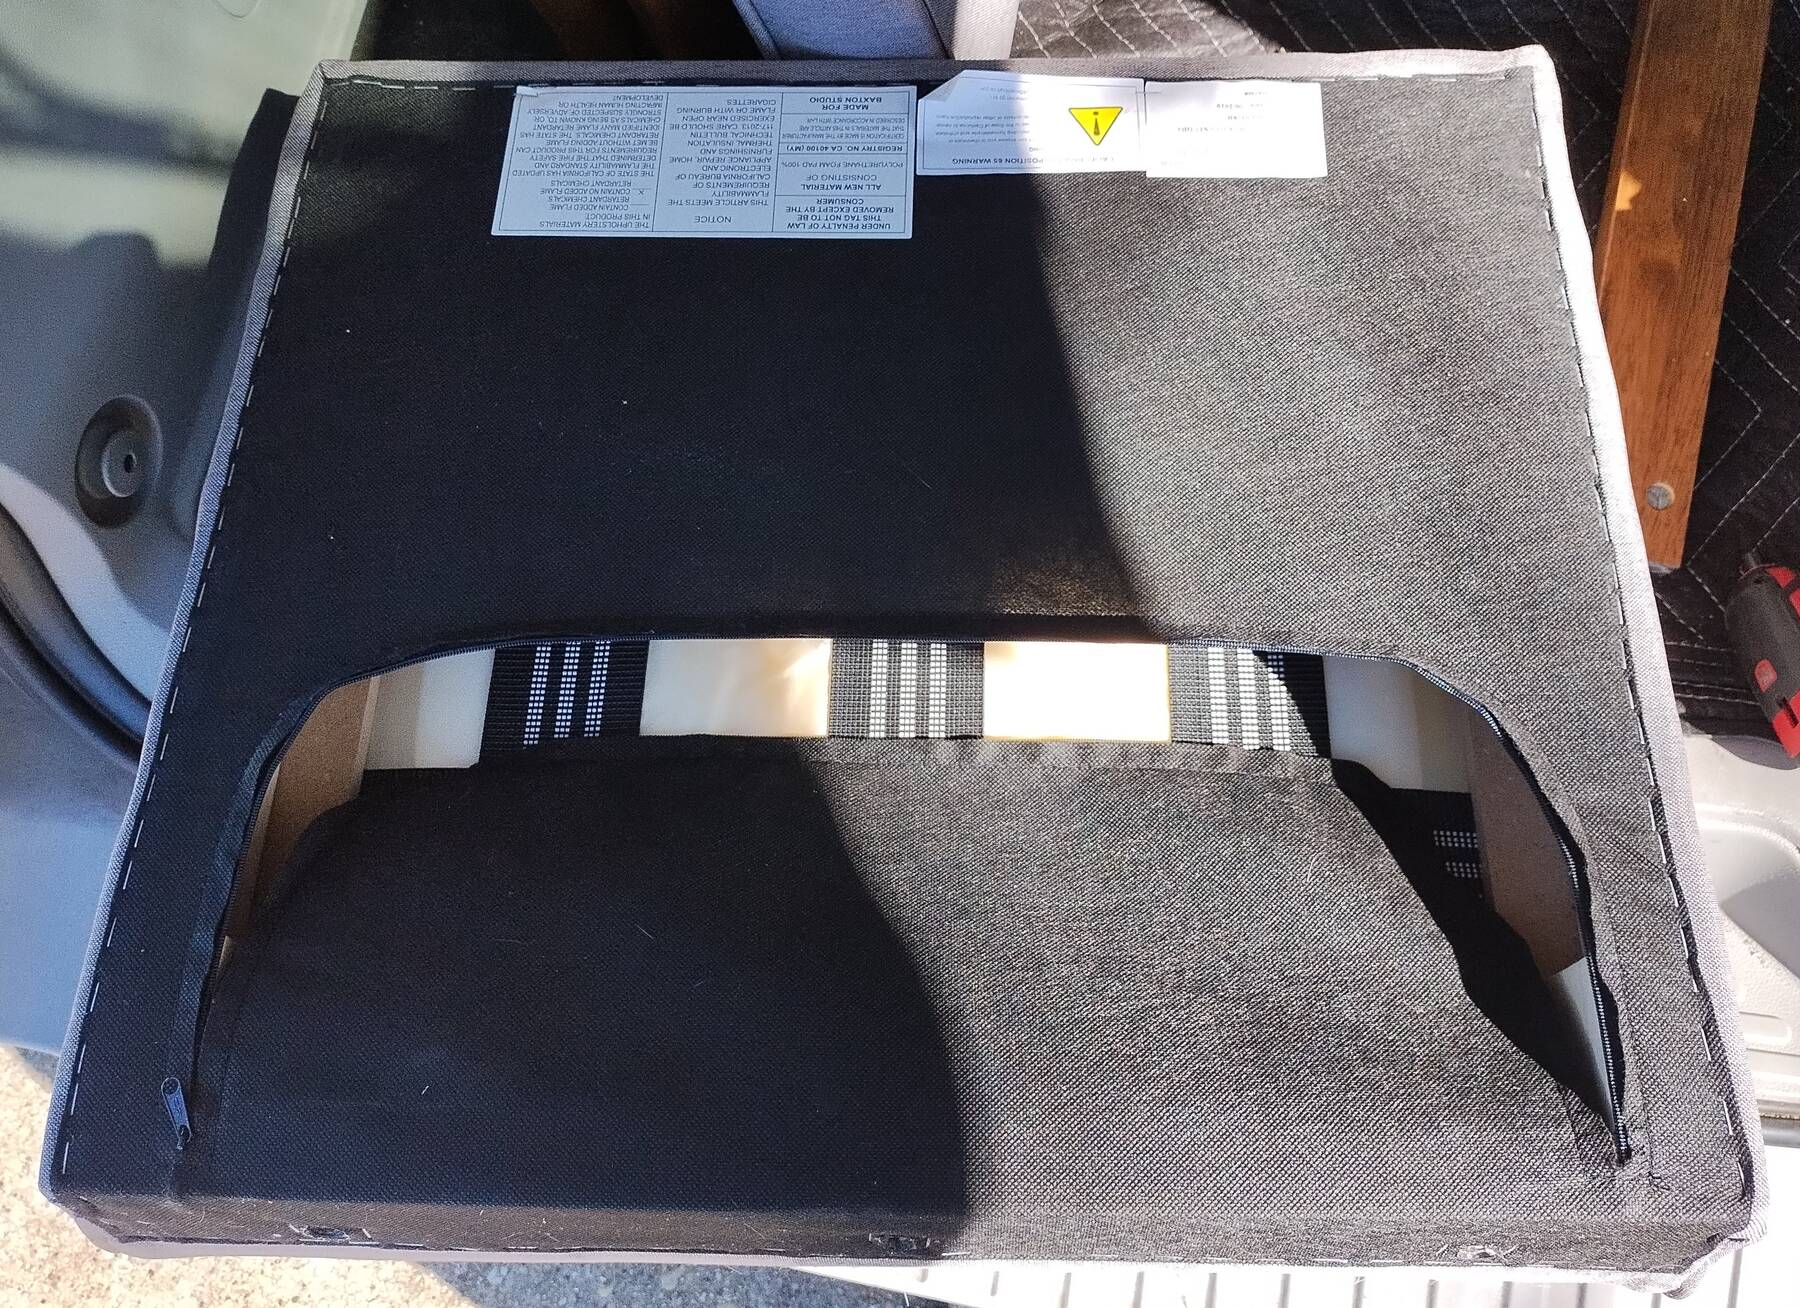
I cut a little around the mounting bolt holes, and melted the fabric. Then I stapled on the original bottom cover which has a zipper so you can hide things in the seat. It also does a pretty good job of hiding the staple hack job I did. Its staples are still visible, but I made them slightly neater.
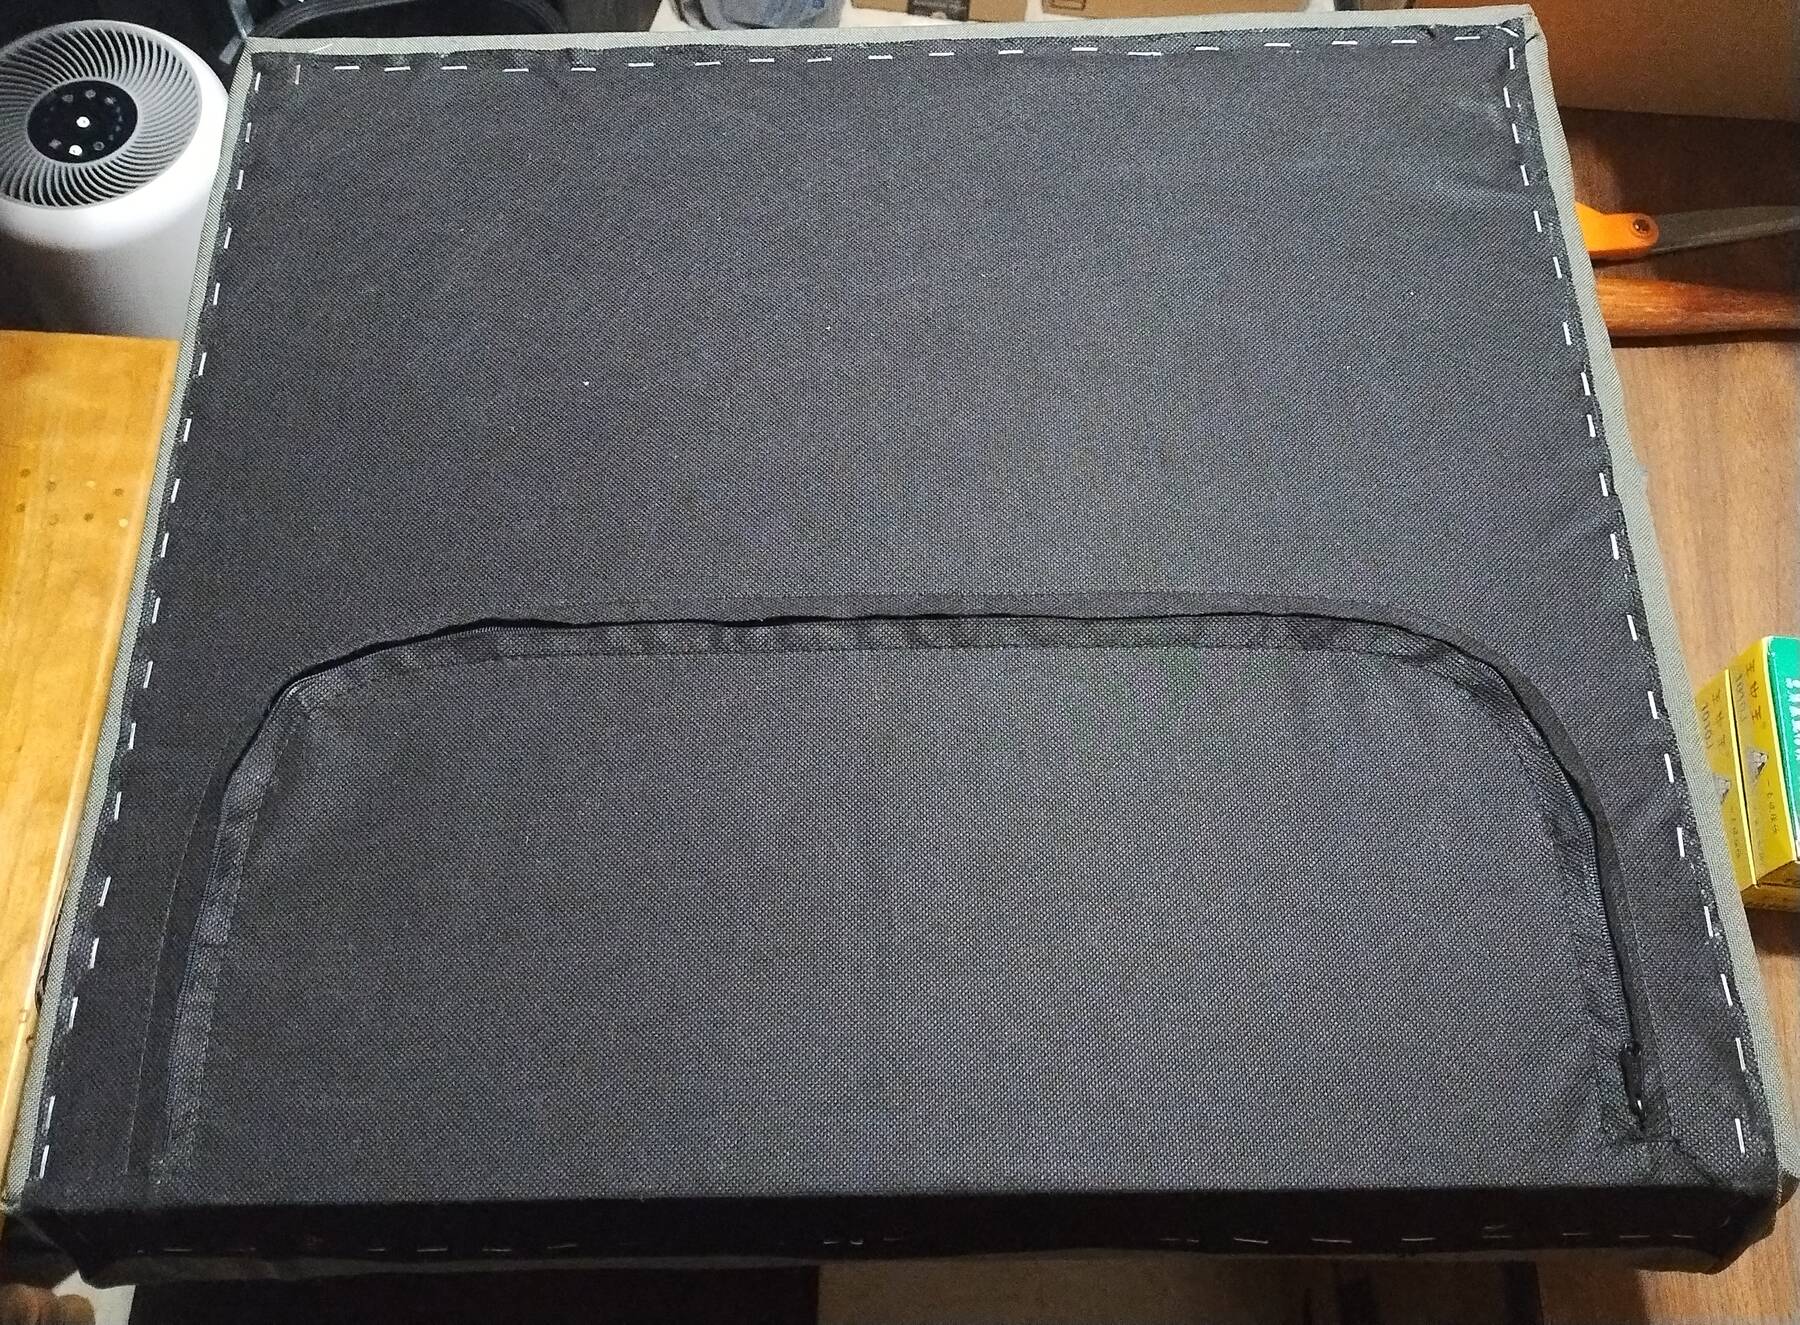
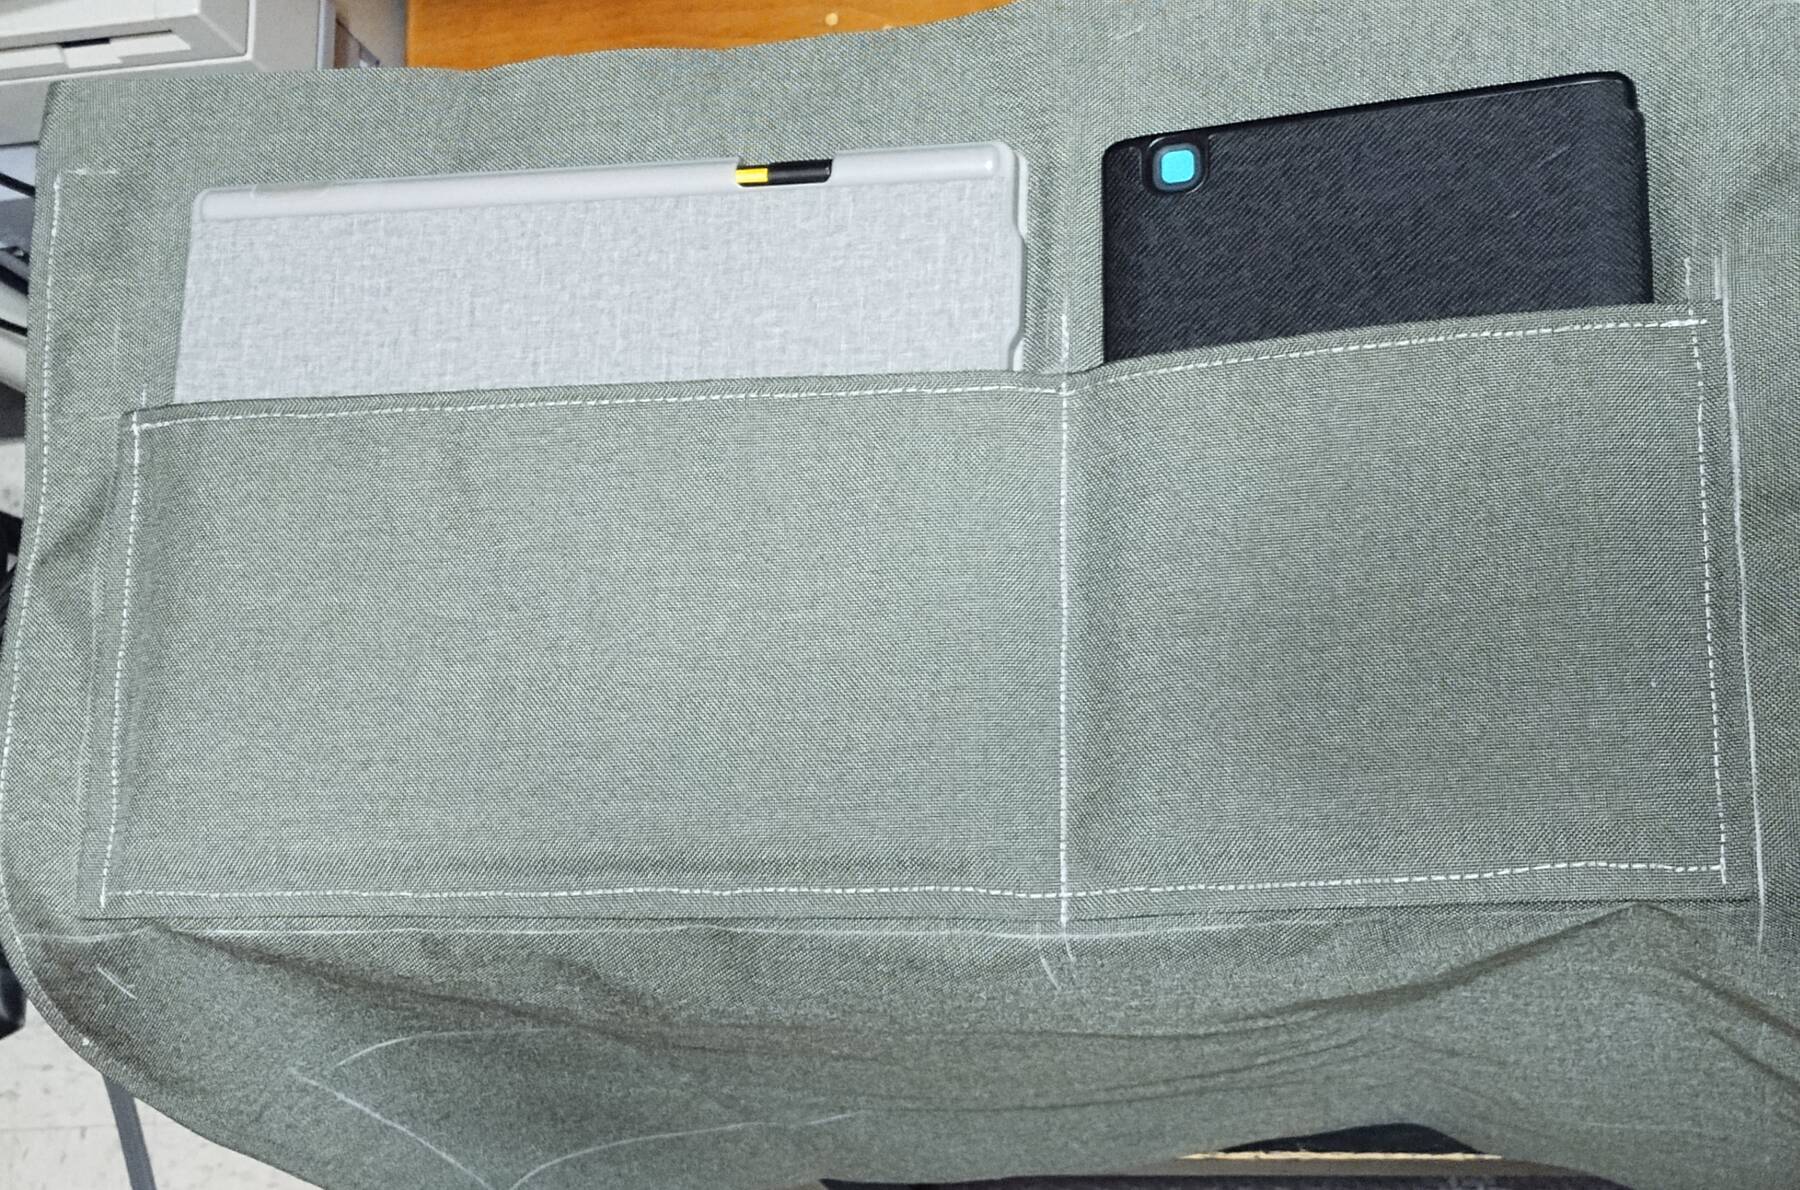
I settled on an upper and lower pocket. The upper pocket will be divided. I'm going to pipe the top edge, and hope that makes it easier to put things in the pockets.
I cut the pockets out, ironed them smooth, and sewed the top edge with some boot laces as piping. I left the piping short of the sides so I can fold them in.
The top pocket came out a bit narrow. The bottom pocket was probably just right, but I offset it after checking the fit which seemed the same as the top. A little 1/8" shouldn't be too noticeable though.
The pockets are made to fit the tablet in landscape, and the e-reader next to it. This will give them a more permanent place, and reduce my desk clutter a little.
Day 5 - Foam repair, Stapling the back cushion, and installing buttons, assembly
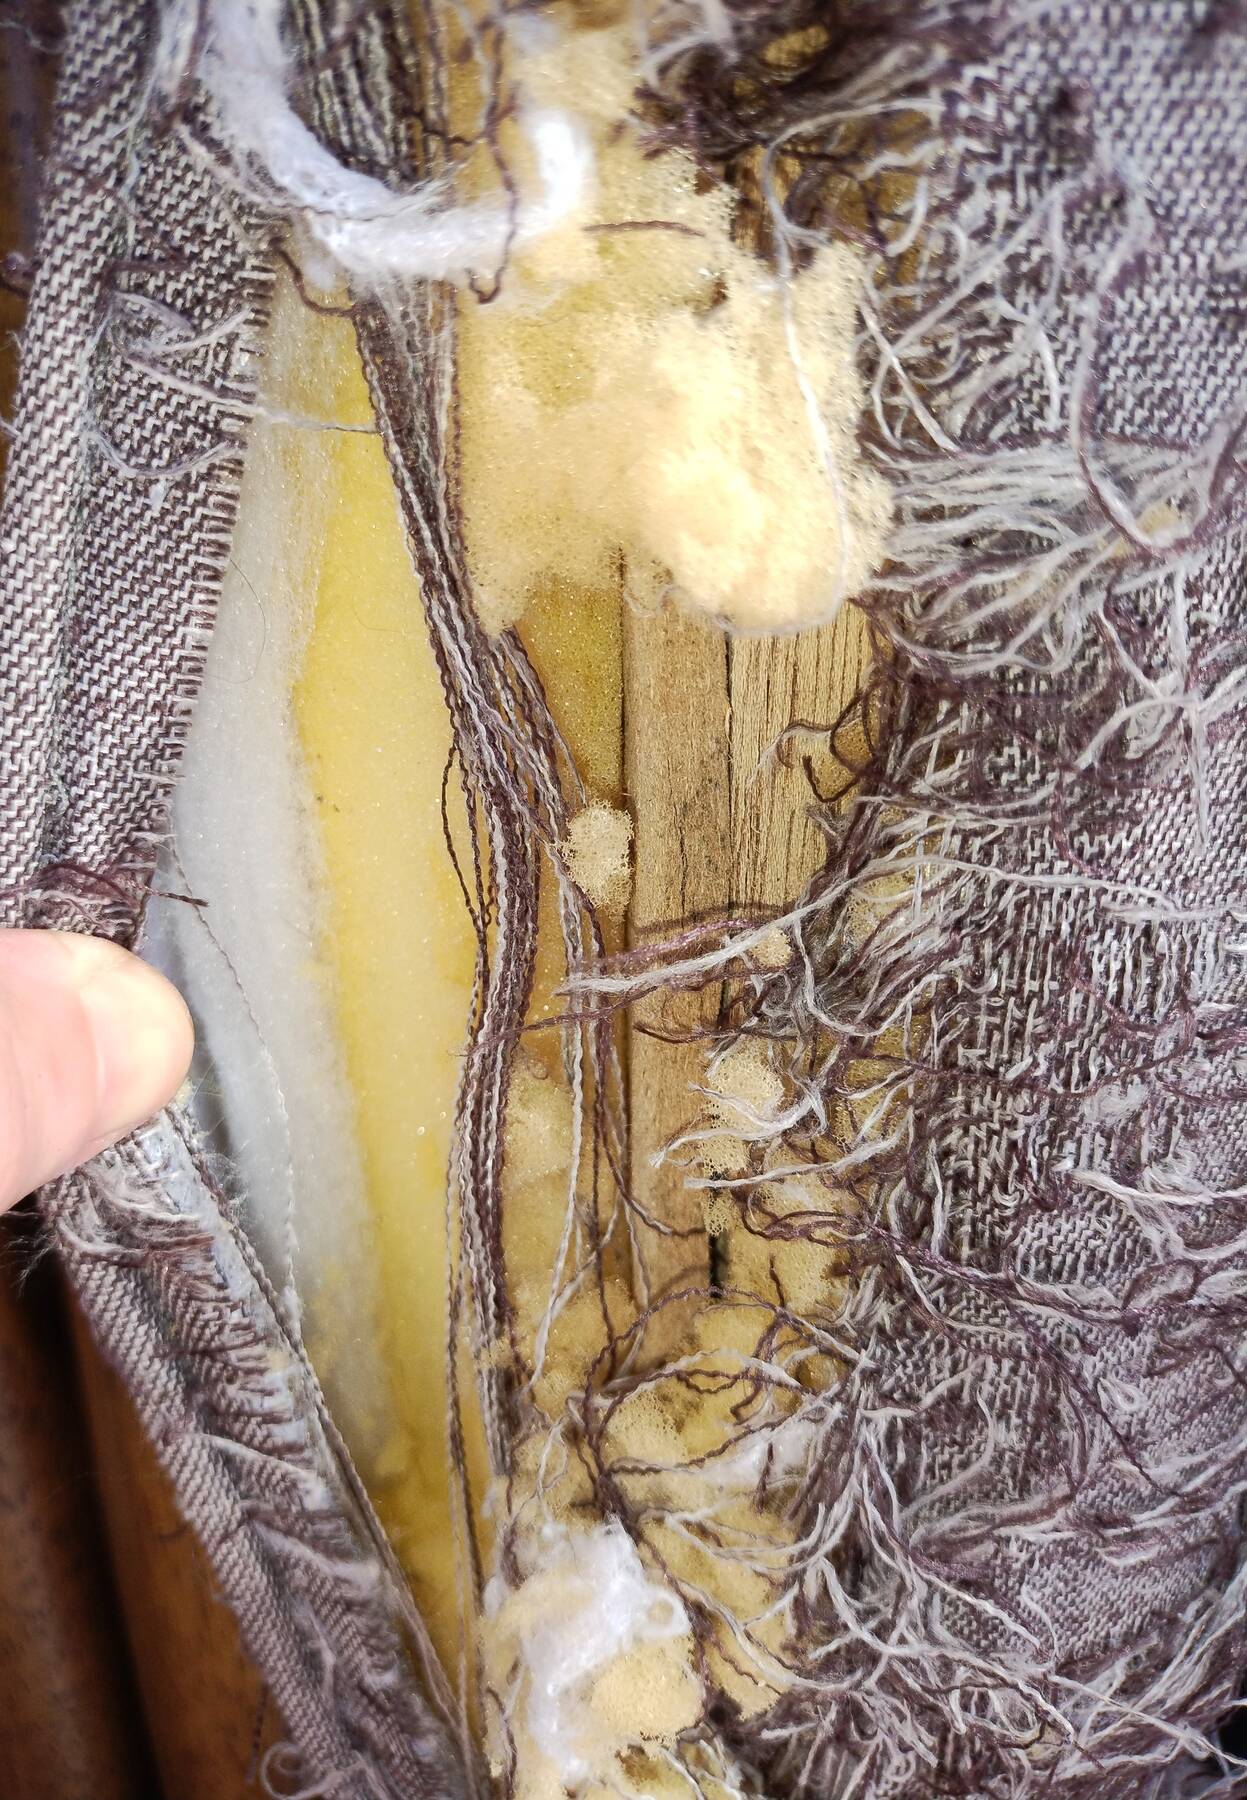
The seat back cushion needed some foam reconstruction. All I had was batting so I just filled in by spray gluing bits in the voids.
After test fitting the cover, the corners didn't seem to get filled correctly. I stuck on some more batting, but it didn't have the effect I wanted. Hopefully I can get things into place when I start stapling and pulling the fabric tight.
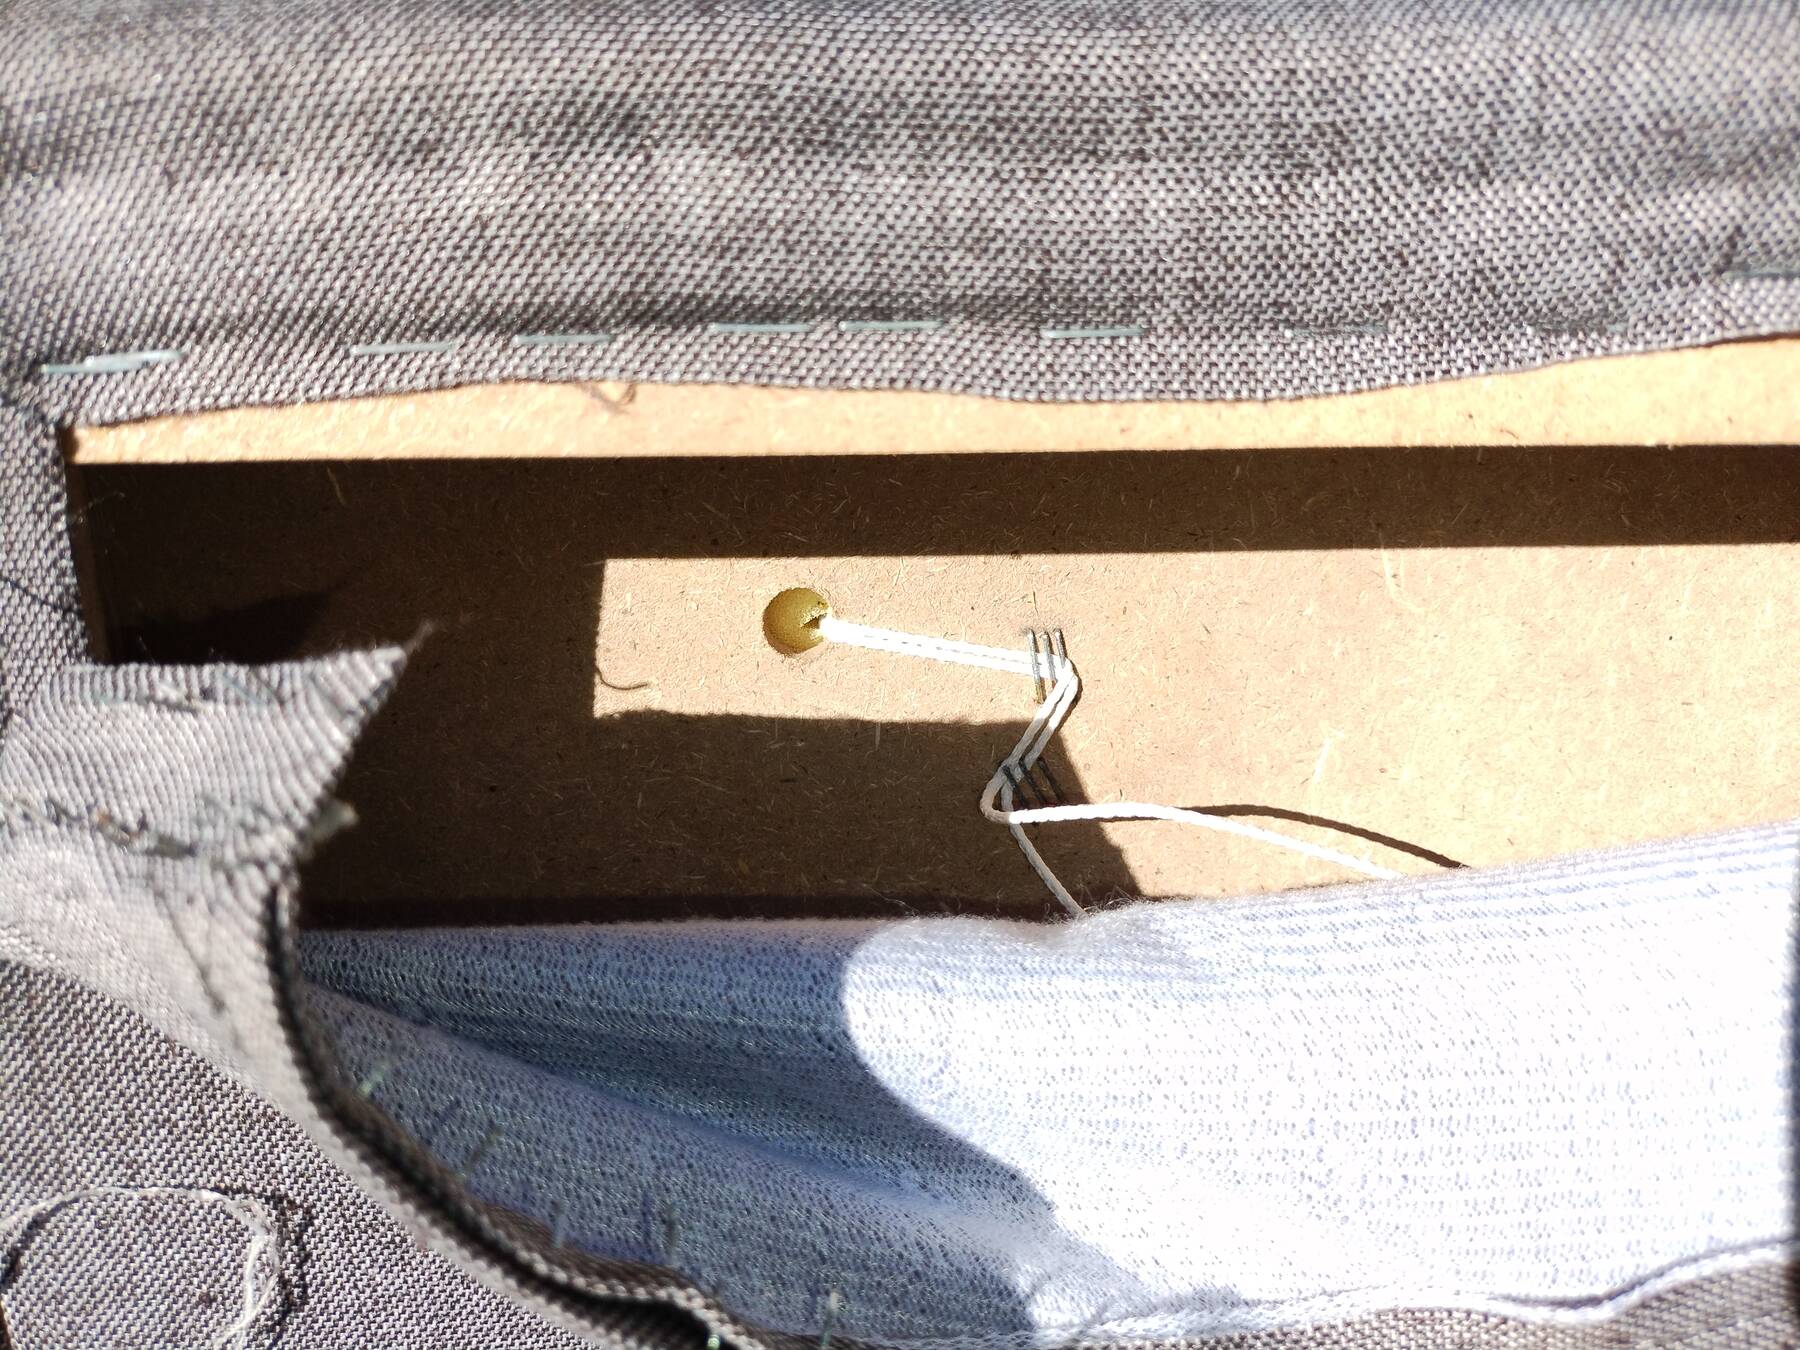
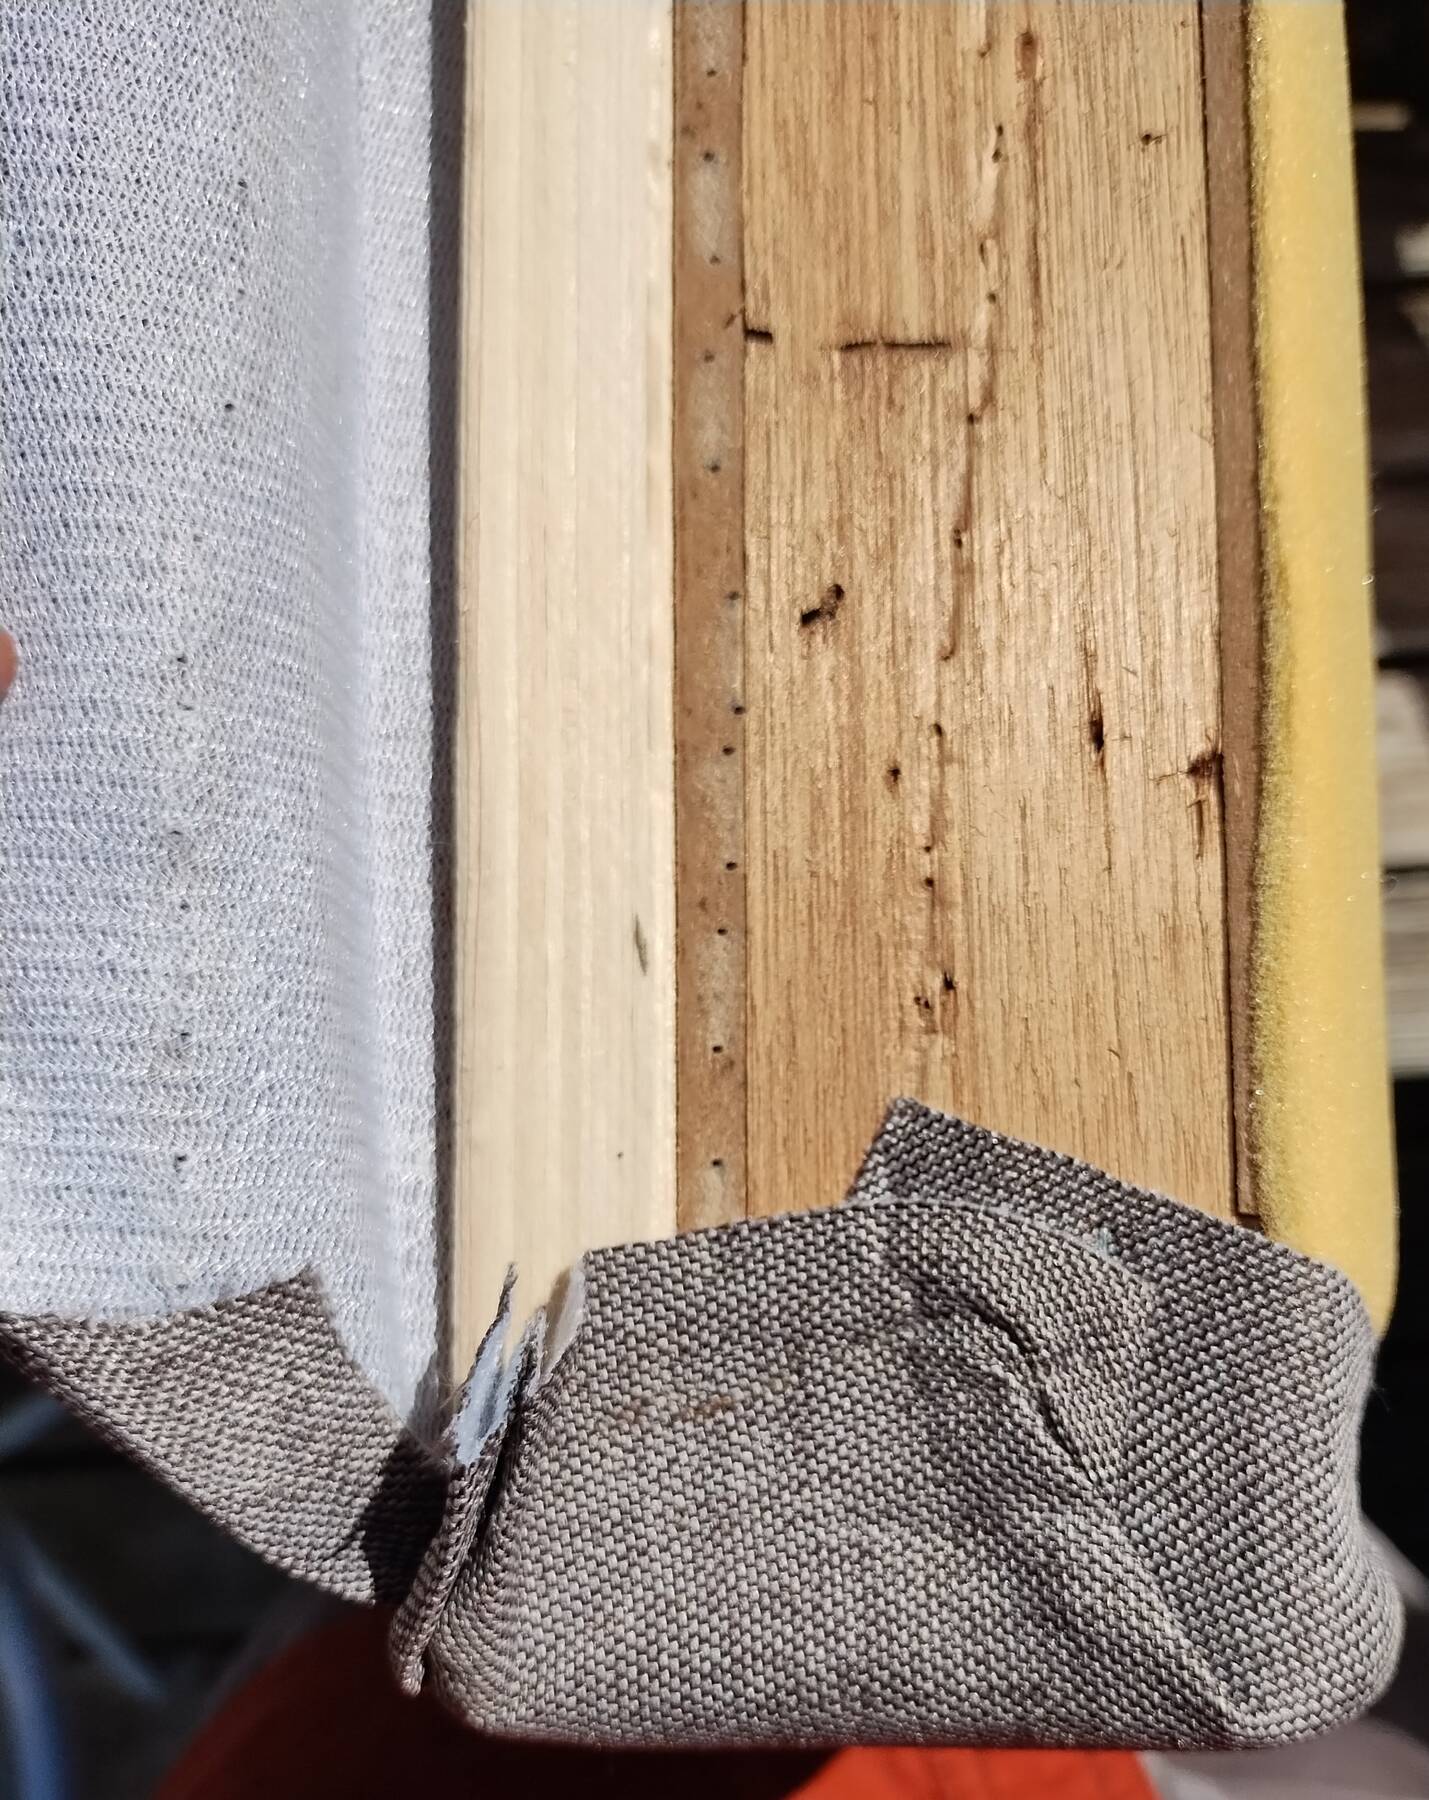
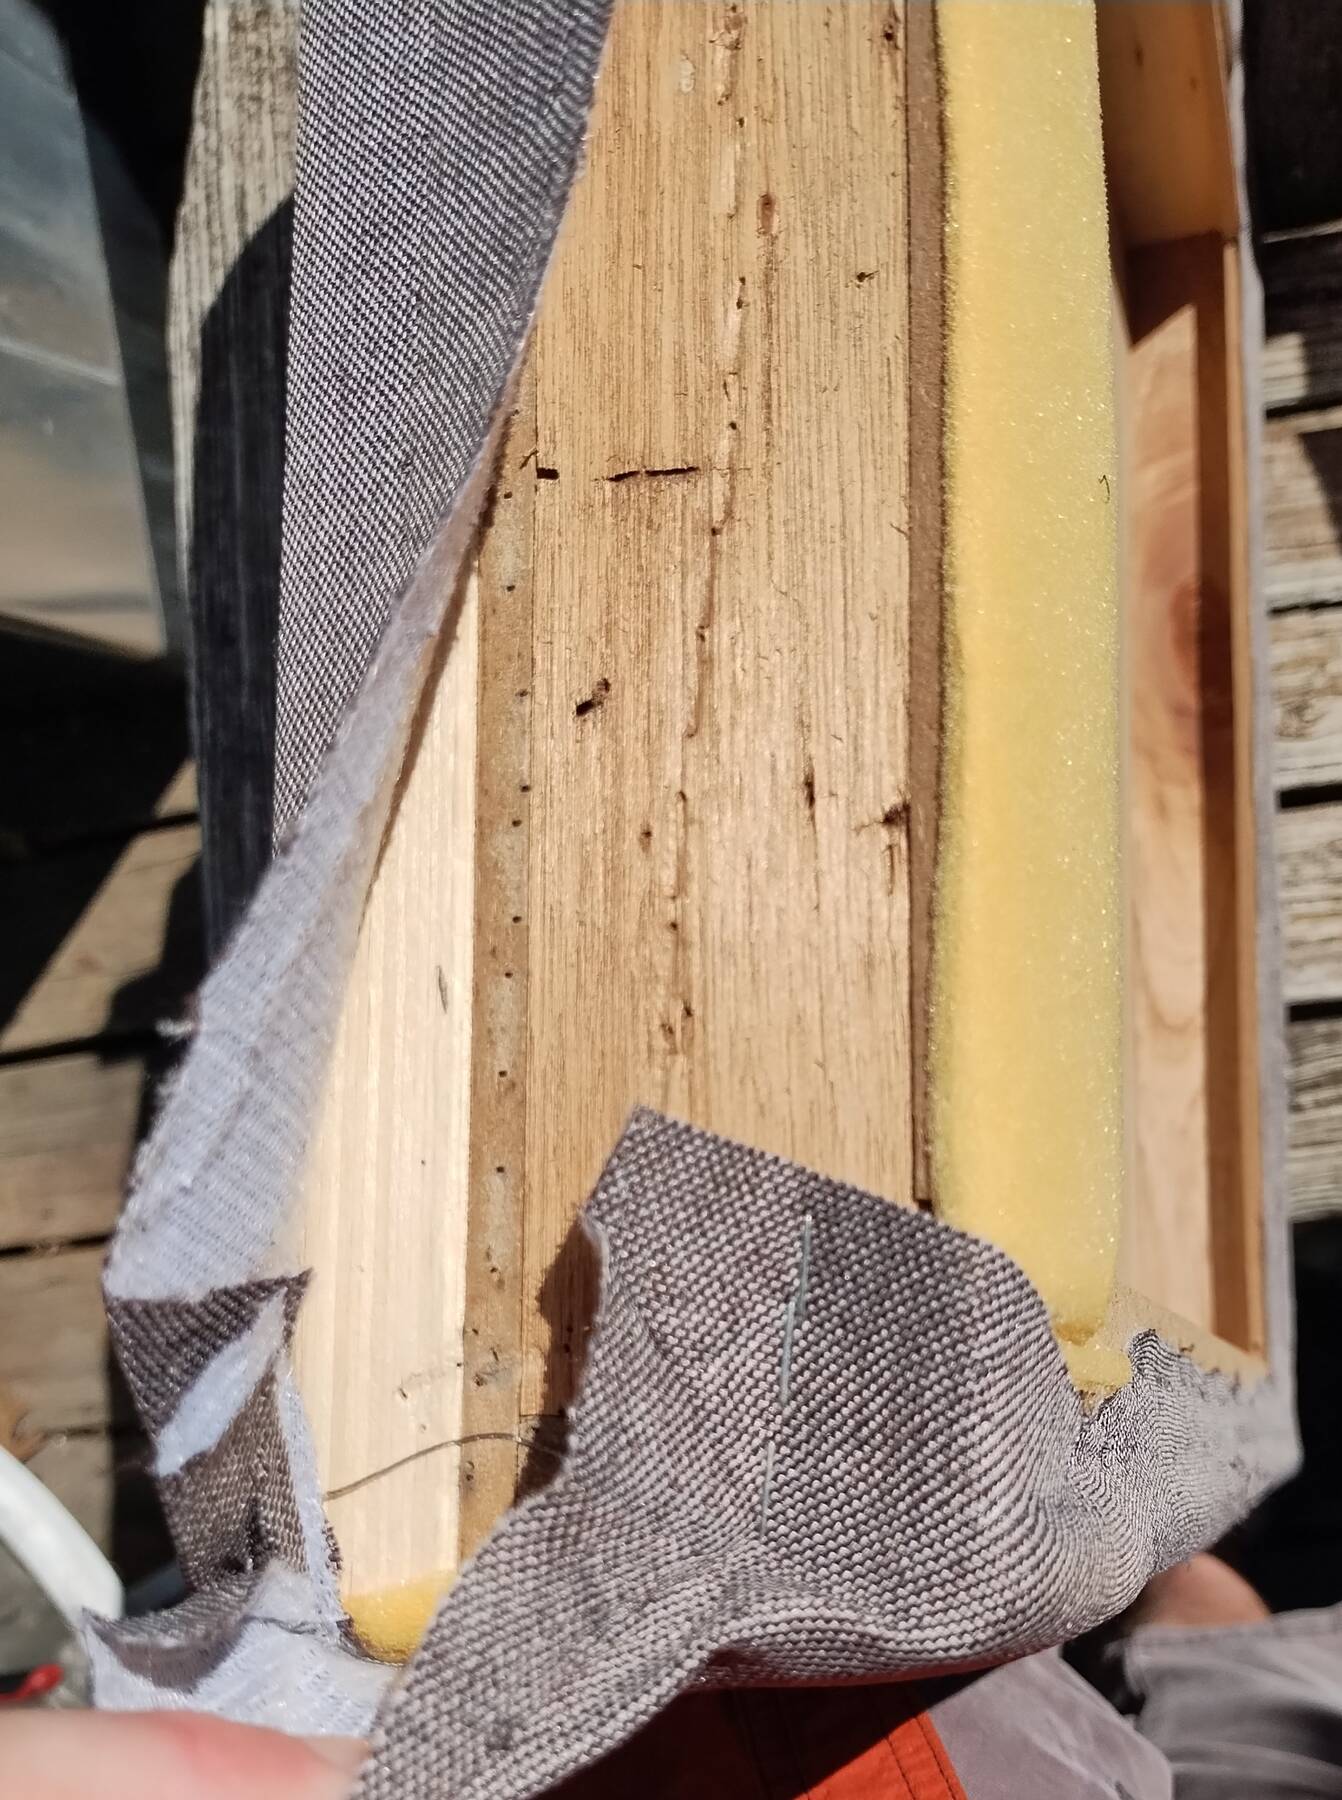
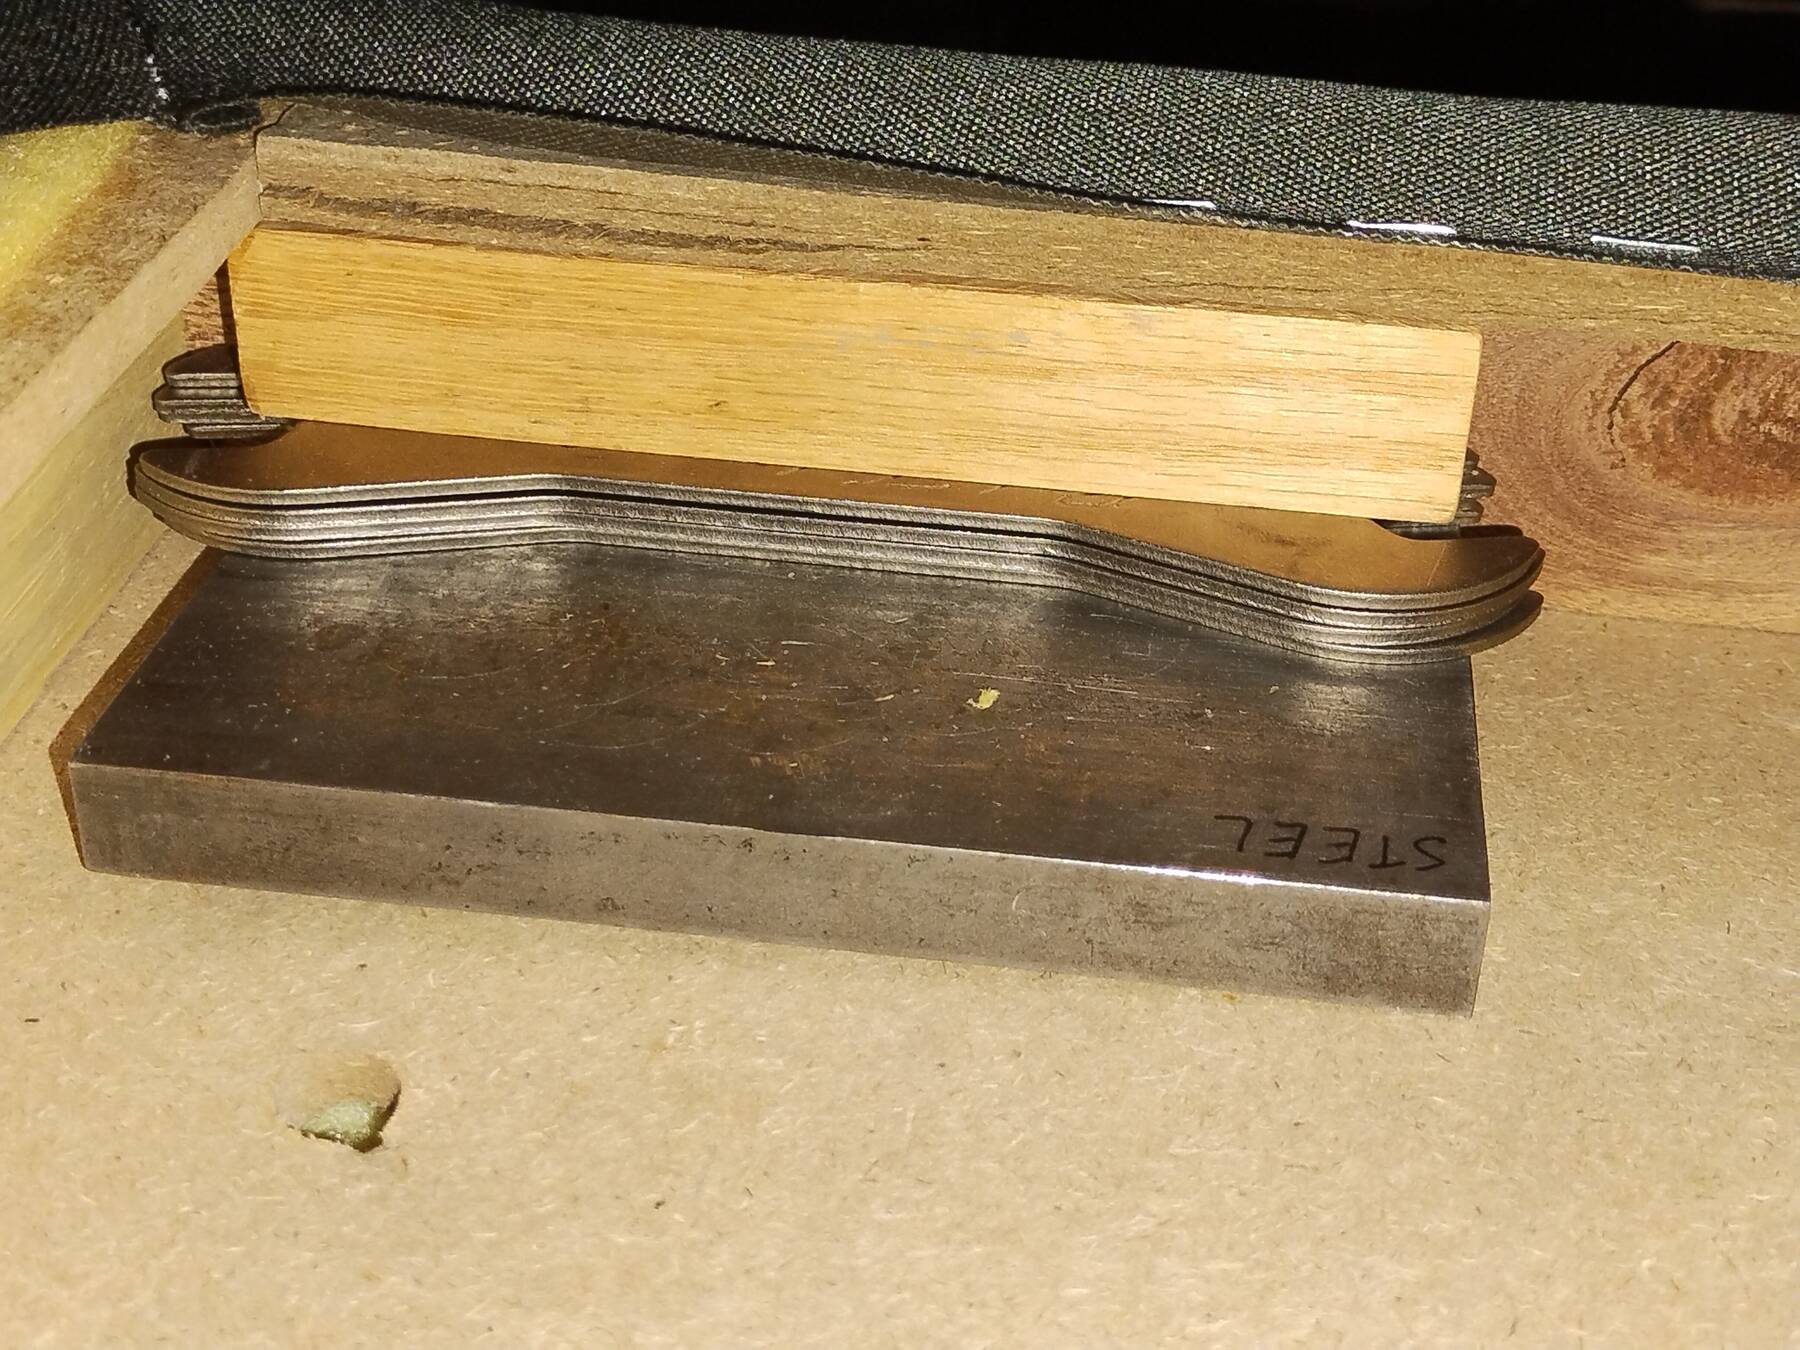
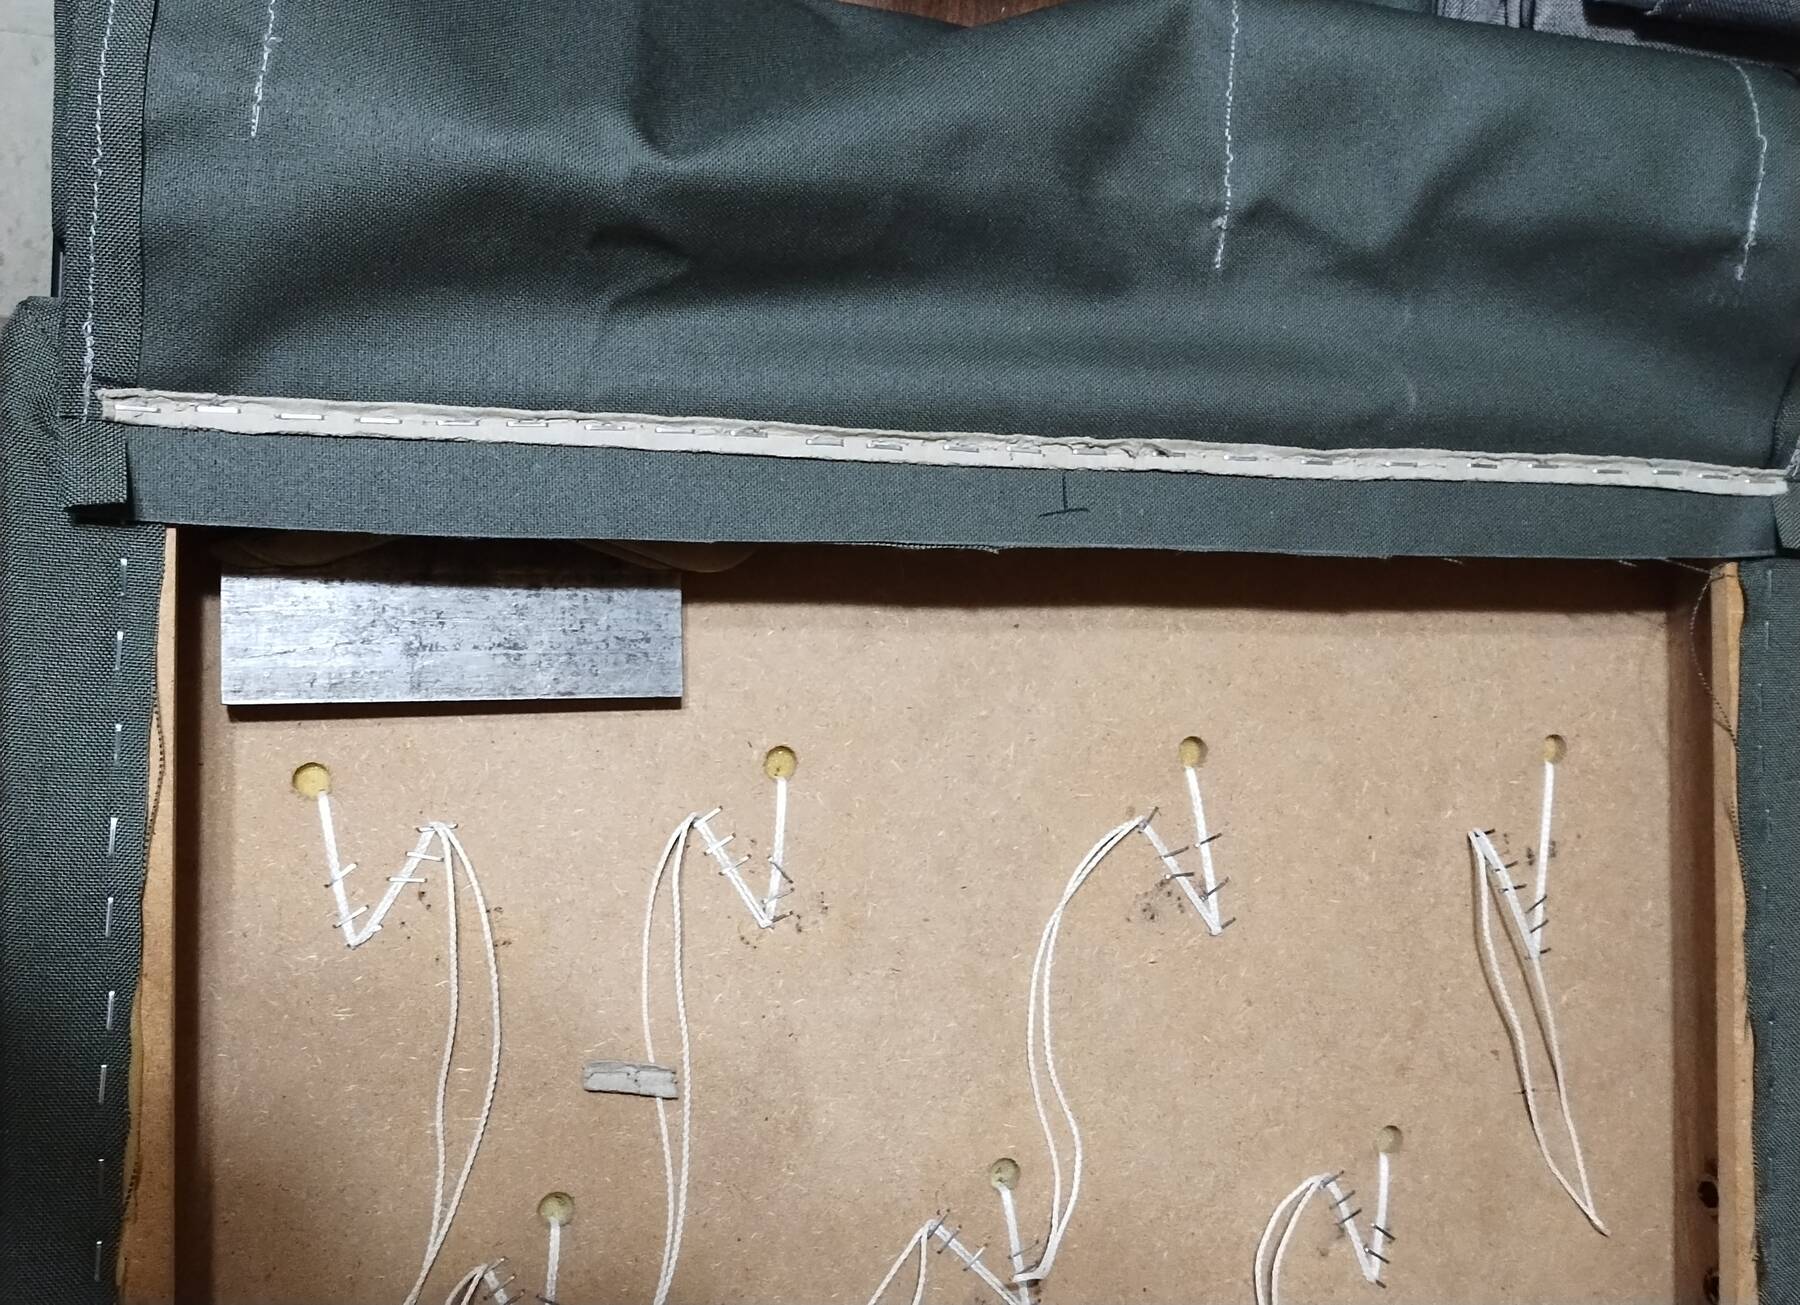
I ran into trouble stapling the front part of the cover on. The staples go into thin MDF strips on the back, and if they aren't supported they start splitting apart, and the staples don't seat fully. Ended up with a weird stack up of a steel block, some cone wrenches, and a block of wood. After a massive fight with the stapler I had the cover installed.

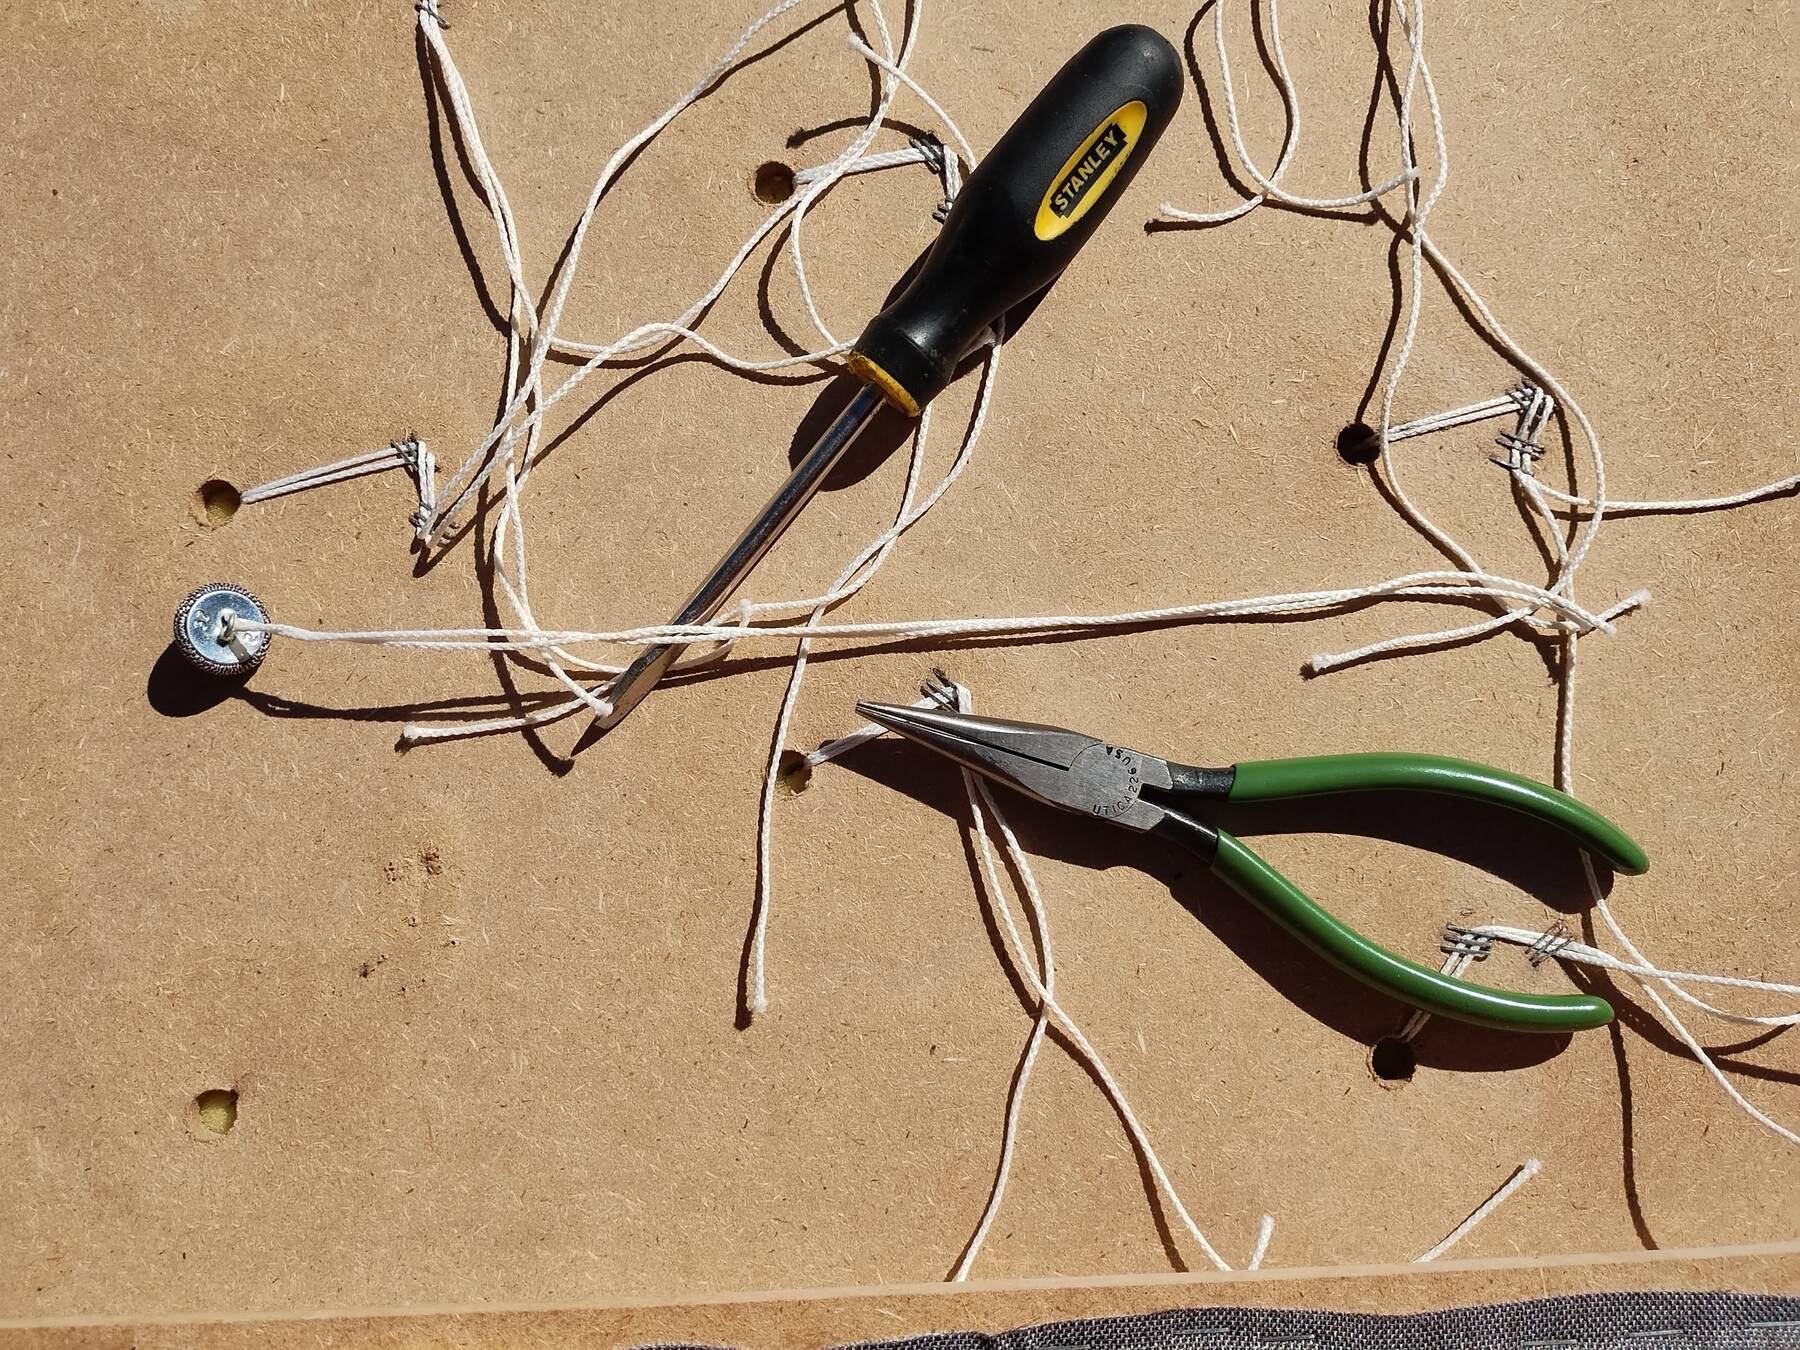
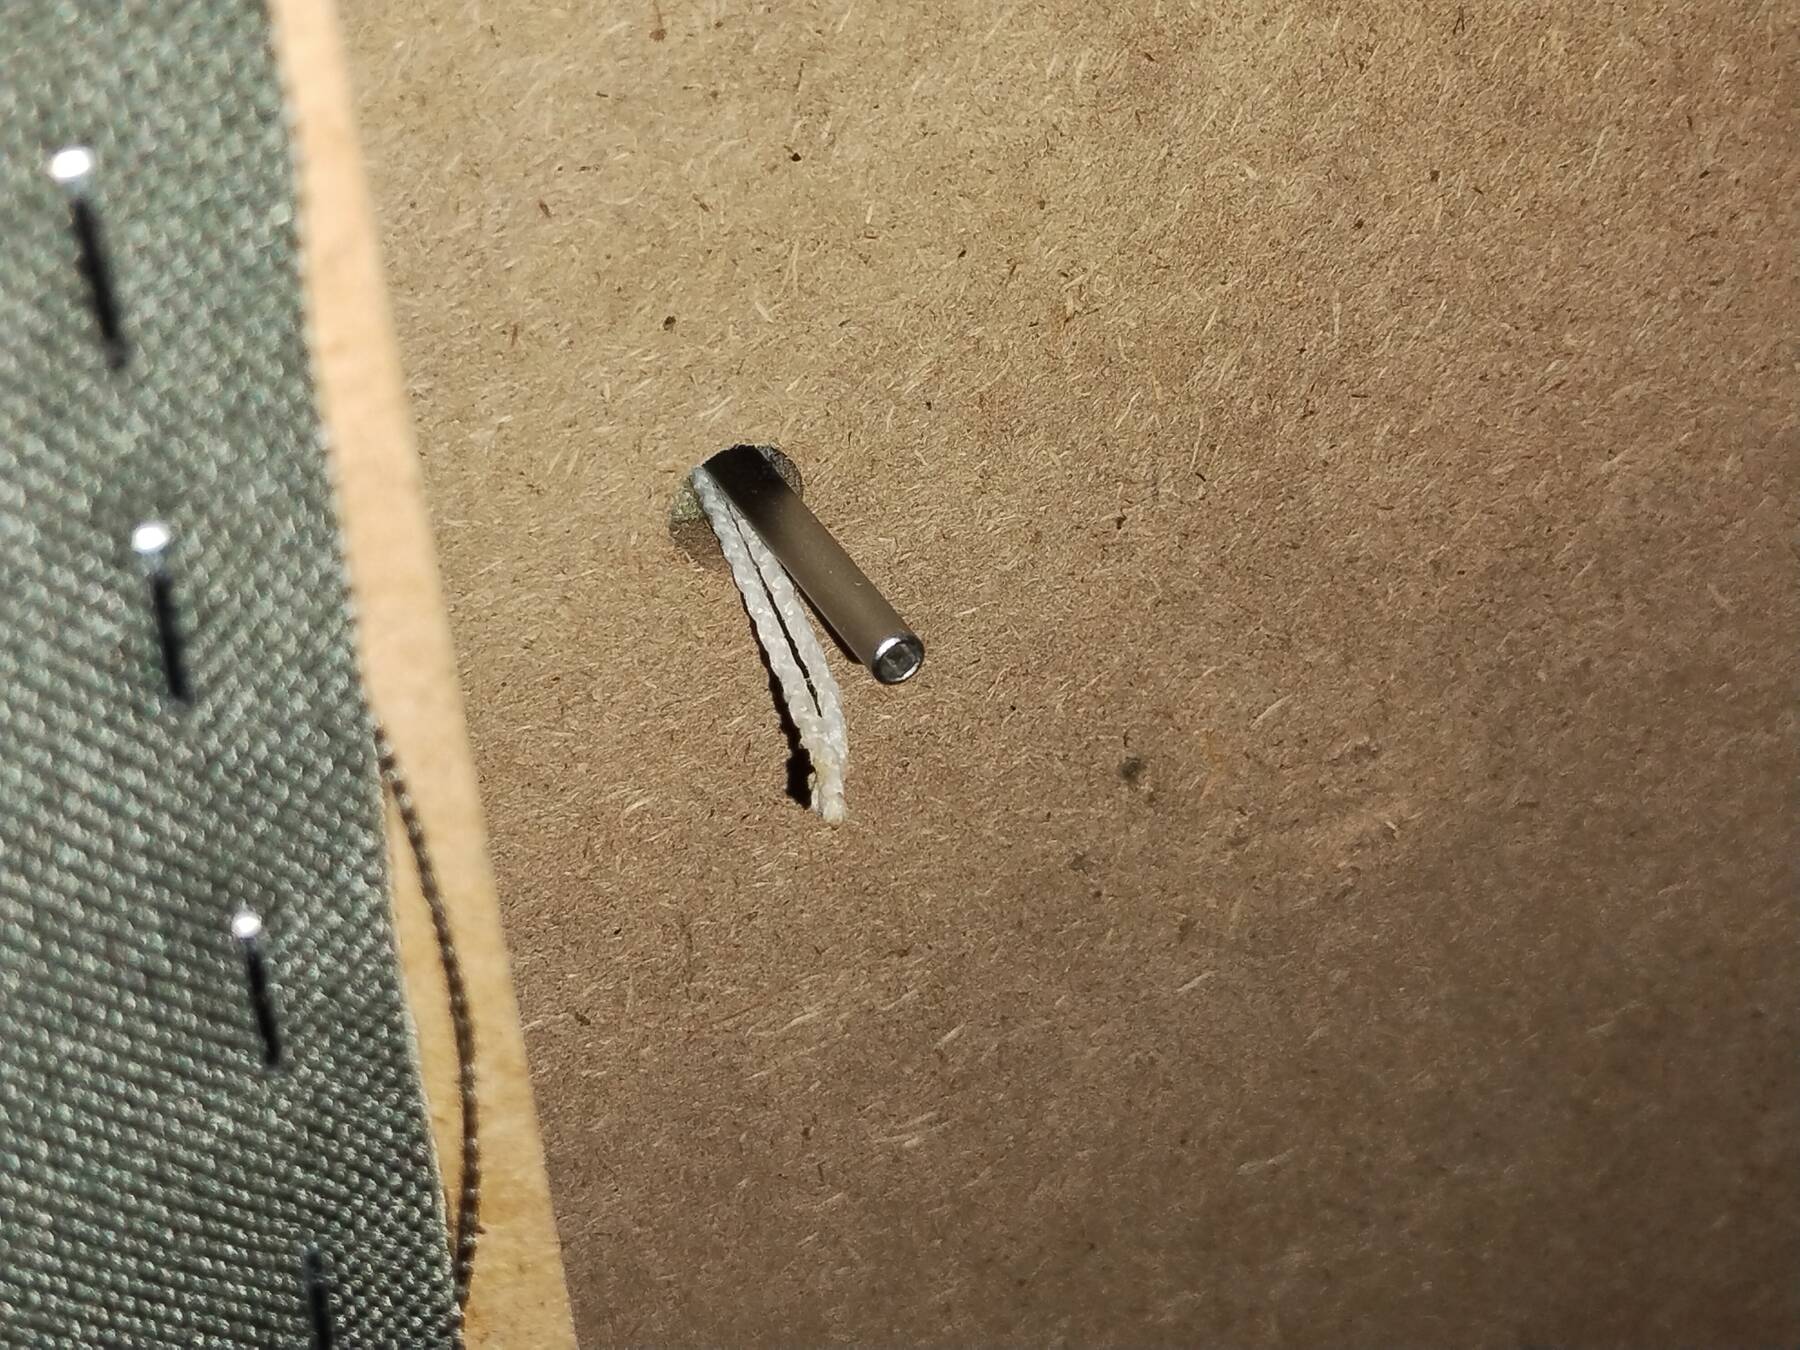
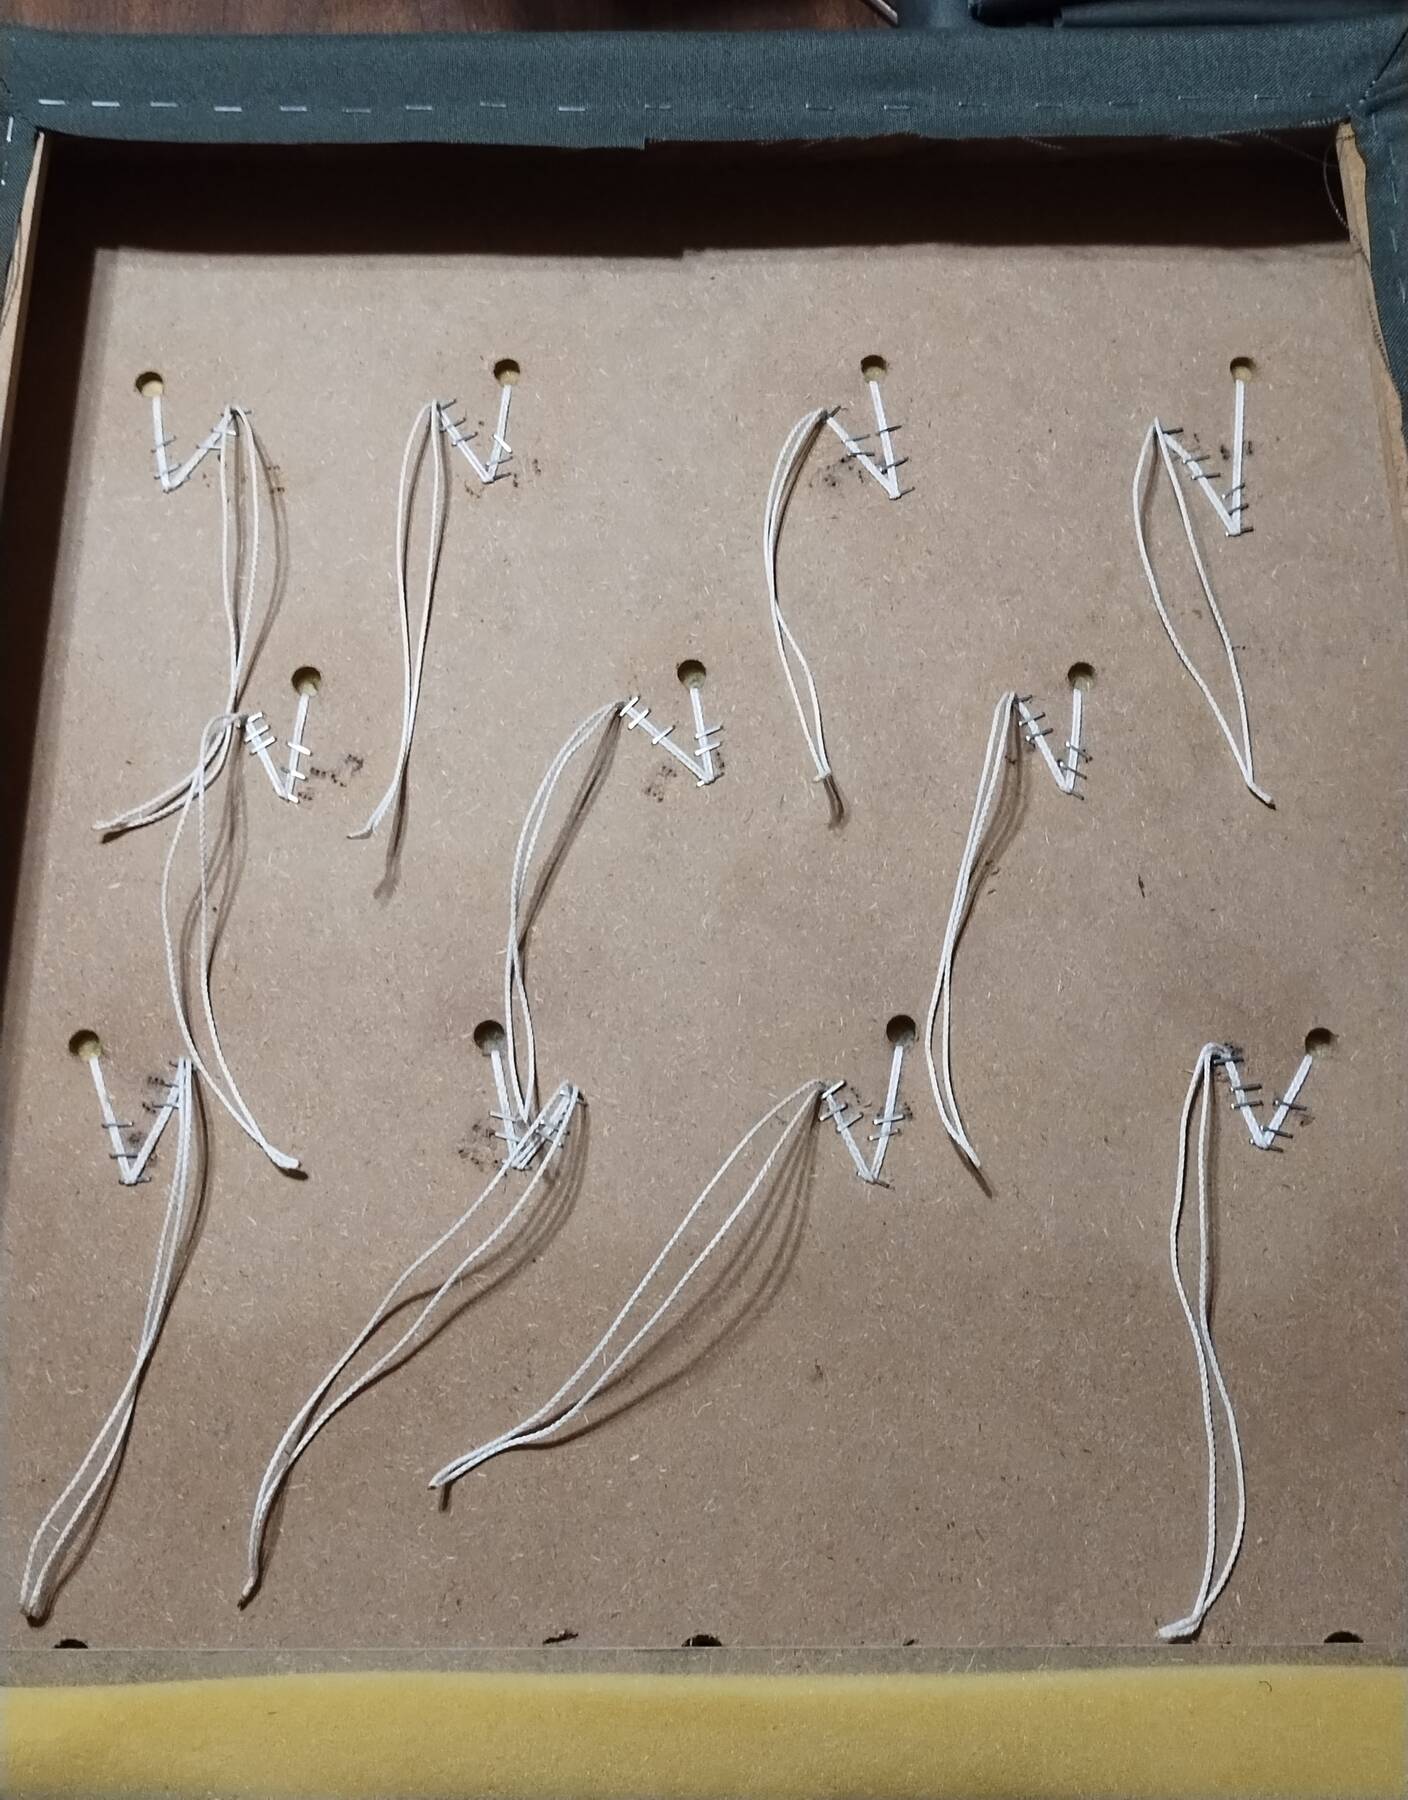
I pushed an awl through each of the button holes, but then realized I didn't think about a way to get the string through the holes. I melted the ends of the string a little bit, jammed them in a 2.5mm nut driver, and used it to push them through. Sometimes it took a couple tries.
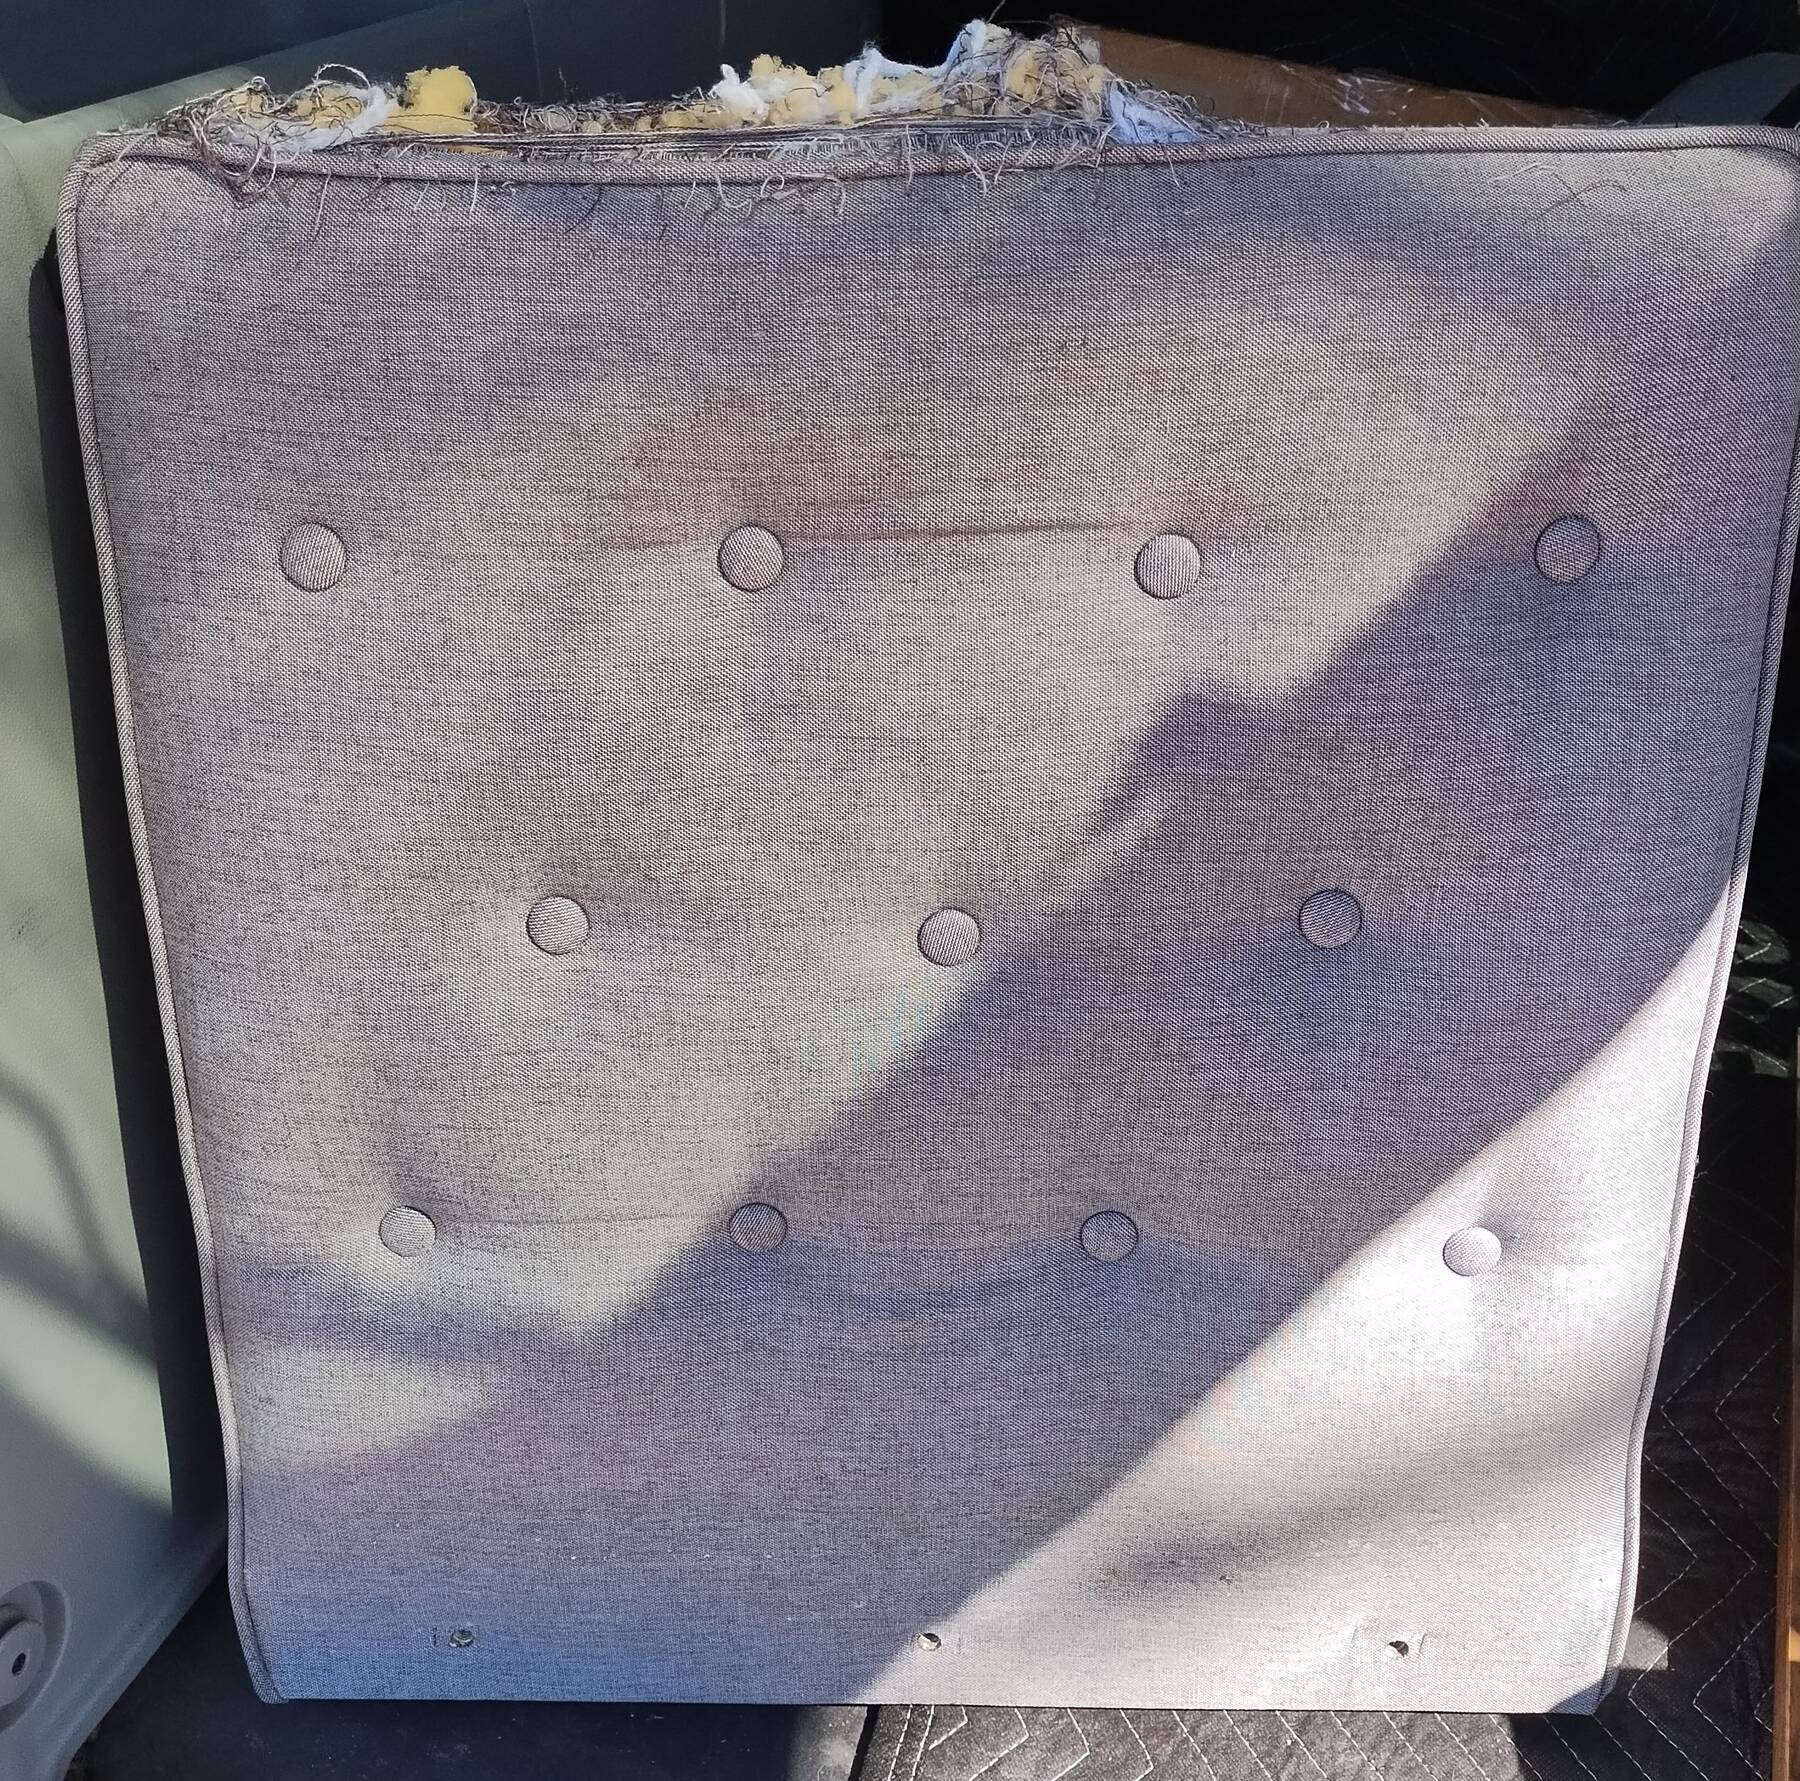
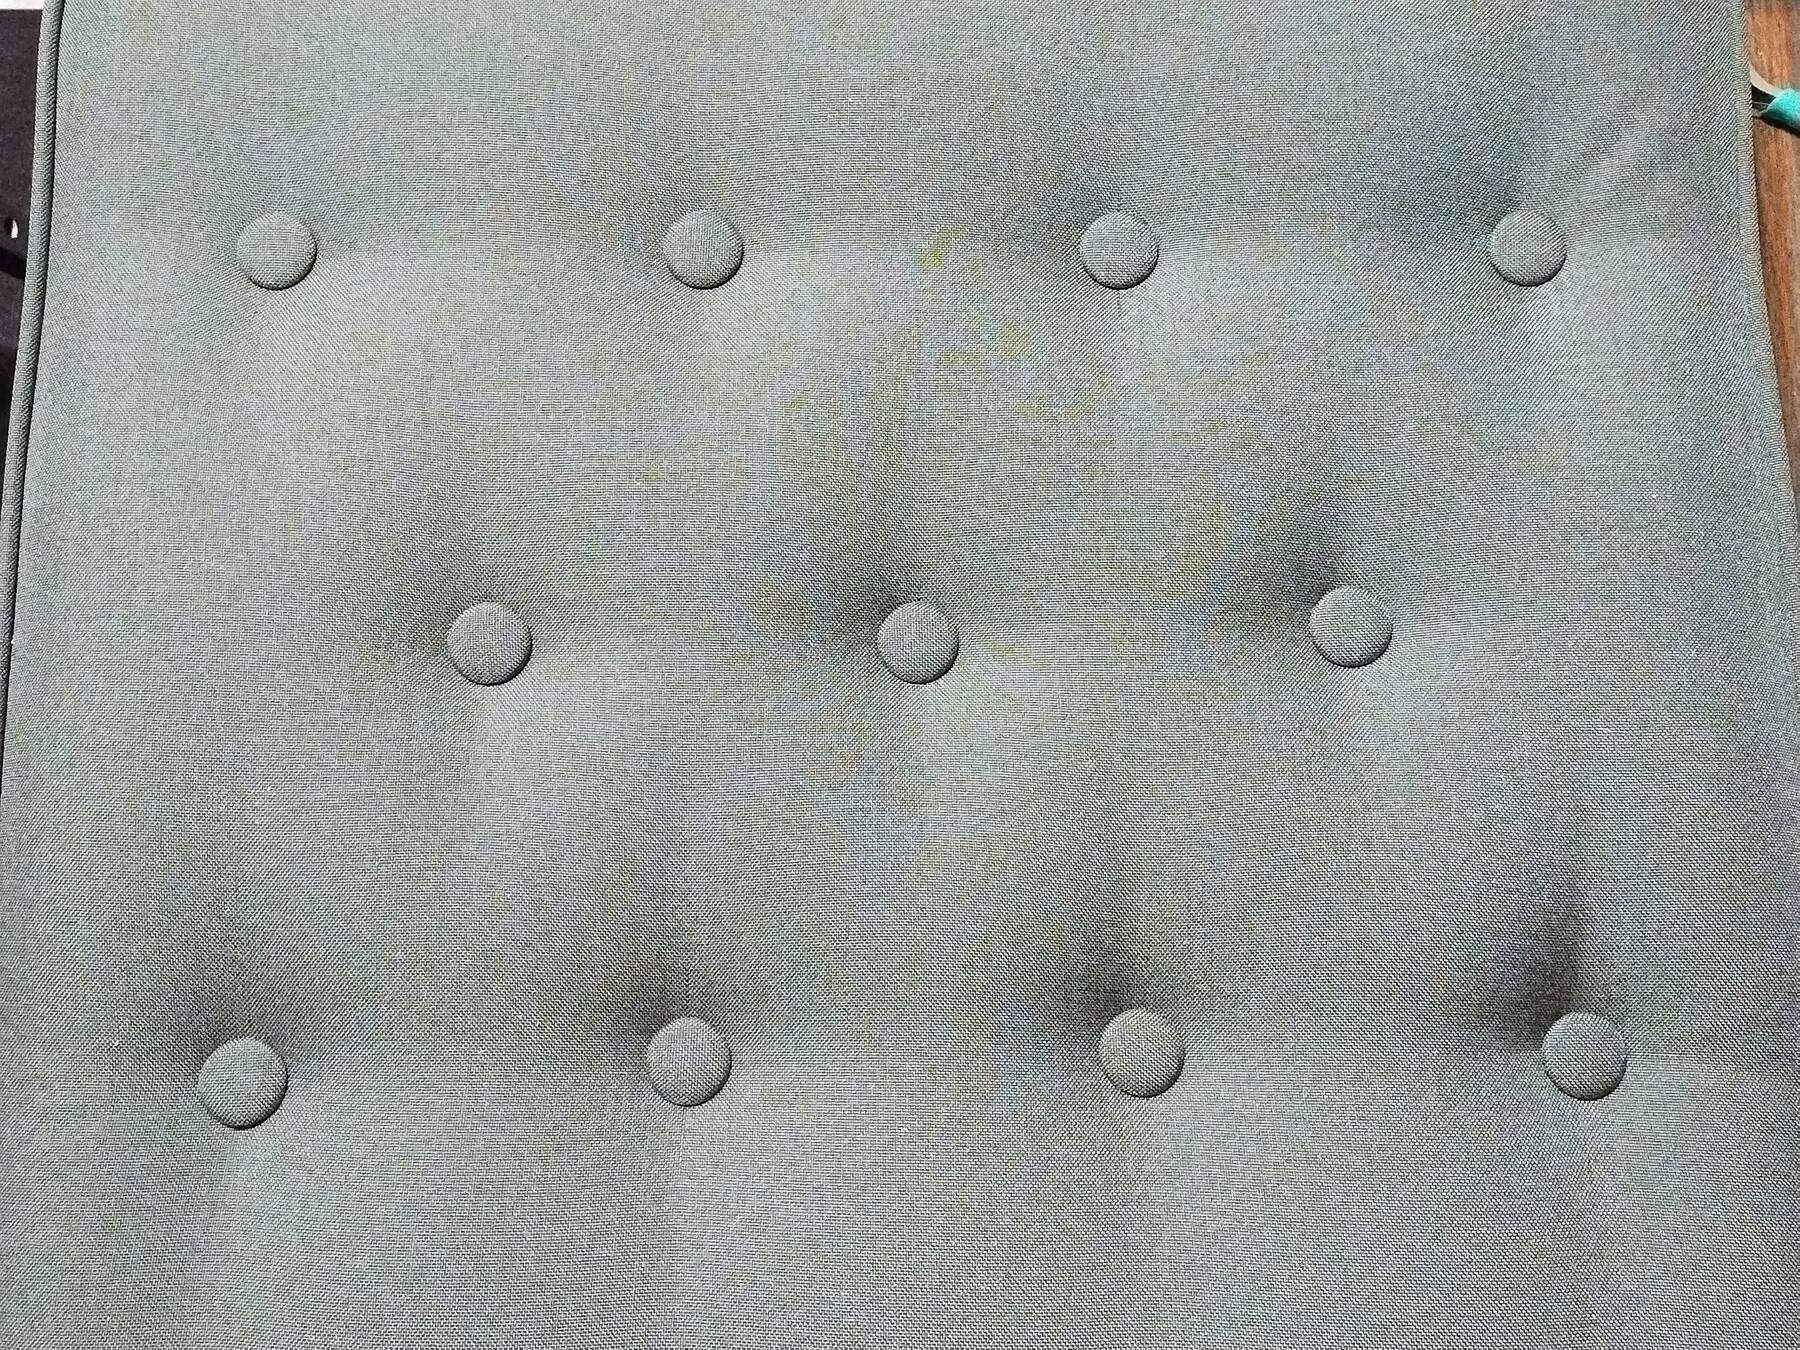
I installed the buttons the same as original. Pulling the strings as tight as possible, three staples, and then pull the string in the opposite direction, three more staples to lock everything in place. The buttons are installed. My fingers ache, and have two new cuts.
Amazon Basics 3-in-1 stapler rant
The follower jams. It bends staples randomly. Sometimes it manages to flip a staple around backwards despite there being no space inside the unit to do that. It breaks up staple stacks. They left a big void behind the staple chute so those broken stacks can sometimes fall into the inside of the unit. AWFUL.
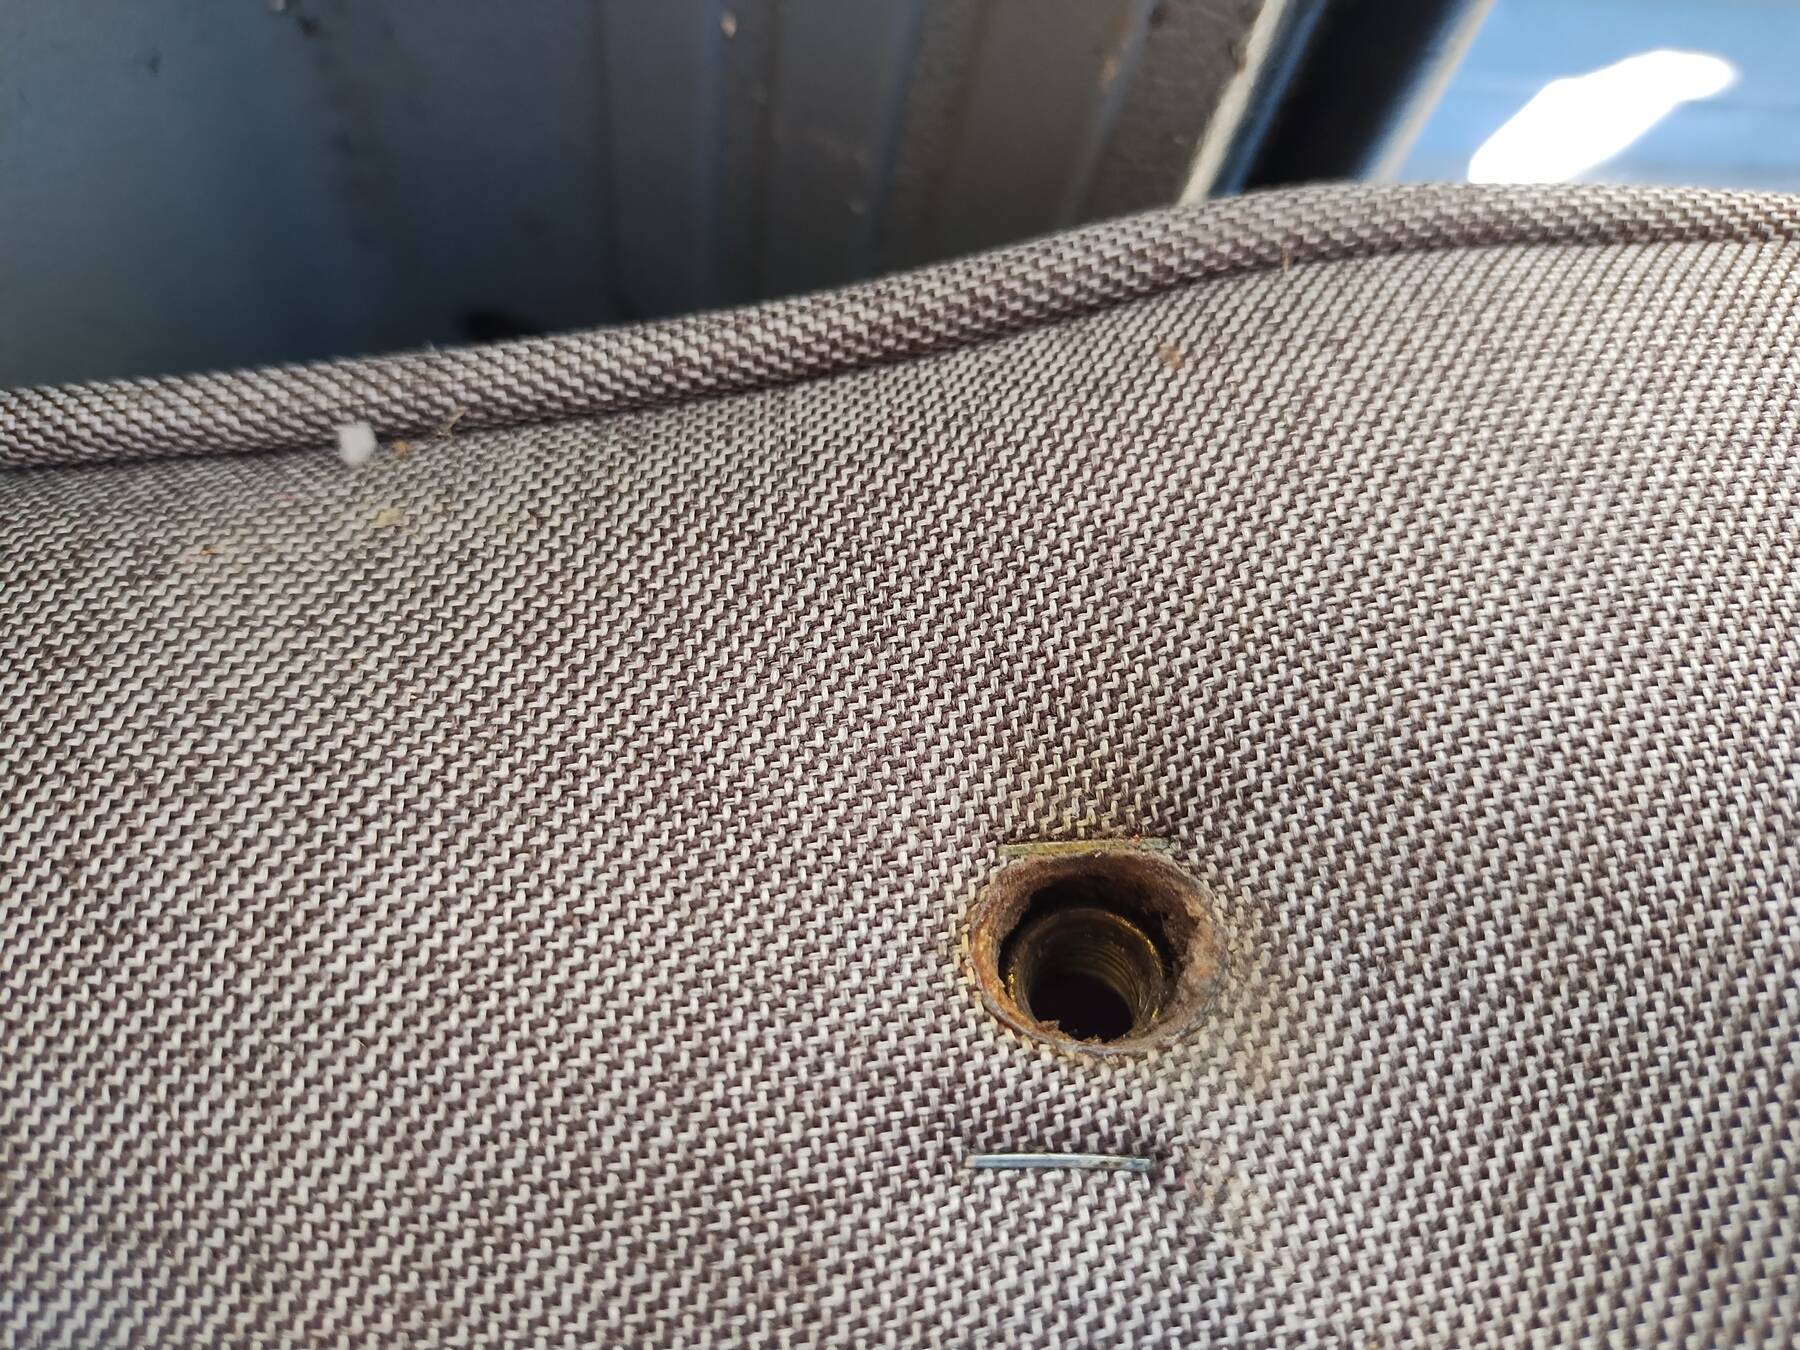
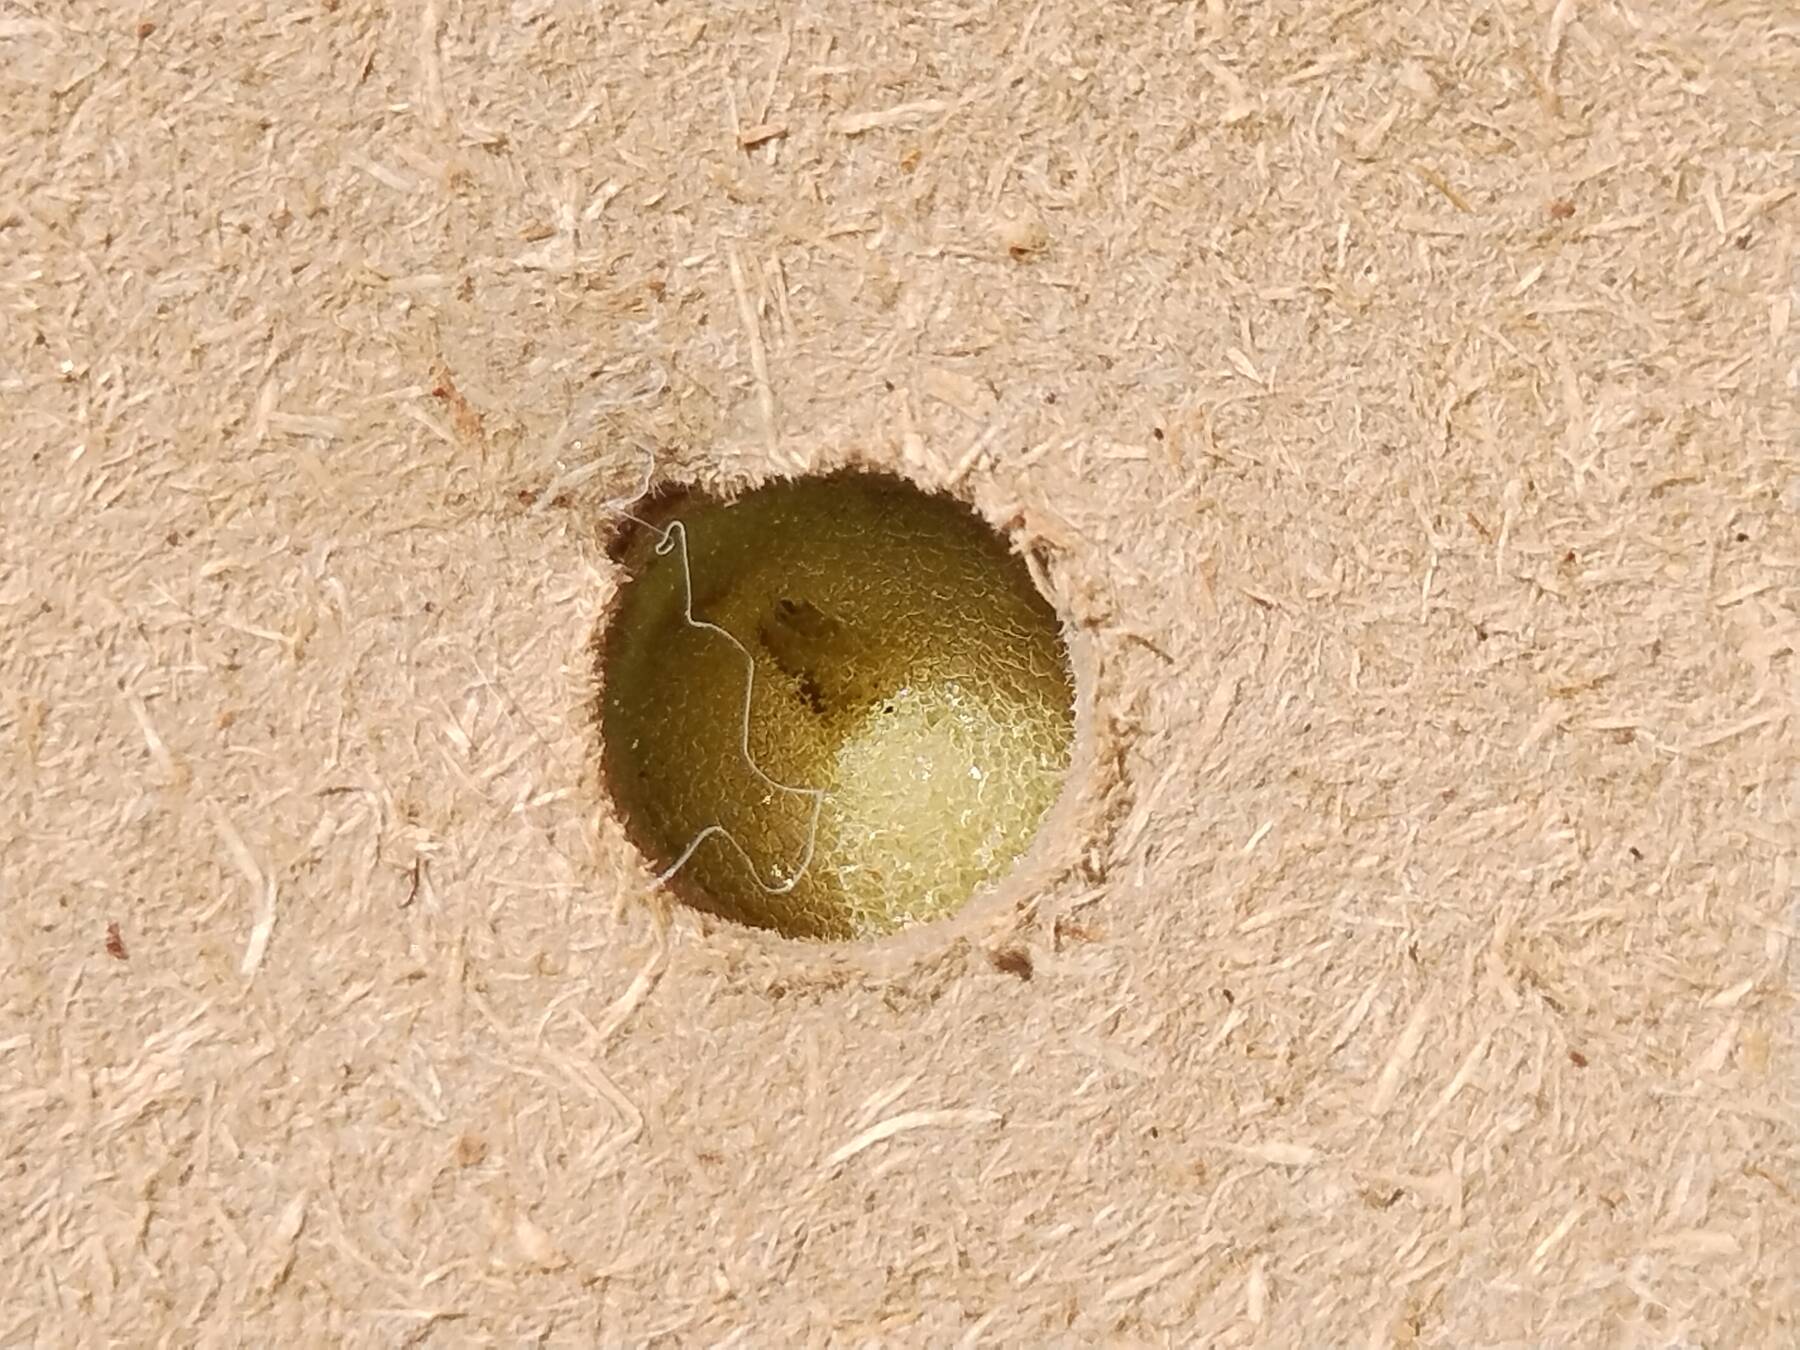
I use the awl again to locate the bolt holes from the inside of the frame. This time I used my portable soldering iron to cut out the holes. This nylon was actually pretty nice to melt this way. I didn't notice any fumes, and it didn't make too big of a mess on the iron tip.
I stapled the back cover on. First re-using the cardboard strip inside the top edge. Then fold it down, and staple between the edge pieces so the staples end up hidden. More fighting the stapler with constant setting up, pulling the fabric into place, and having to un-jam the stapler after 1-3 staples.
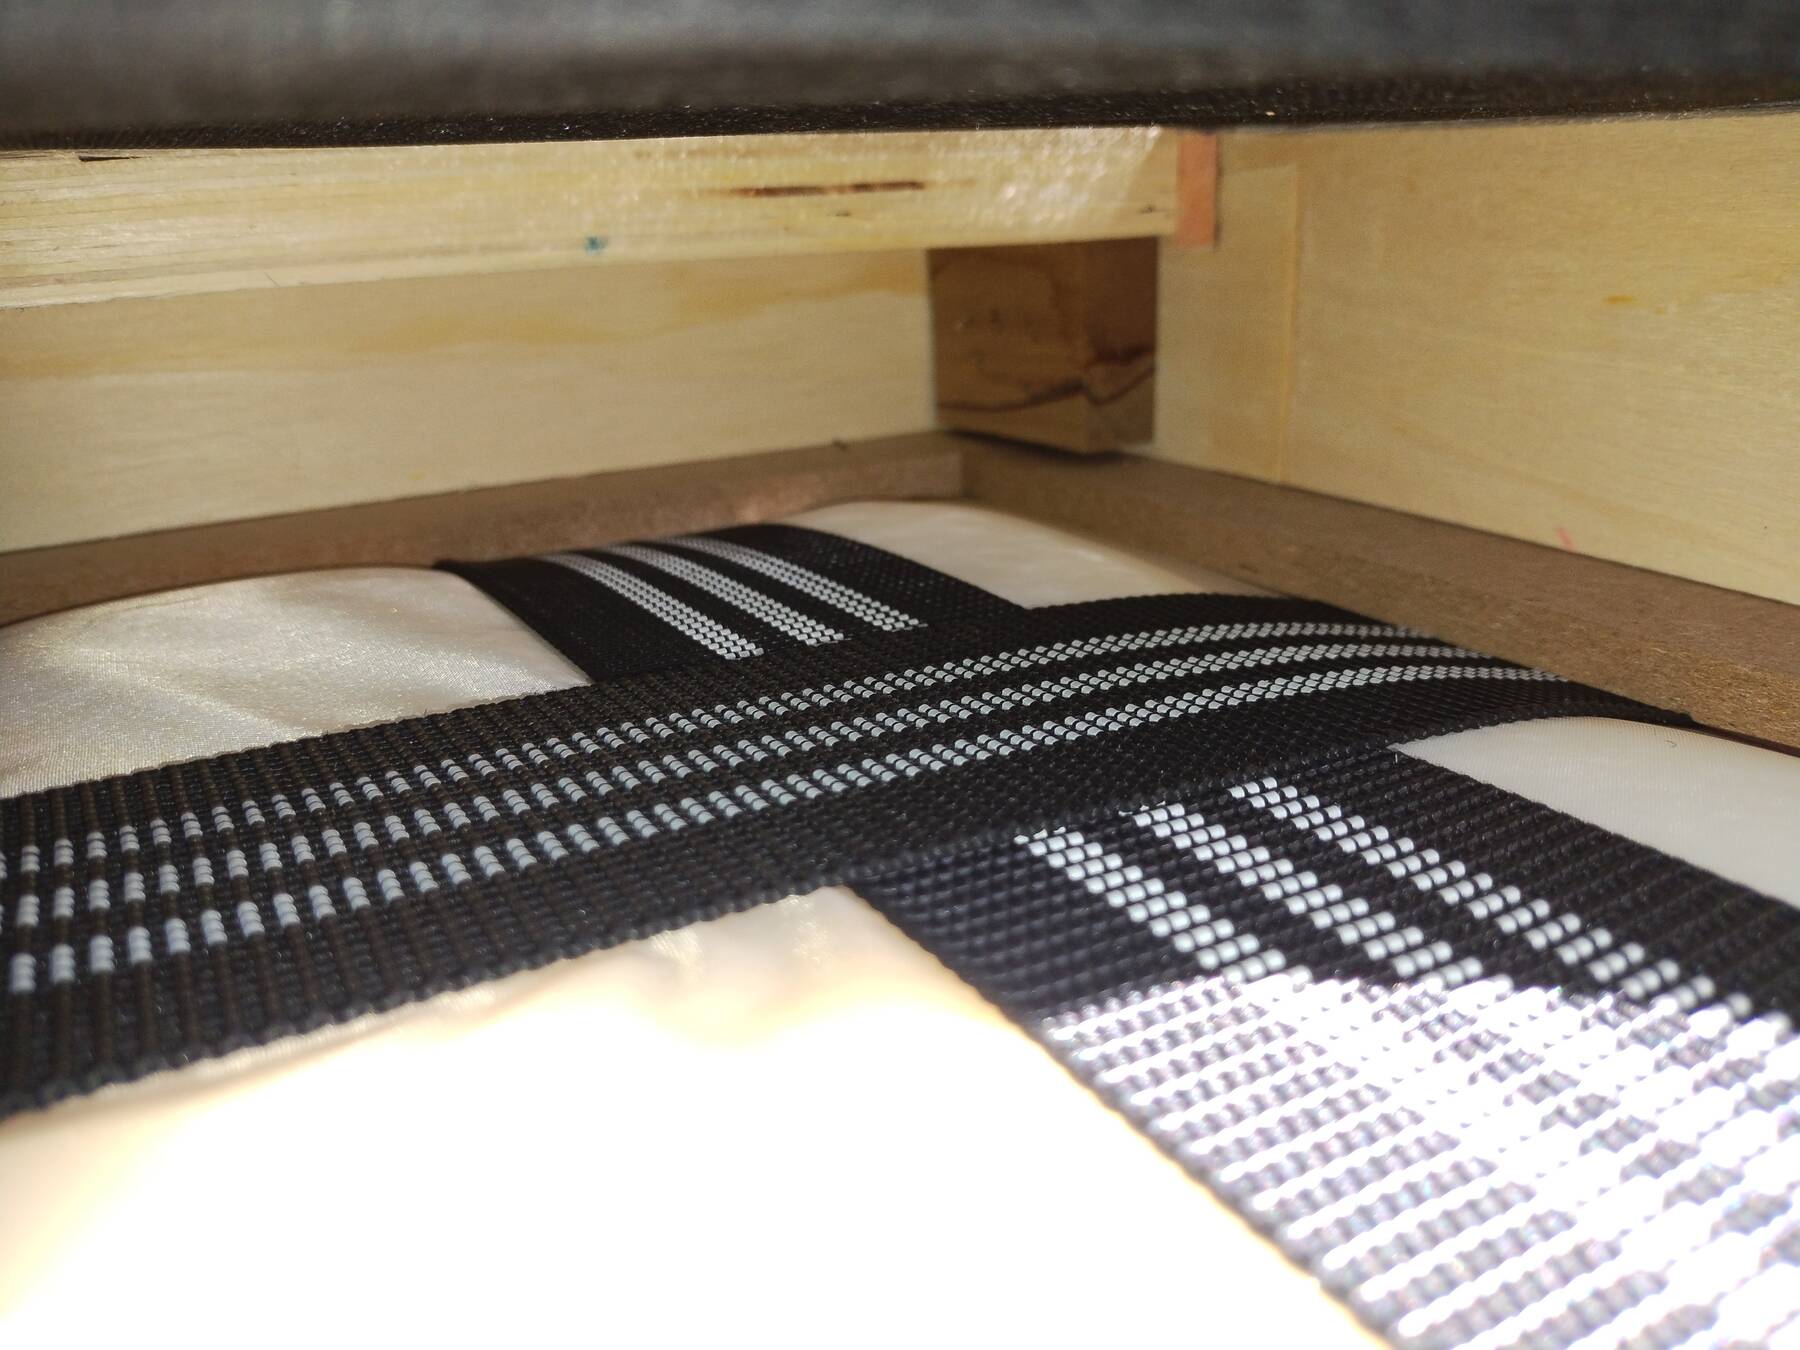
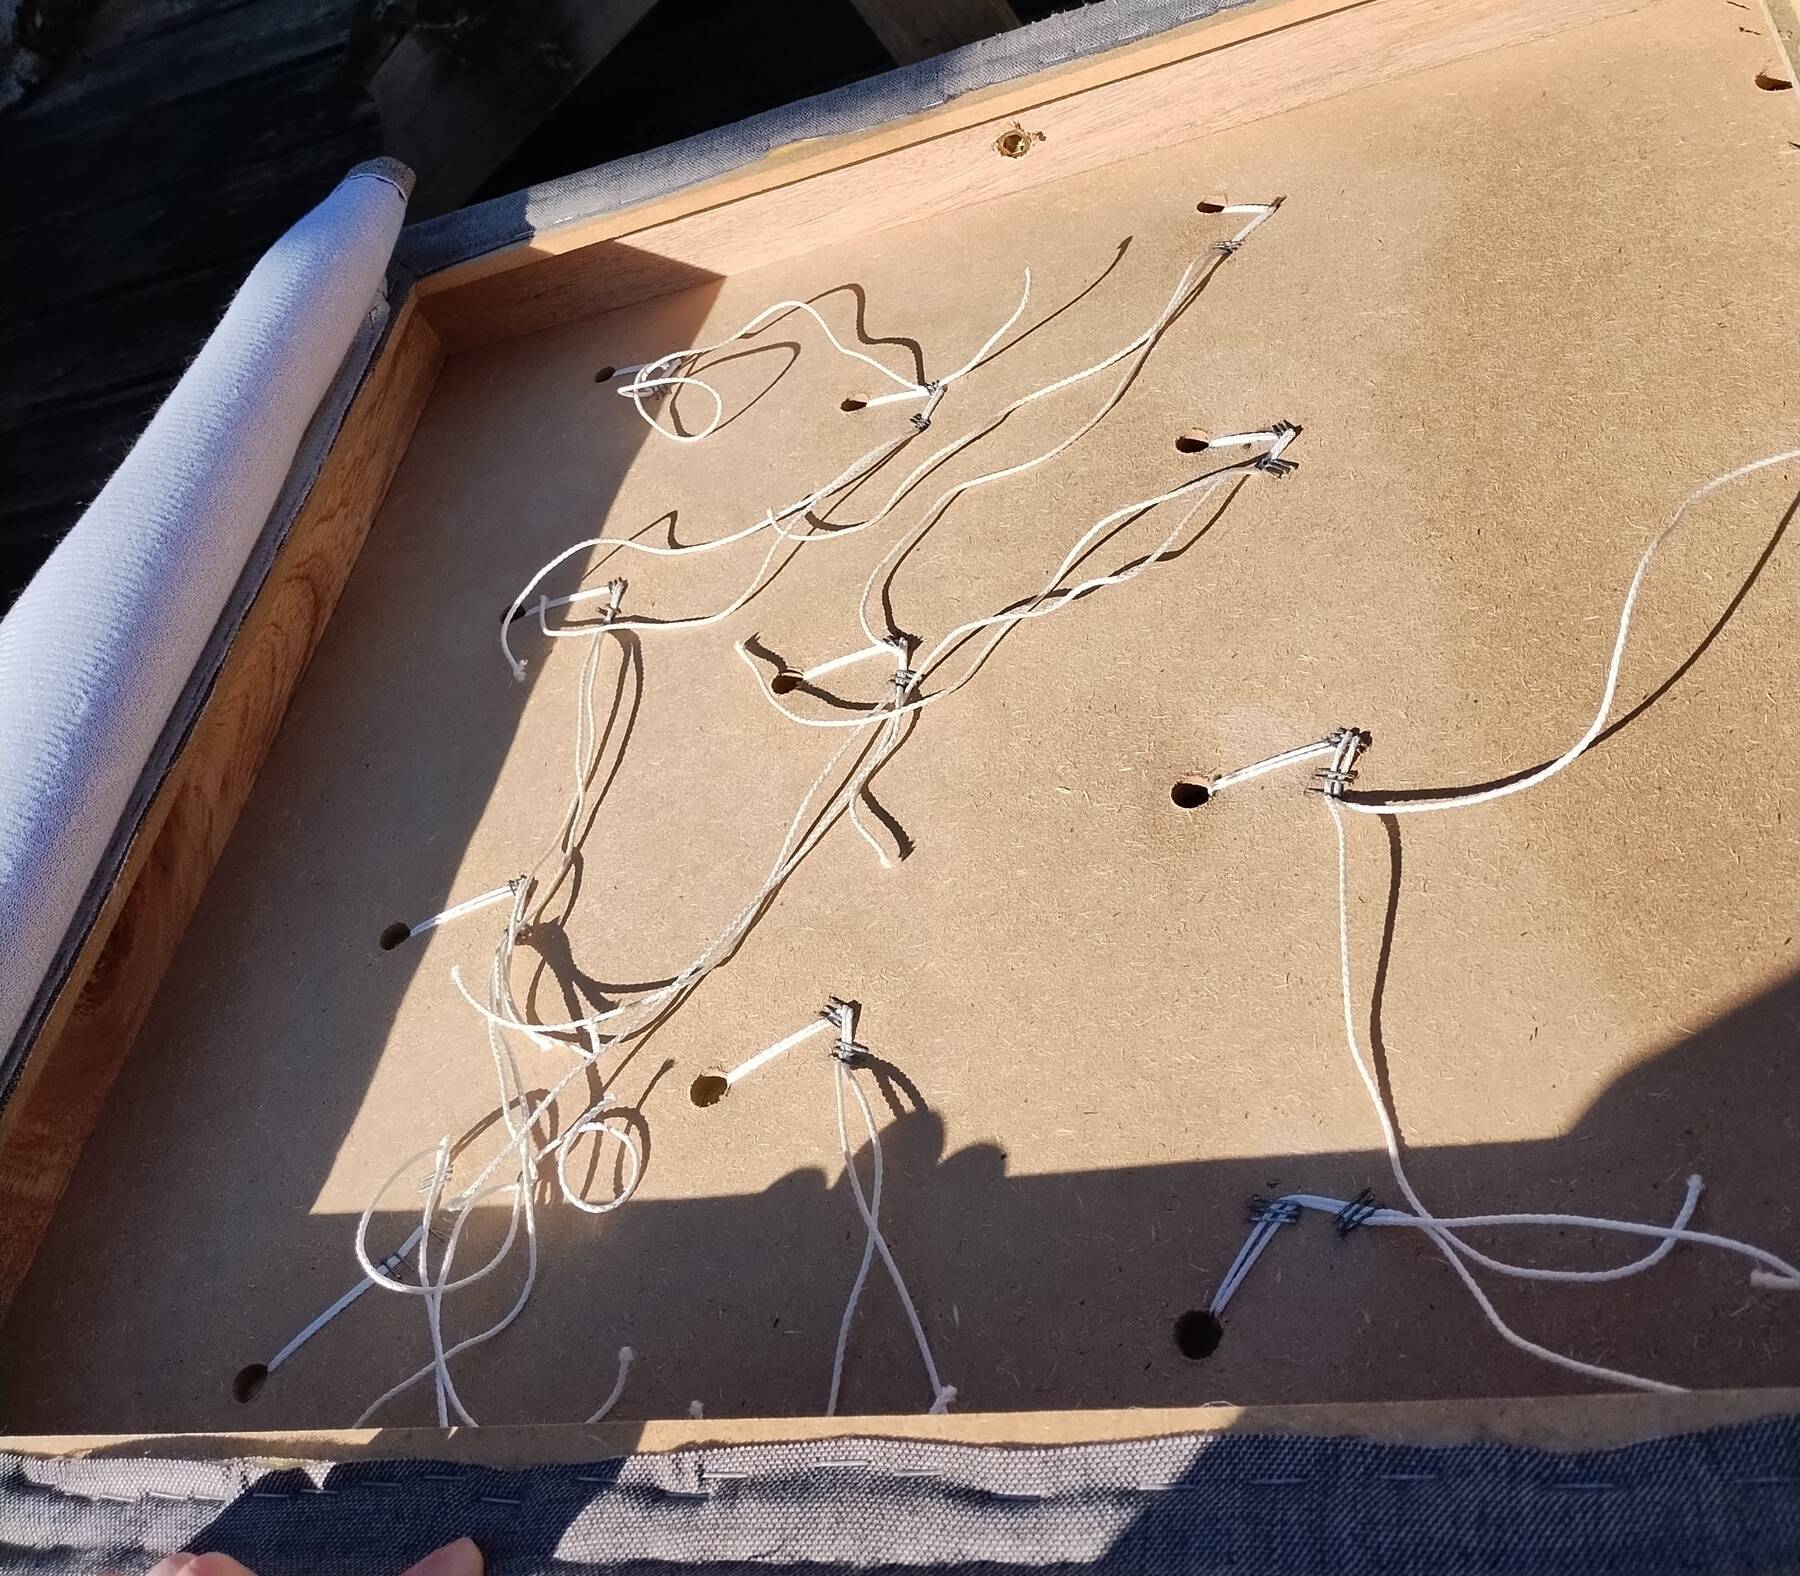
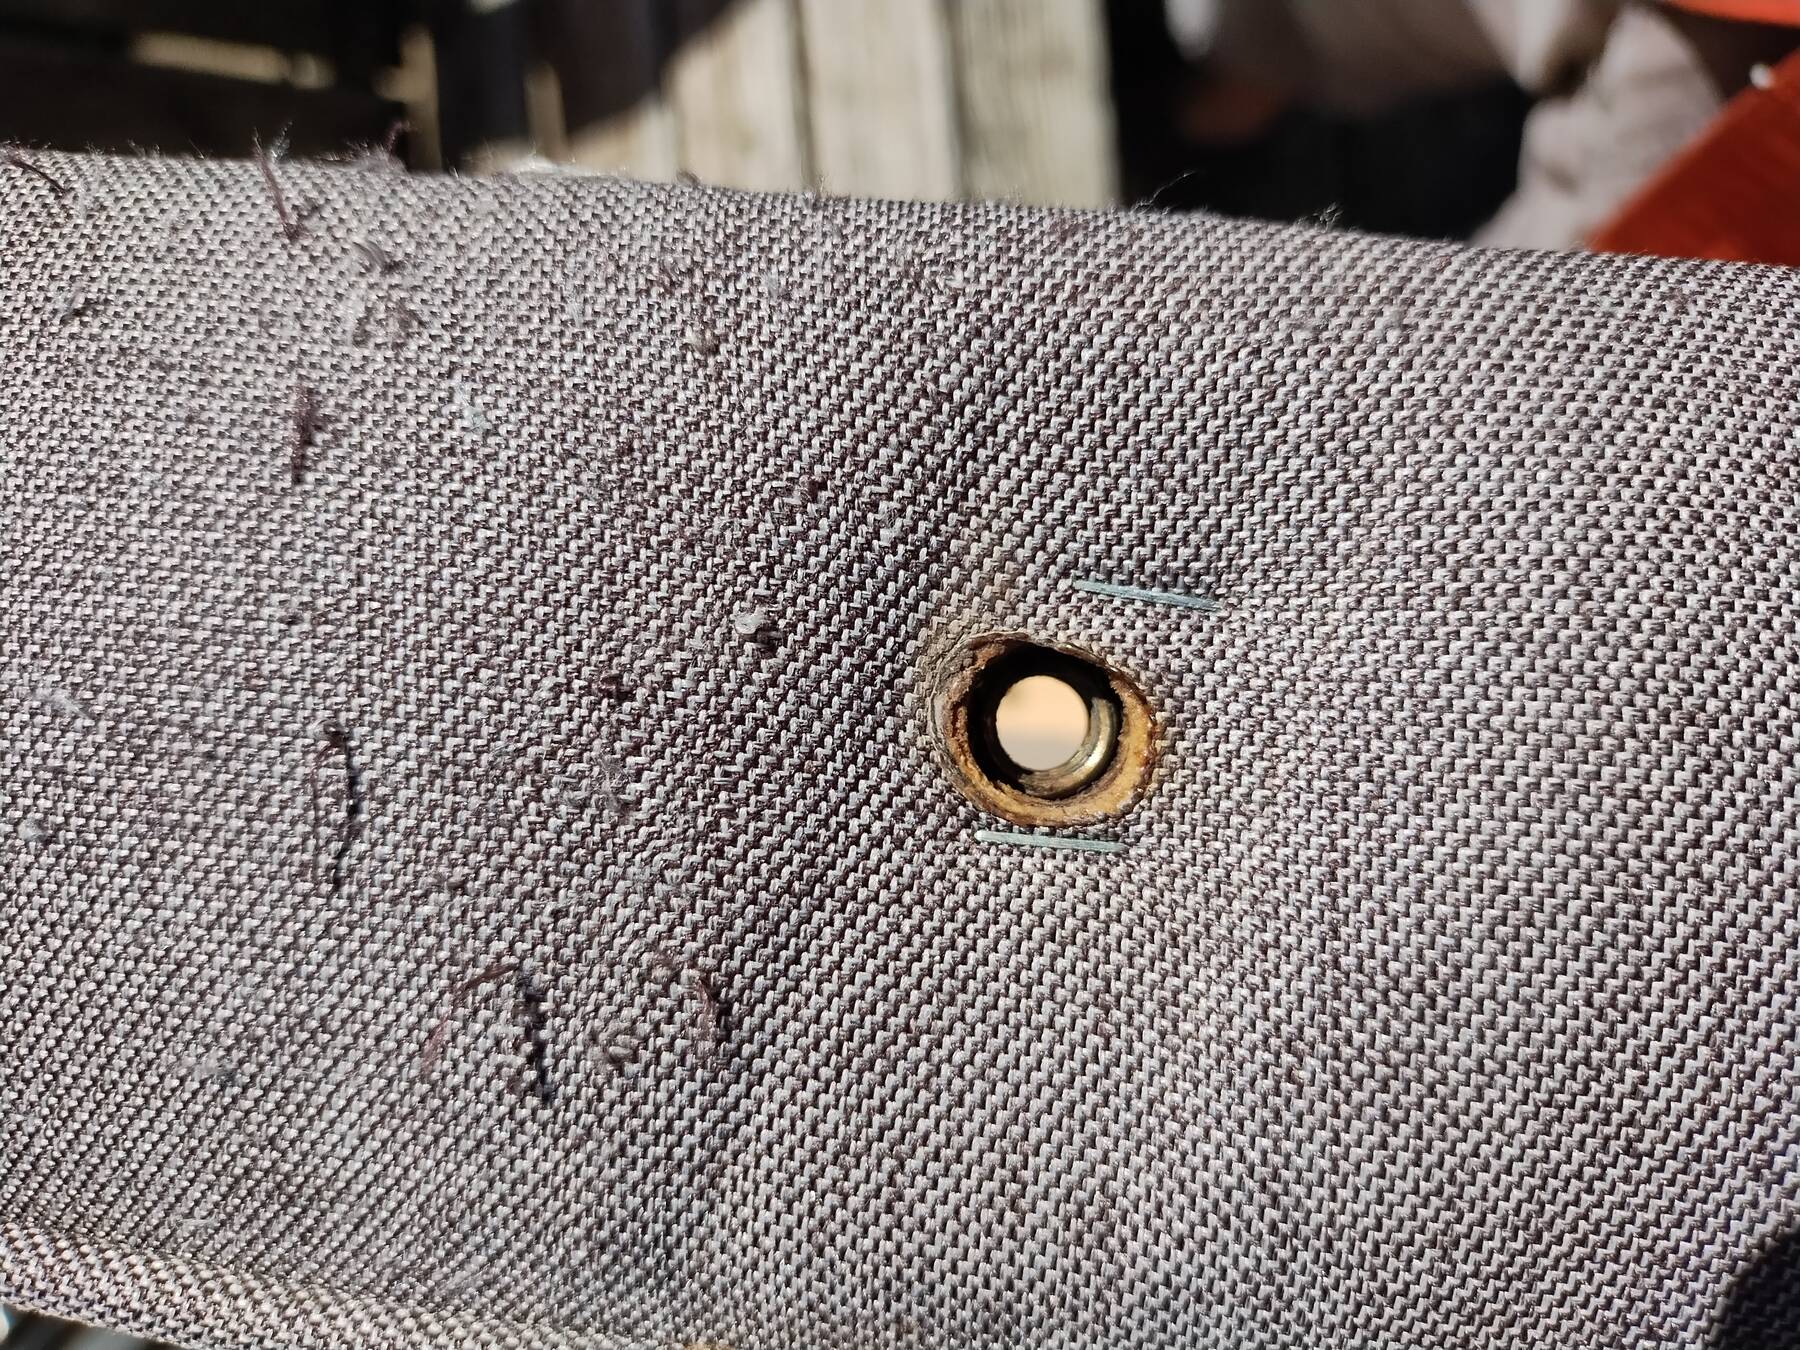
The chair was reassembled. Only thing I did differently is put 2 screws to lock the seat cushion to the crossbar. For some reason they were left out originally.
Day 6 - Final assembly
The chair sits uneven and rocks, but was fine when I sat in it. I tried loosening the six side bolts, and tightening them with my weight on the chair, but it didn't have any effect.
I loosened those same side bolts, removed the two screws that hold the seat cushion, and loosened the bolts joining the two cushions. The chair set level with the bolts loose. So I tightened each matched pair, and checked. The back bottom pair introduced a slight twist. Ultimately the unevenness was reduced, but I'll probably get some felt feet to help cut down noise, and reduce the last little bit of rocking.
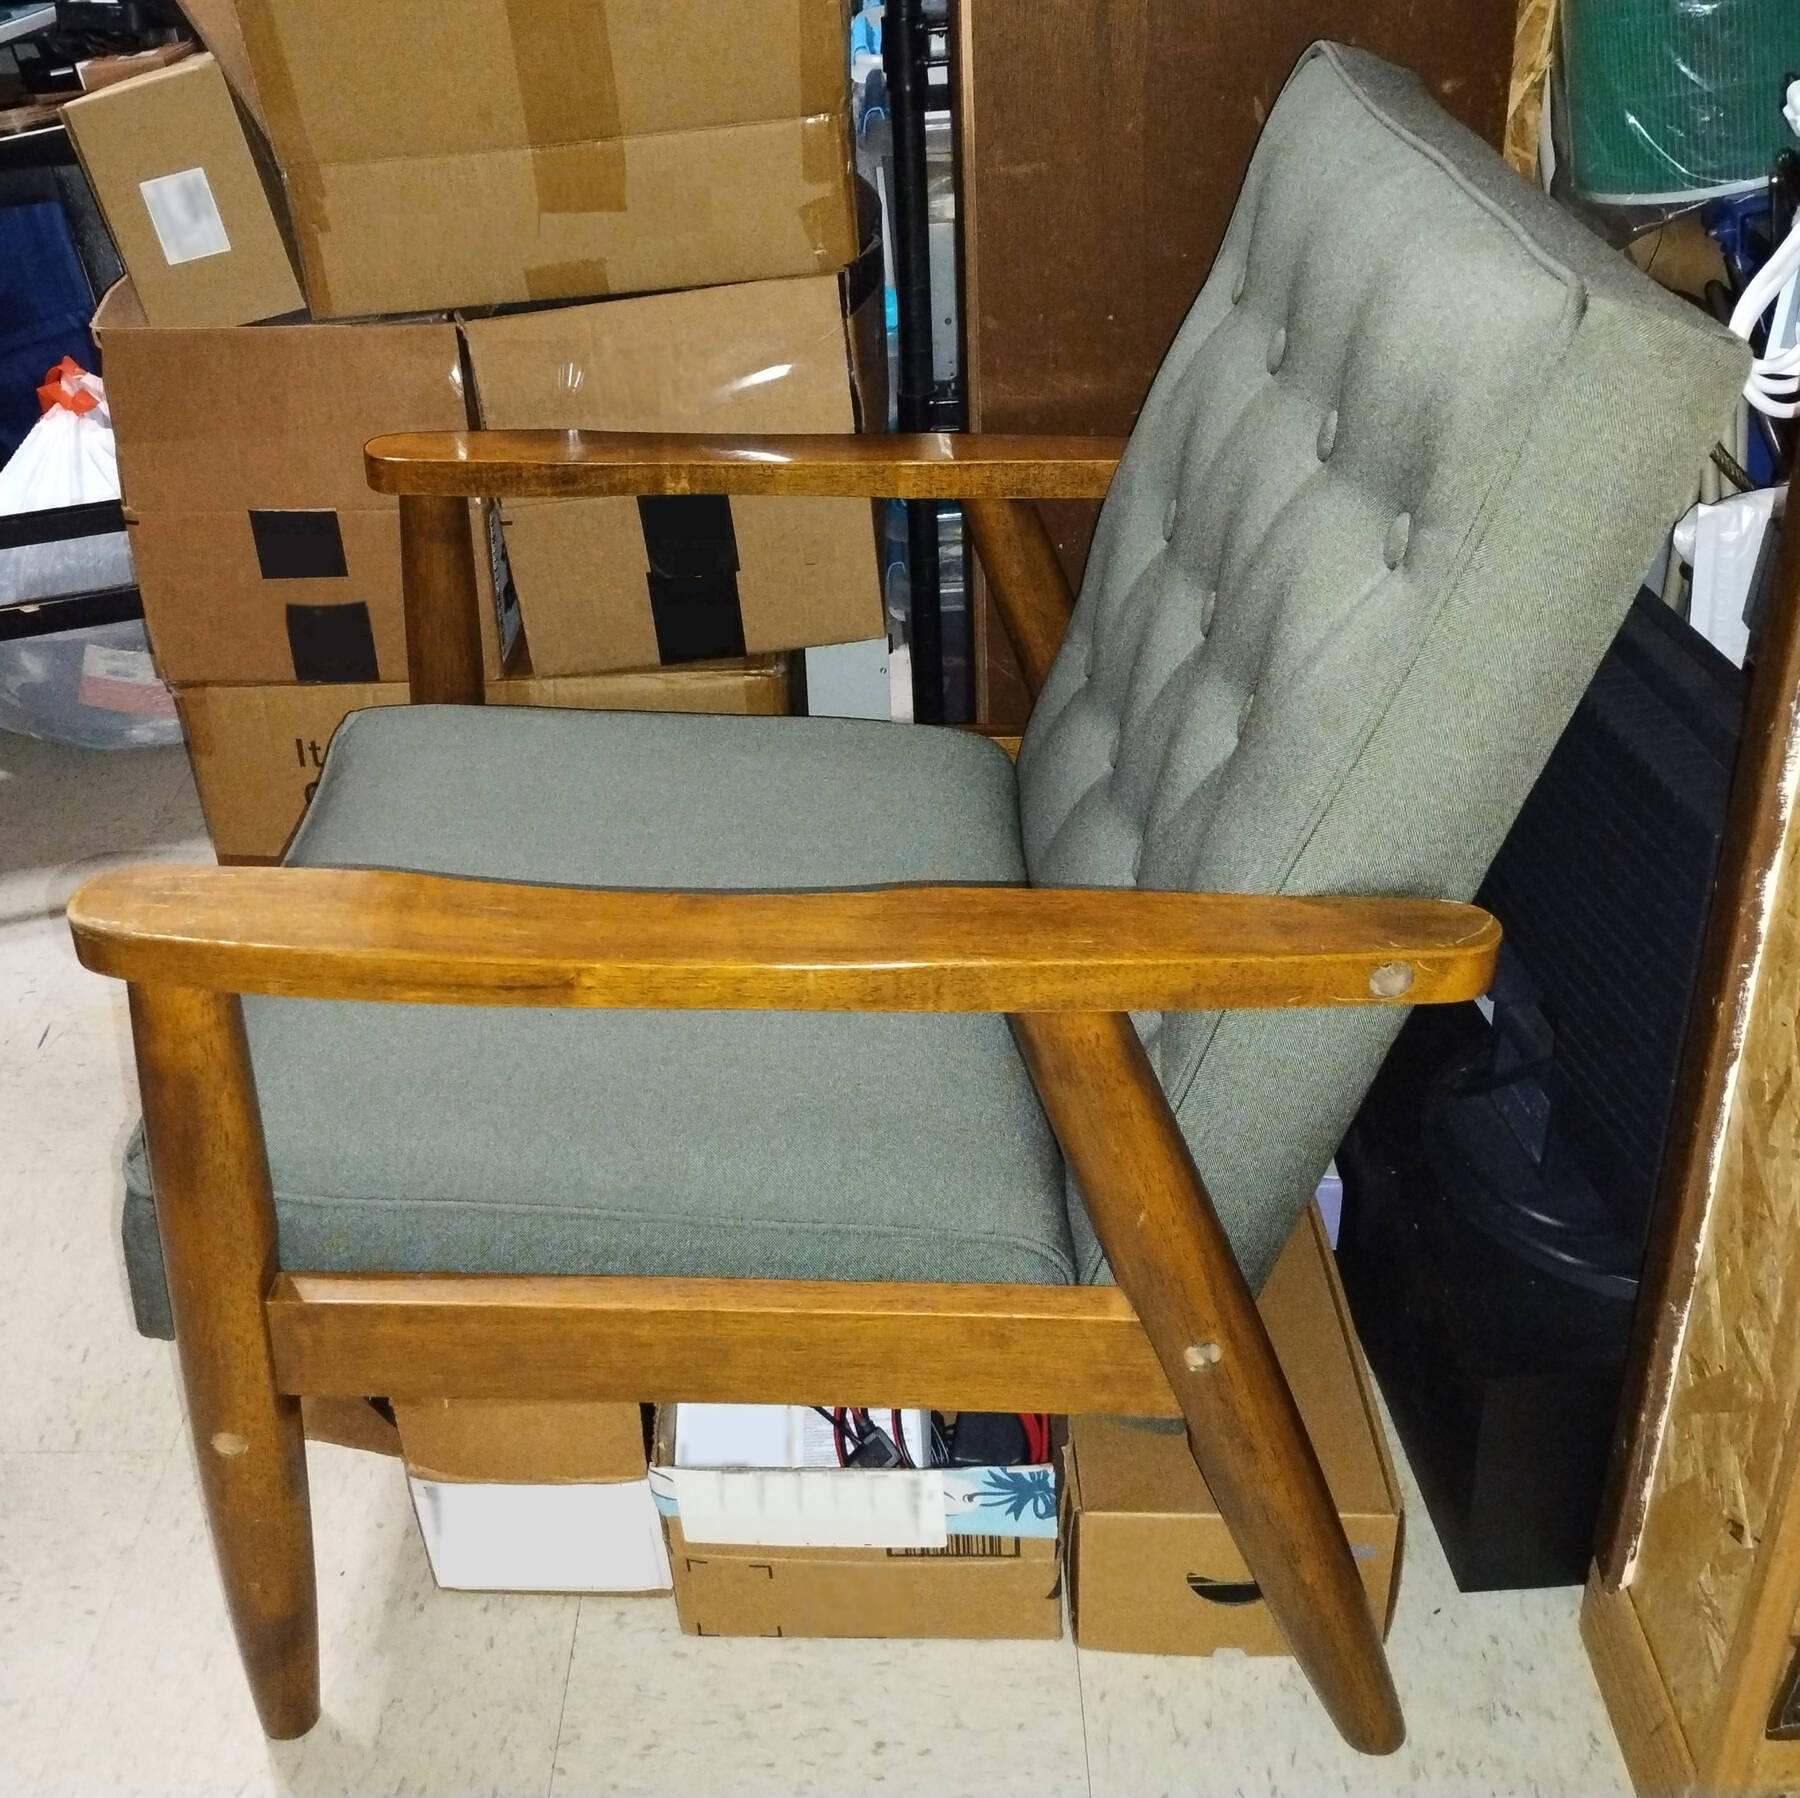
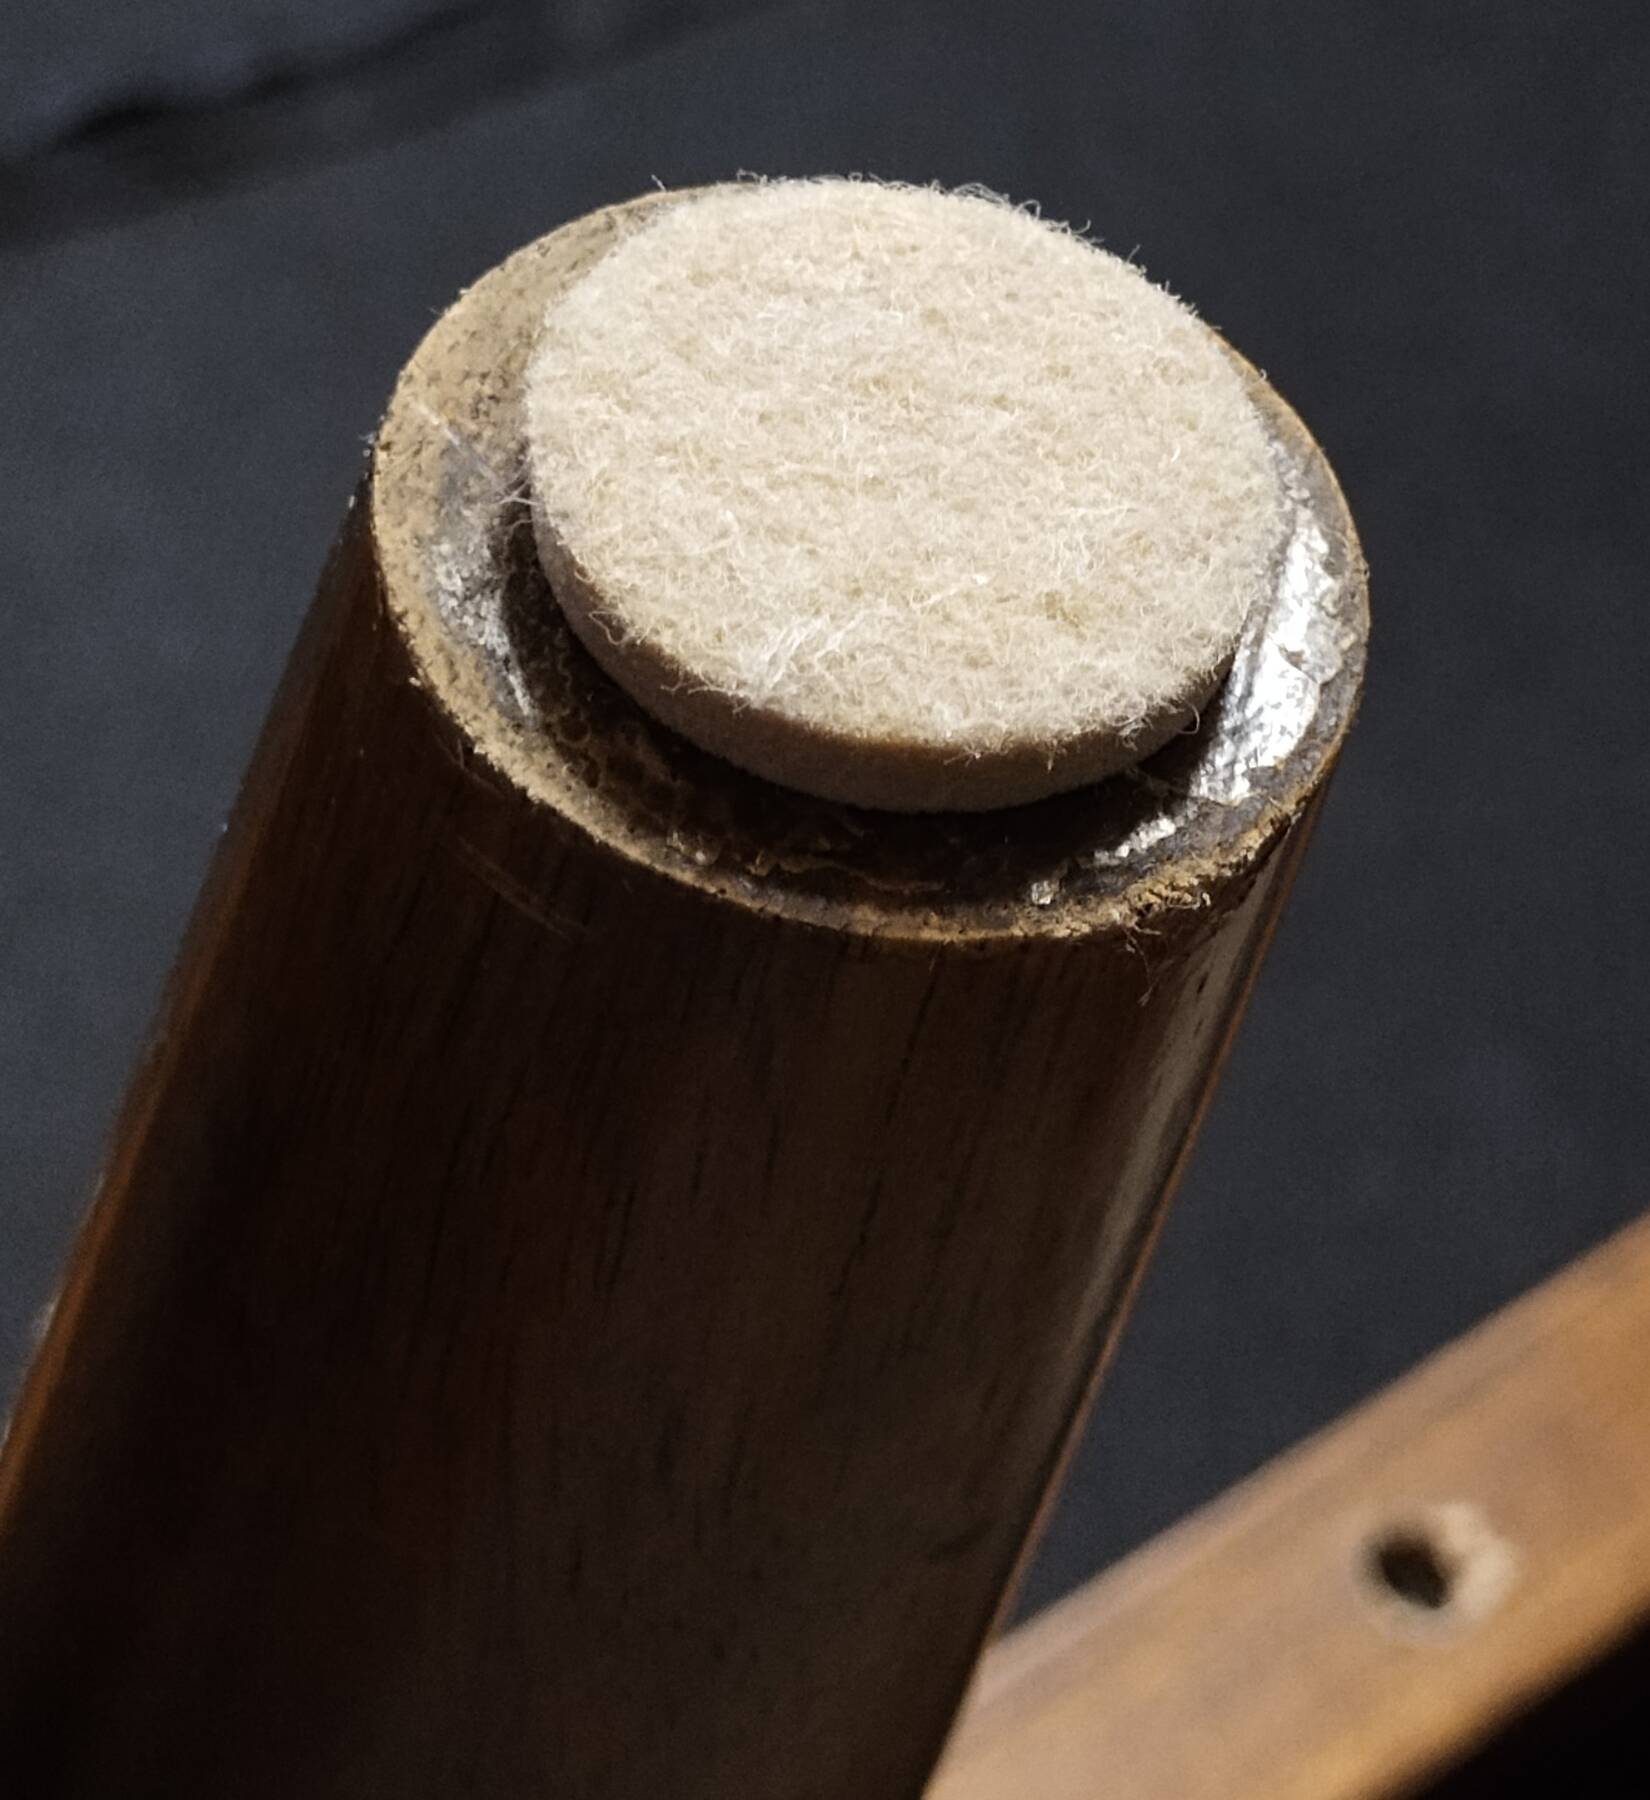
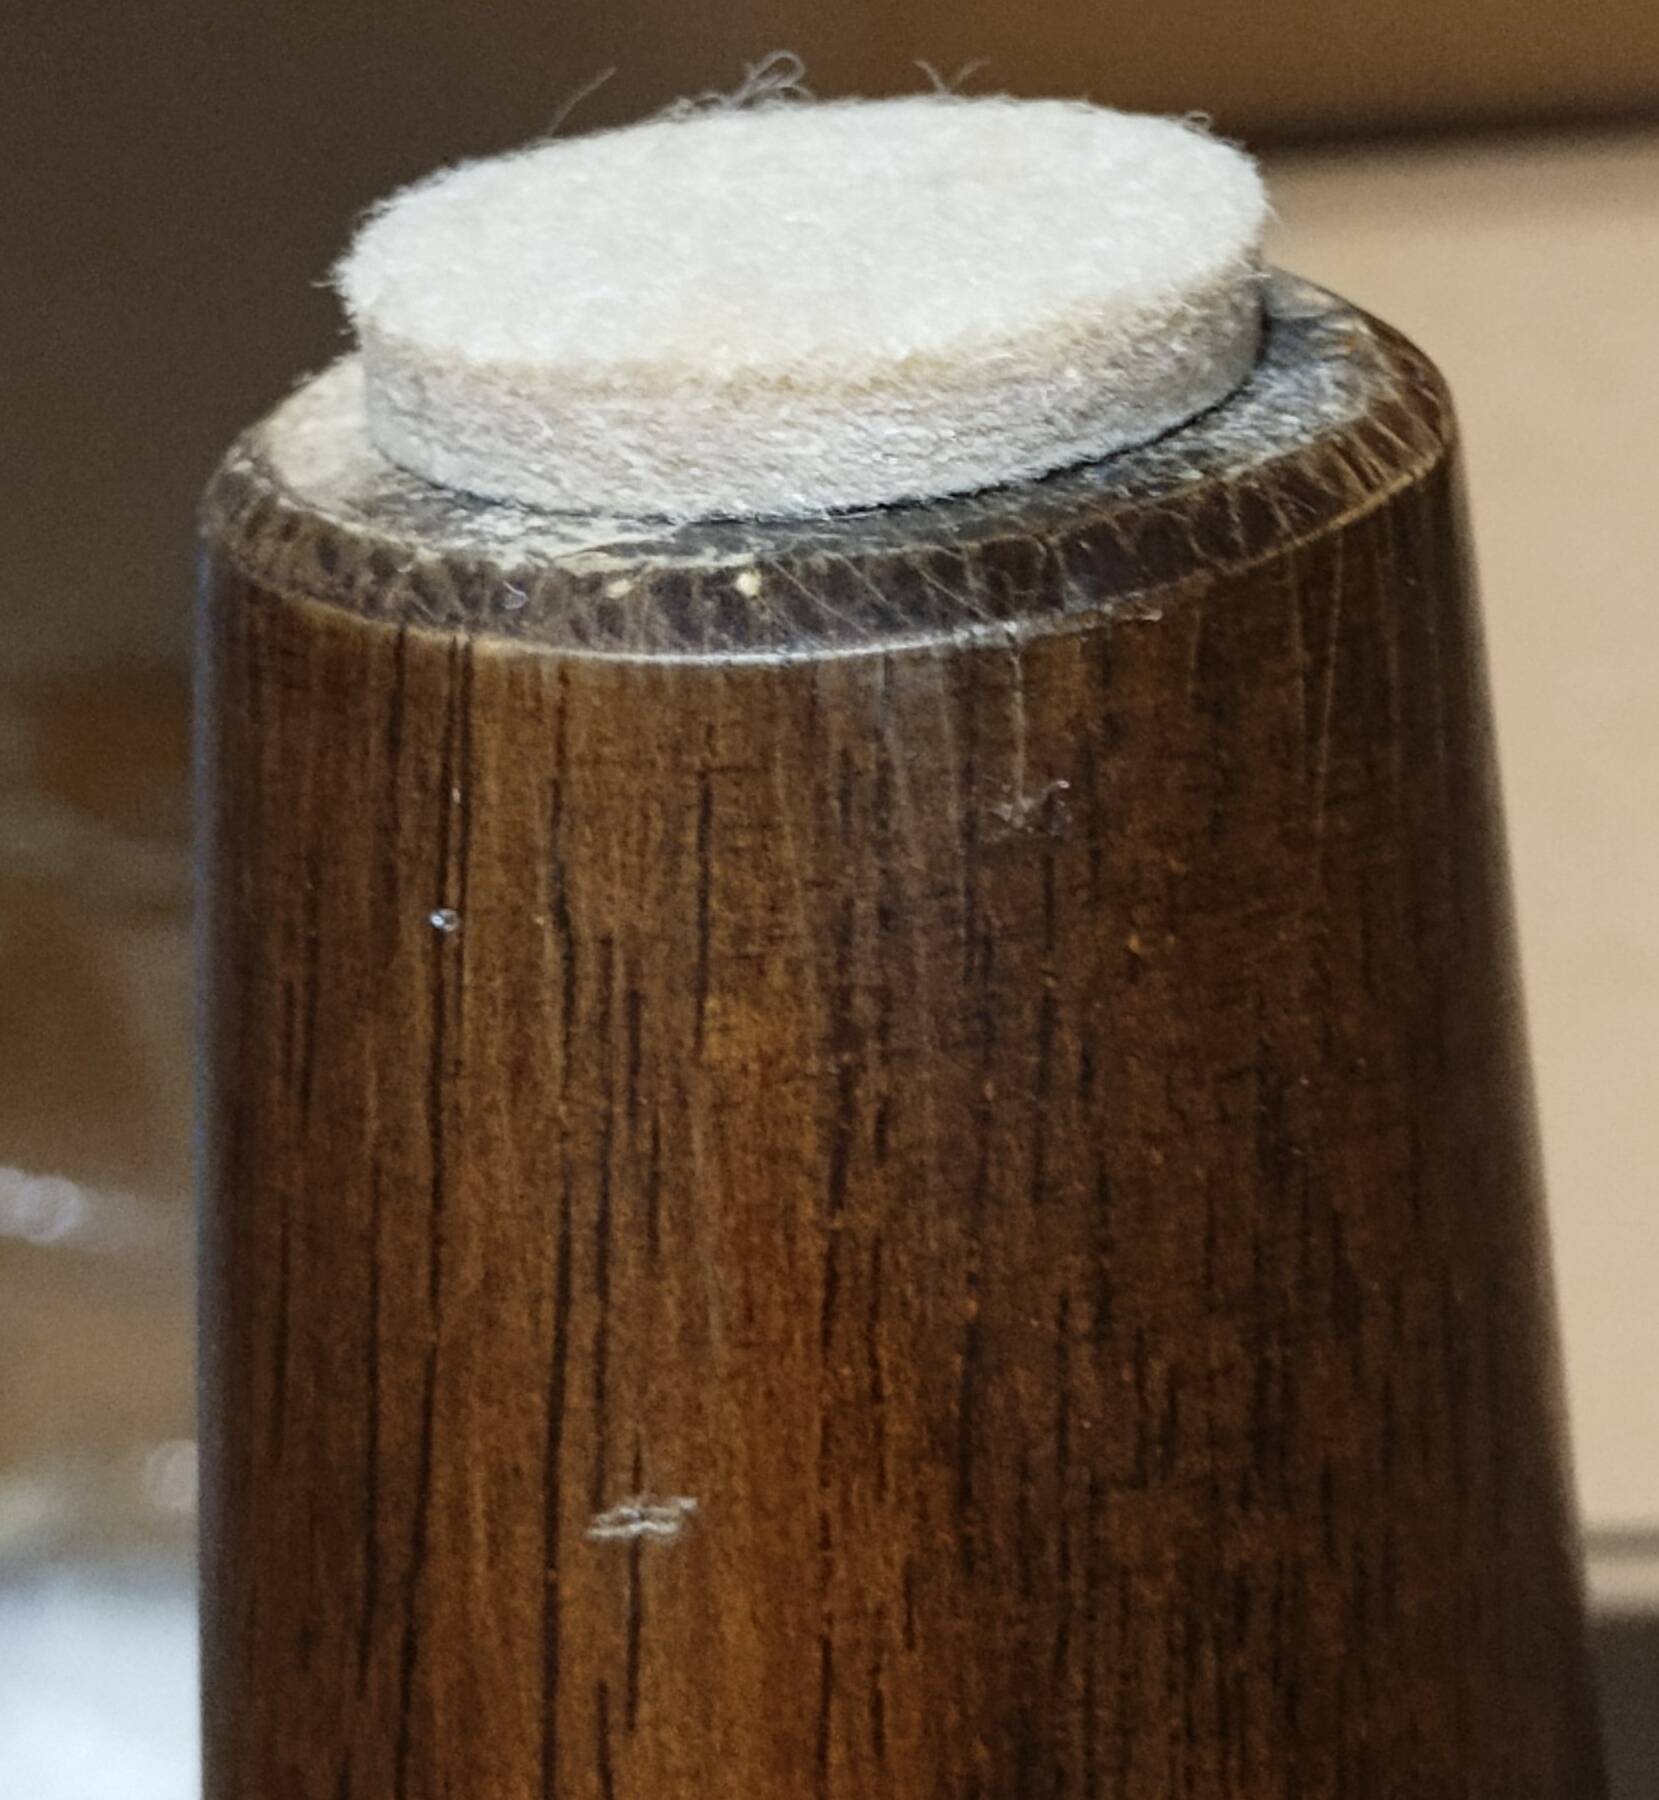
I ended up getting some adhesive felt pads. It shouldn't move much so I'm not too worried about getting sturdier pads. They're enough to take up the rocking, and cut out any sliding noise. I also noticed one of the feet is missing its beveled edge so it may have been cut.
Things left to do
- The left arm rest needs a scrape smoothed, stained, and maybe polyurethane.
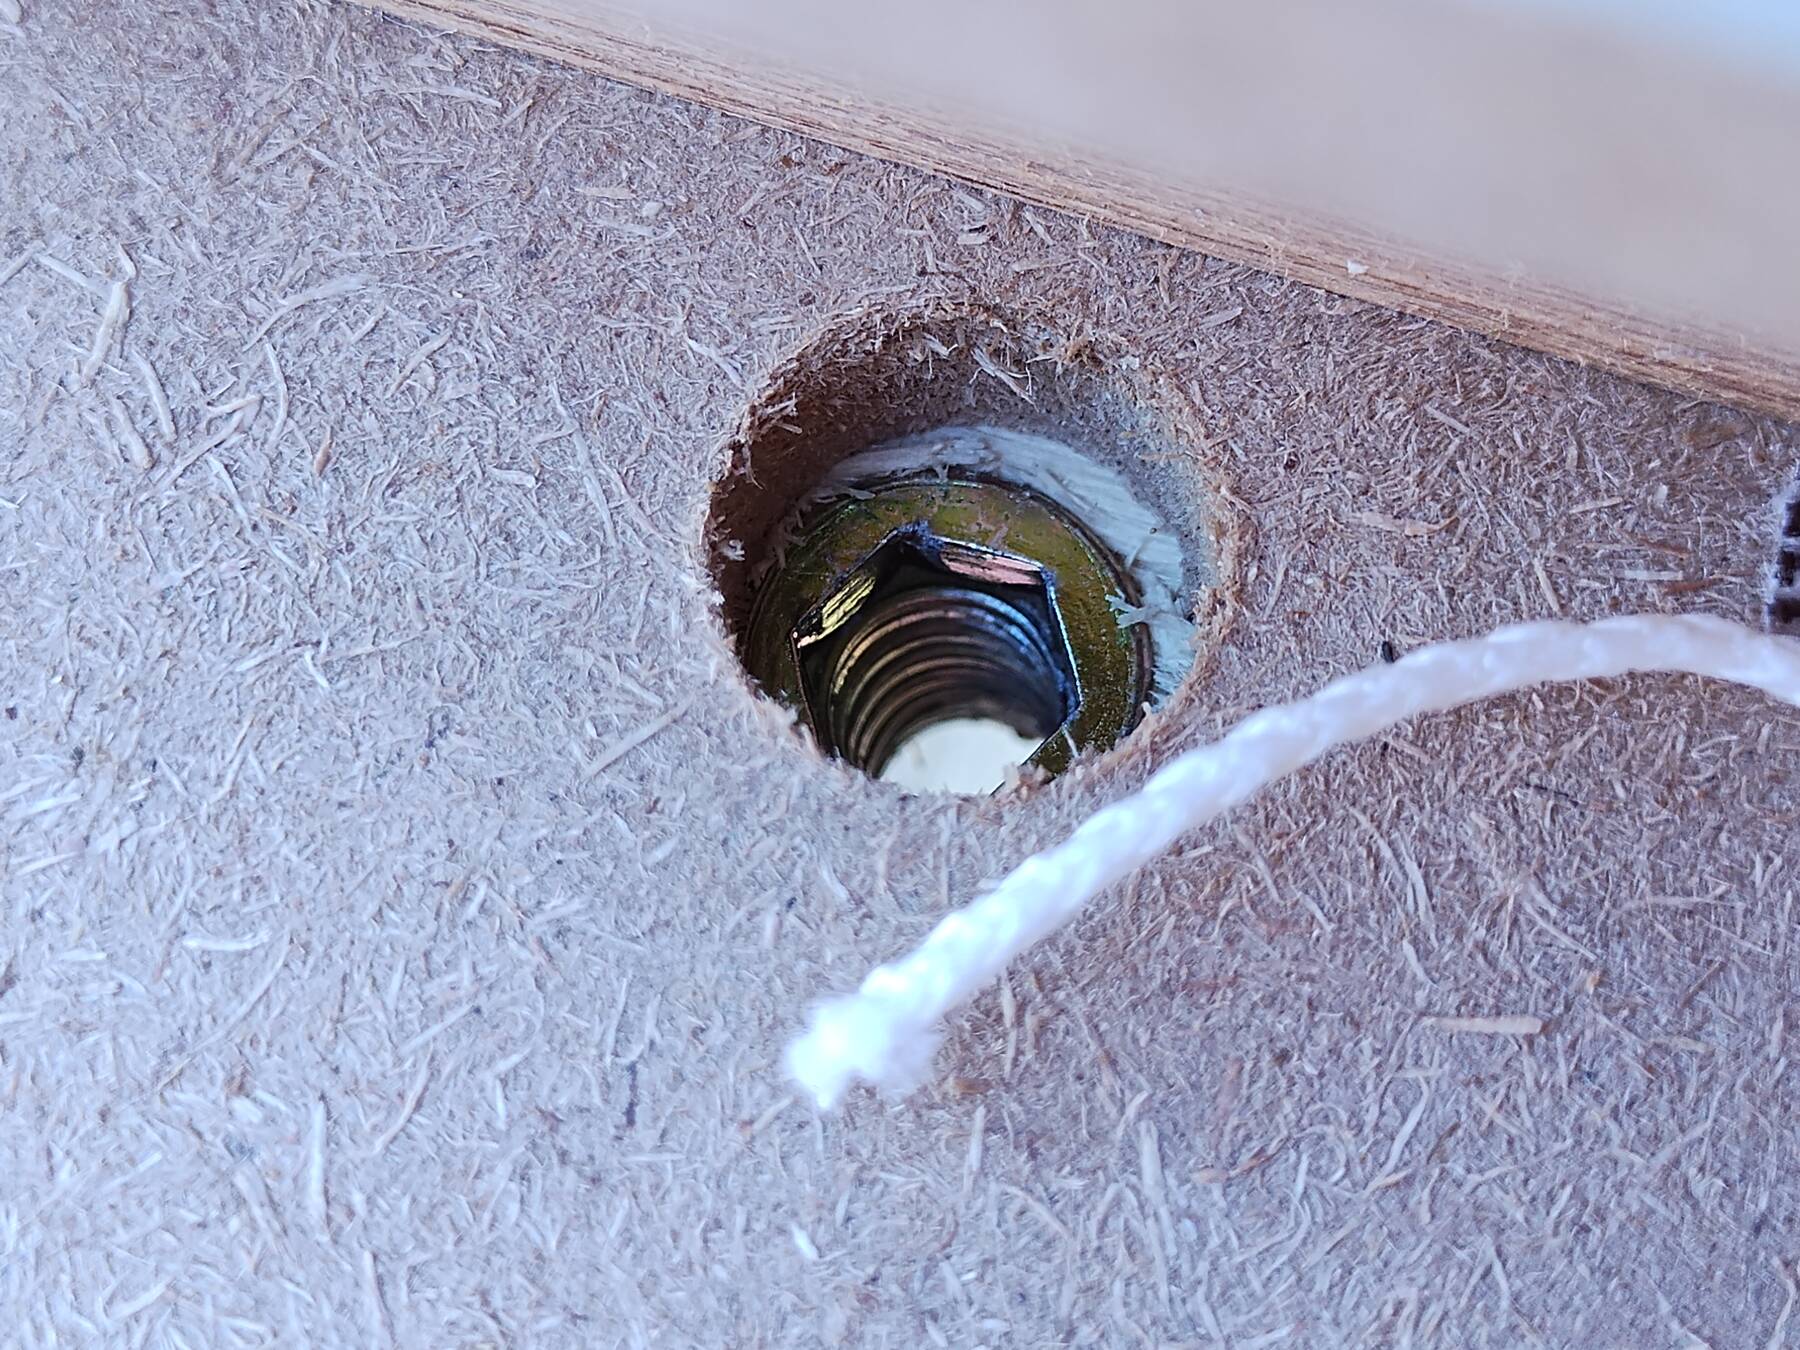
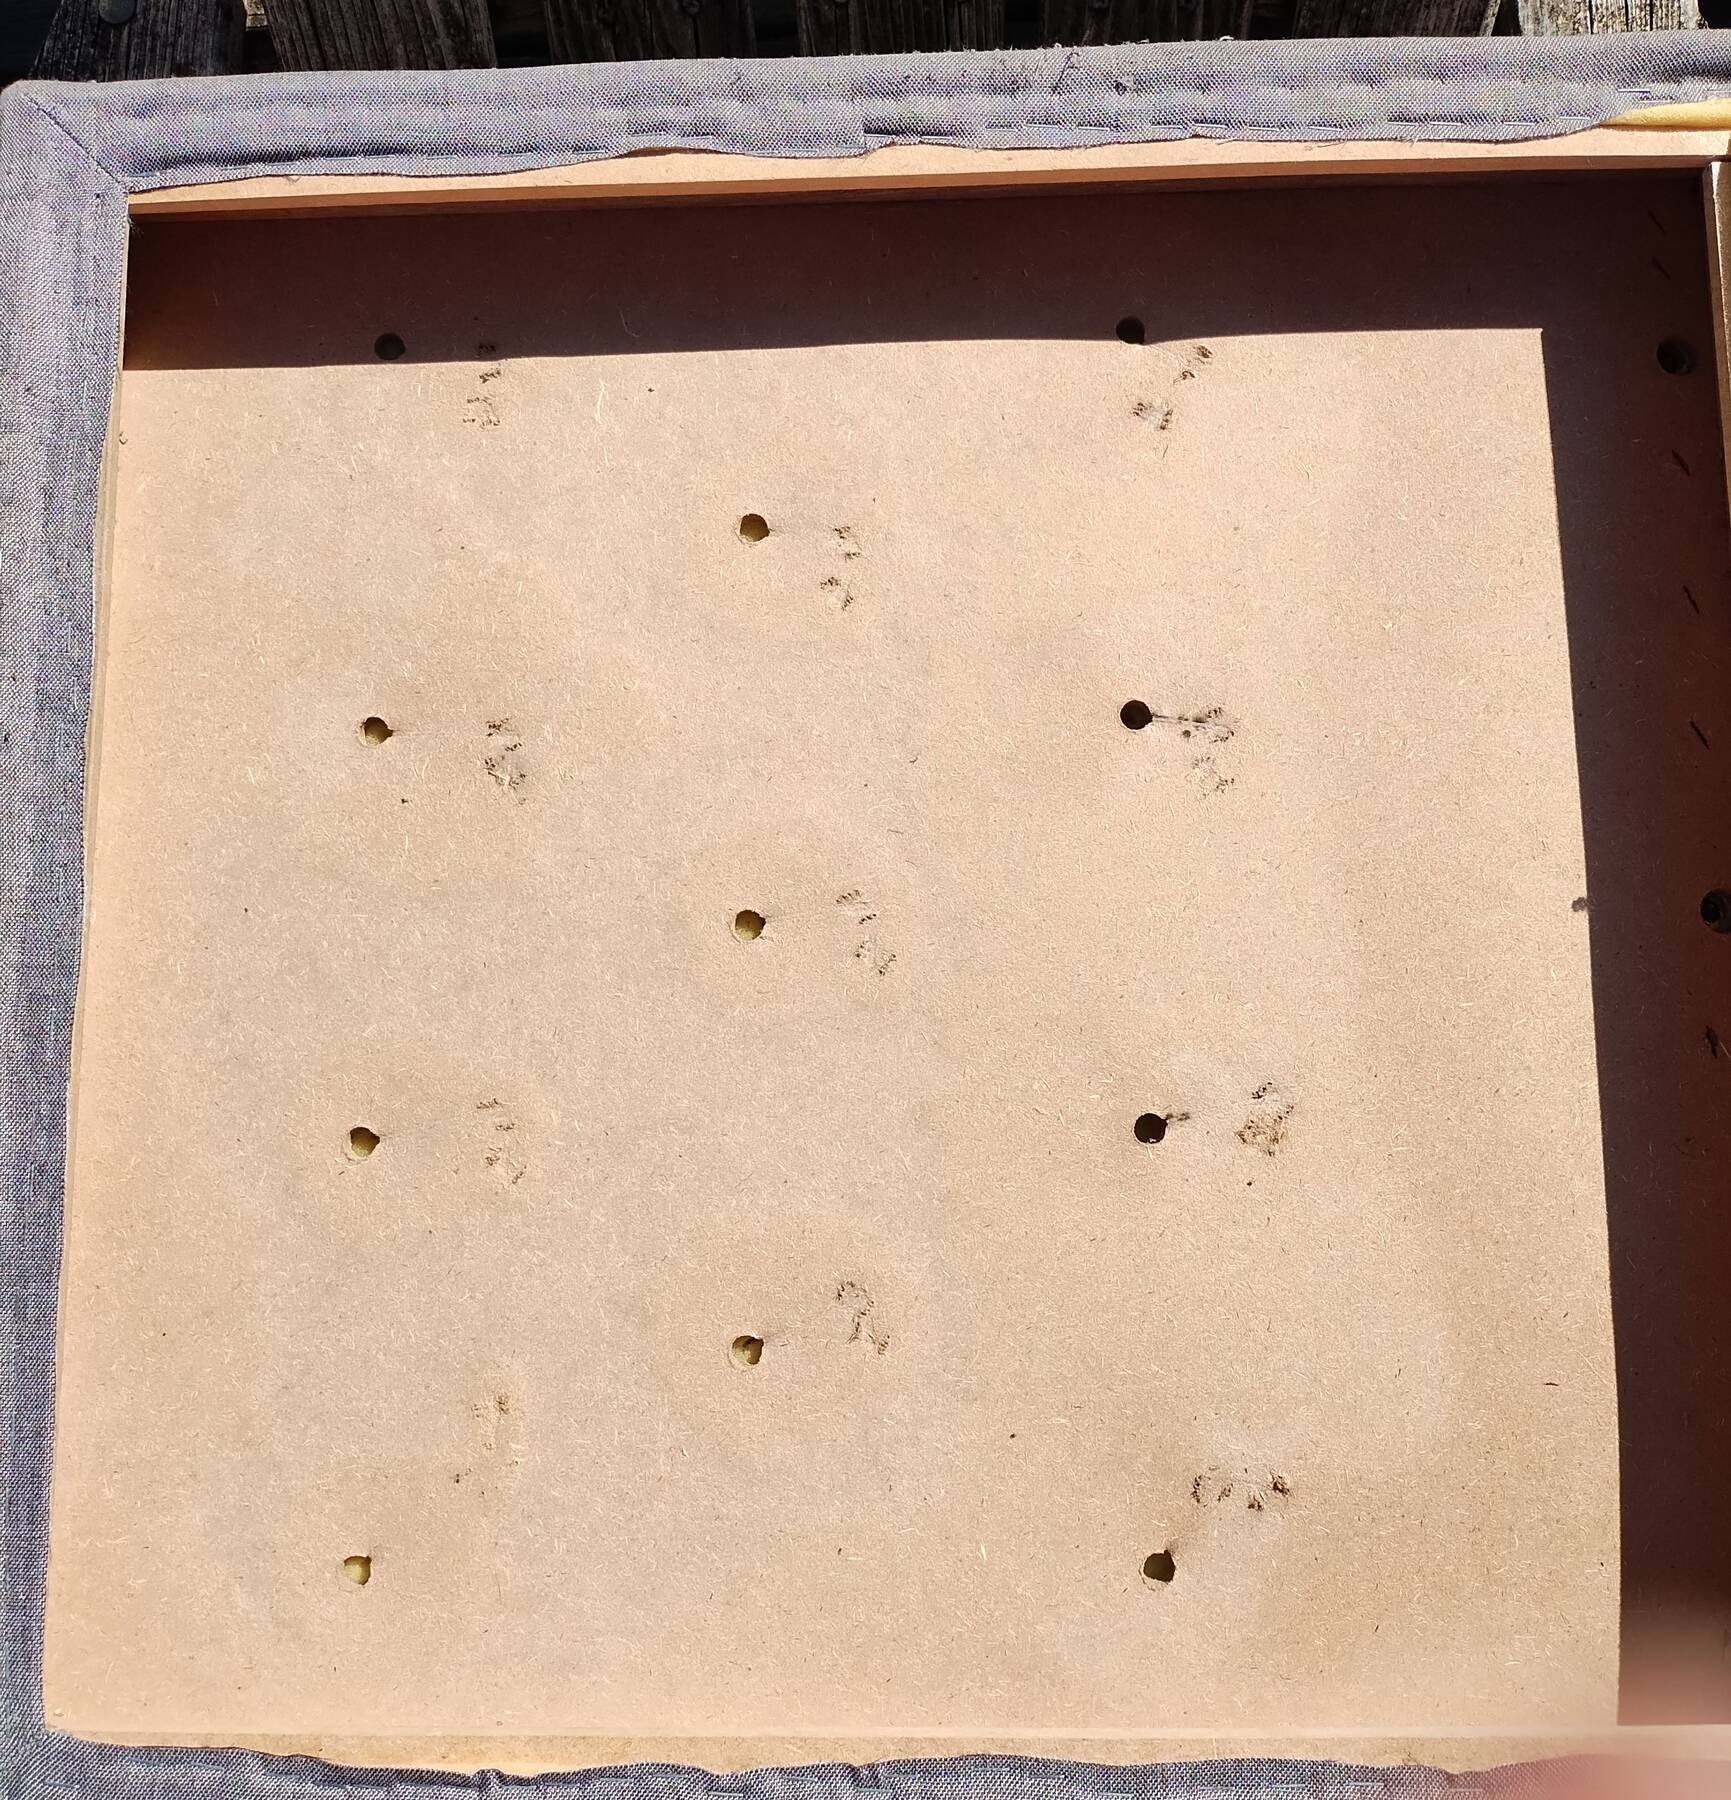
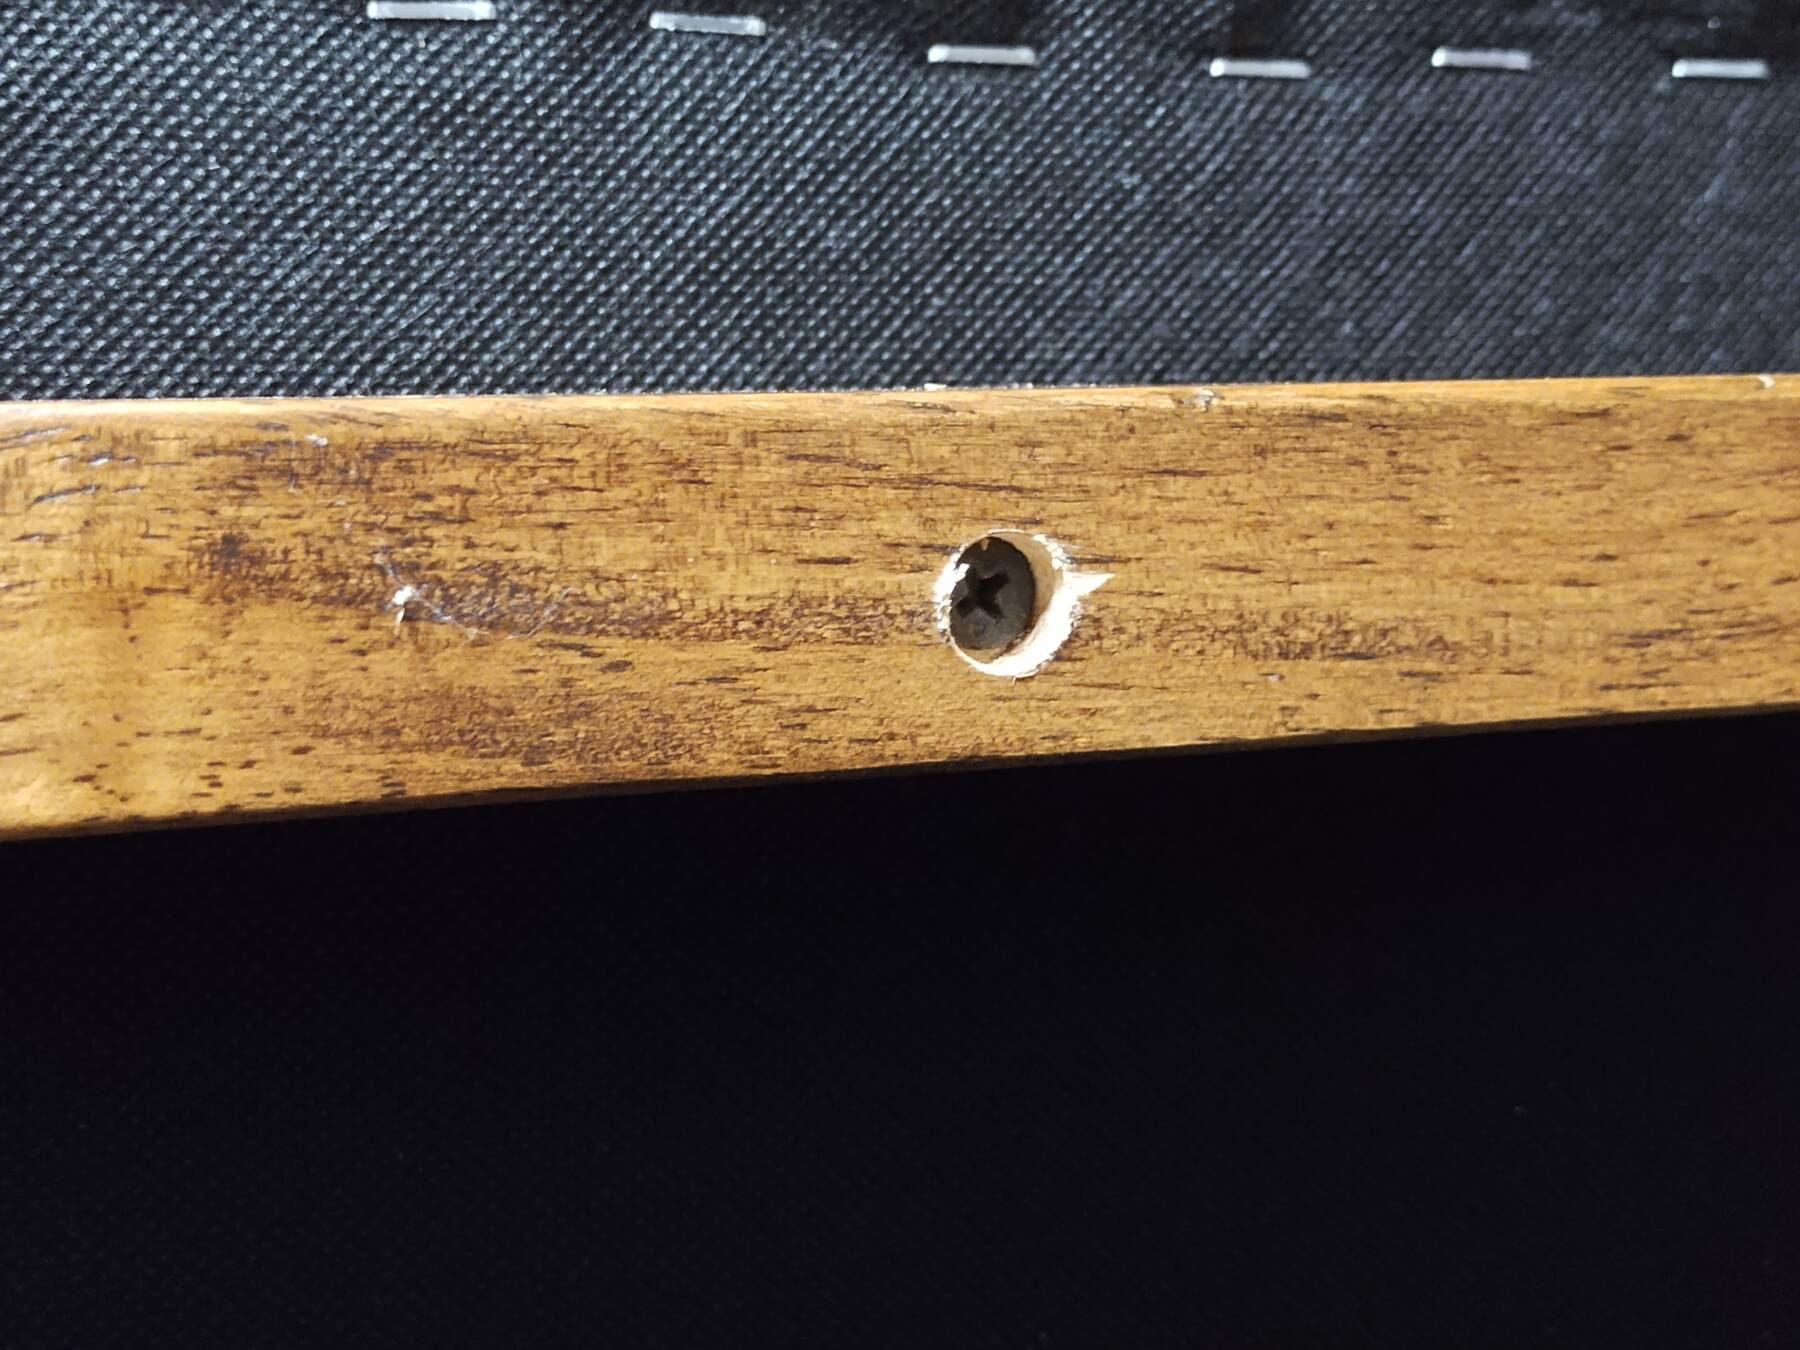
- The exposed bolt holes had wooden plugs, but I had to drill to remove them. They could be replaced, or not.
Things that could be better
Next time I do piping around bends I need to read up on it a bit. My technique this time was to backtack with the piping foot, swap to a narrow zipper foot, and do the bend, tack it again, and swap back to continue. I probably need to take into consideration the 3D shape of the corner, and try to pull the top fabric in a bit more while still keeping a gradual curve.